
Introduction: Instructables Robot Laser Battle Scene in Unity
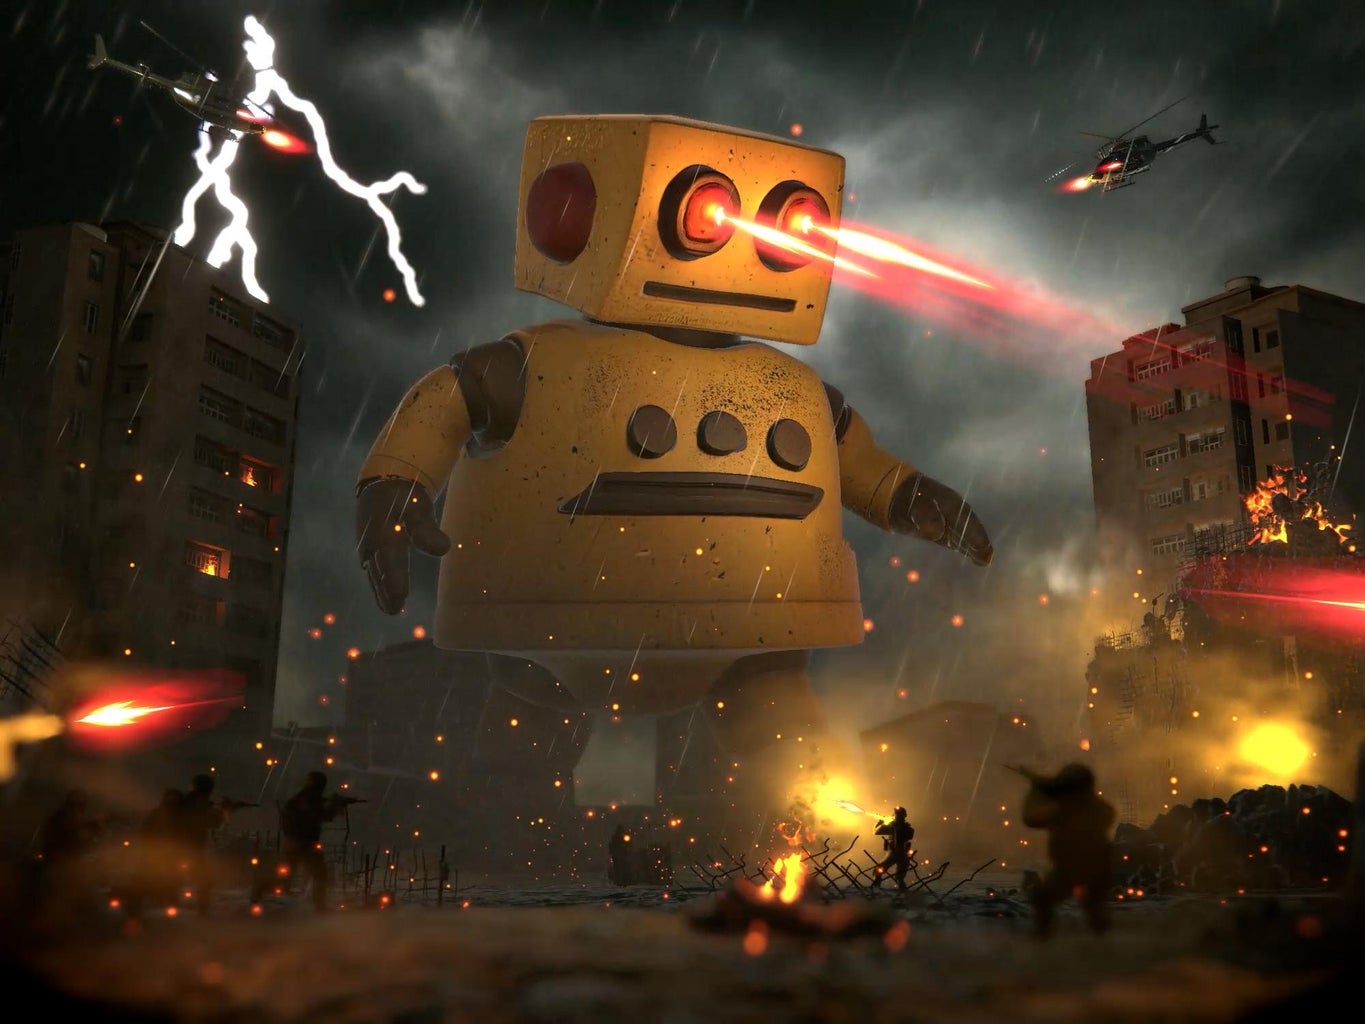


"Creativity dares to dream big!" This phrase always sparks inspiration when a wild idea pops into my head, and this time, it’s all about the beloved Instructables robot. We’ve all seen movies where robots shoot dazzling laser beams from their eyes, and I wanted to push that concept to the limit in a glowing, action-packed scene. In this Instructable, we’ll honor the iconic yellow Instructables robot by creating an apocalyptic cityscape where it unleashes chaos with glowing eye lasers, surrounded by fire, lightning, and defending soldiers. This project is designed for the "Make it Glow" contest, emphasizing vibrant visual effects using Unity 6. Let’s dive in and make this scene shine, step by step!
Note: You can download the project files, including assets and scripts, from my GitHub repository at https://github.com/iasarmientoj/glow-contest. Happy creating!
Supplies

To bring this glowing apocalyptic scene to life, you’ll need:
- Unity 6: The game engine for creating the 3D scene.
- Online Tools: Websites like Hyper3D.ai and Mixamo.com for 3D model generation and animation.
- Image Editor: Software like Photoshop or GIMP to tweak textures.
- Video Editor: Tools like Adobe Premiere or DaVinci Resolve for final video and audio composition.
- Optional: Access to the Unity Asset Store for free or purchased assets.
Step 1: Brainstorm the Vision
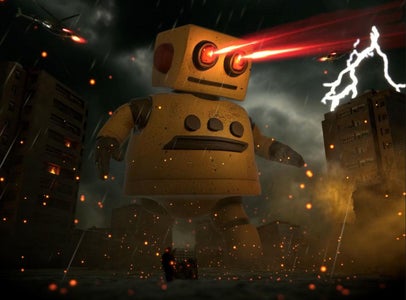
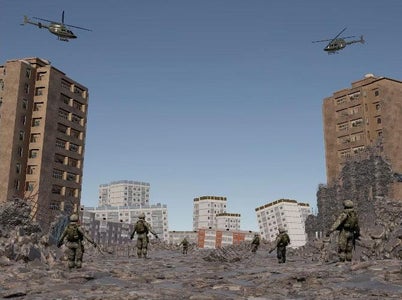
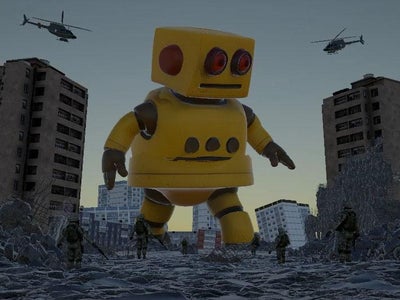
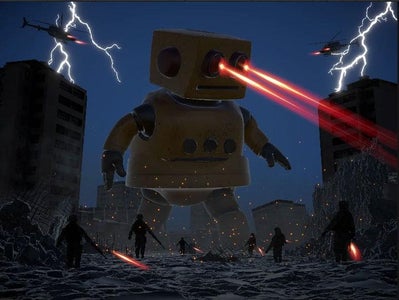
Start by visualizing the scene. I imagined a classic sci-fi setup: a towering Instructables robot wreaking havoc in a crumbling city, with laser beams shooting from its eyes, flames flickering, lightning cracking, and soldiers fighting back in an apocalyptic atmosphere. This concept gives us plenty of opportunities to play with glowing effects—lasers, muzzle flashes, and ambient lights—to create a dramatic, high-energy scene. Sketch your idea on paper or in your mind to map out the key elements: a giant robot, collapsing buildings, soldiers, helicopters, and a stormy sky.
Step 2: Set Up the Unity Project
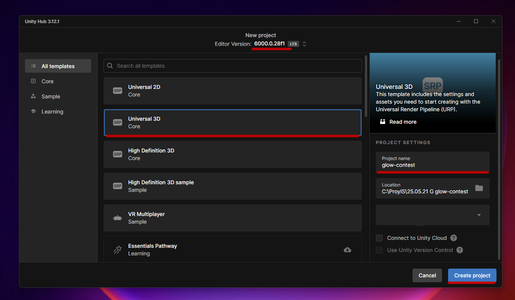
Assuming you have basic familiarity with Unity, let’s get started. Download and install Unity Hub from Unity’s official website. Through Unity Hub, install Unity 6 (version 6000.0.28f1), which I used for this project. Create a new project by selecting the 3D Universal Render Pipeline (URP) template for optimal lighting and performance.
- Download Unity Hub from https://unity.com/download.
- Install Unity 6 (version 6000.0.28f1) via Unity Hub.
- Create a new project:
- Open Unity Hub.
- Click New Project.
- Select the 3D (URP) template.
- Name your project (e.g., "glow-contest").
- Click Create.
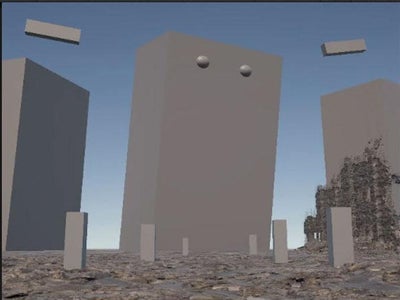
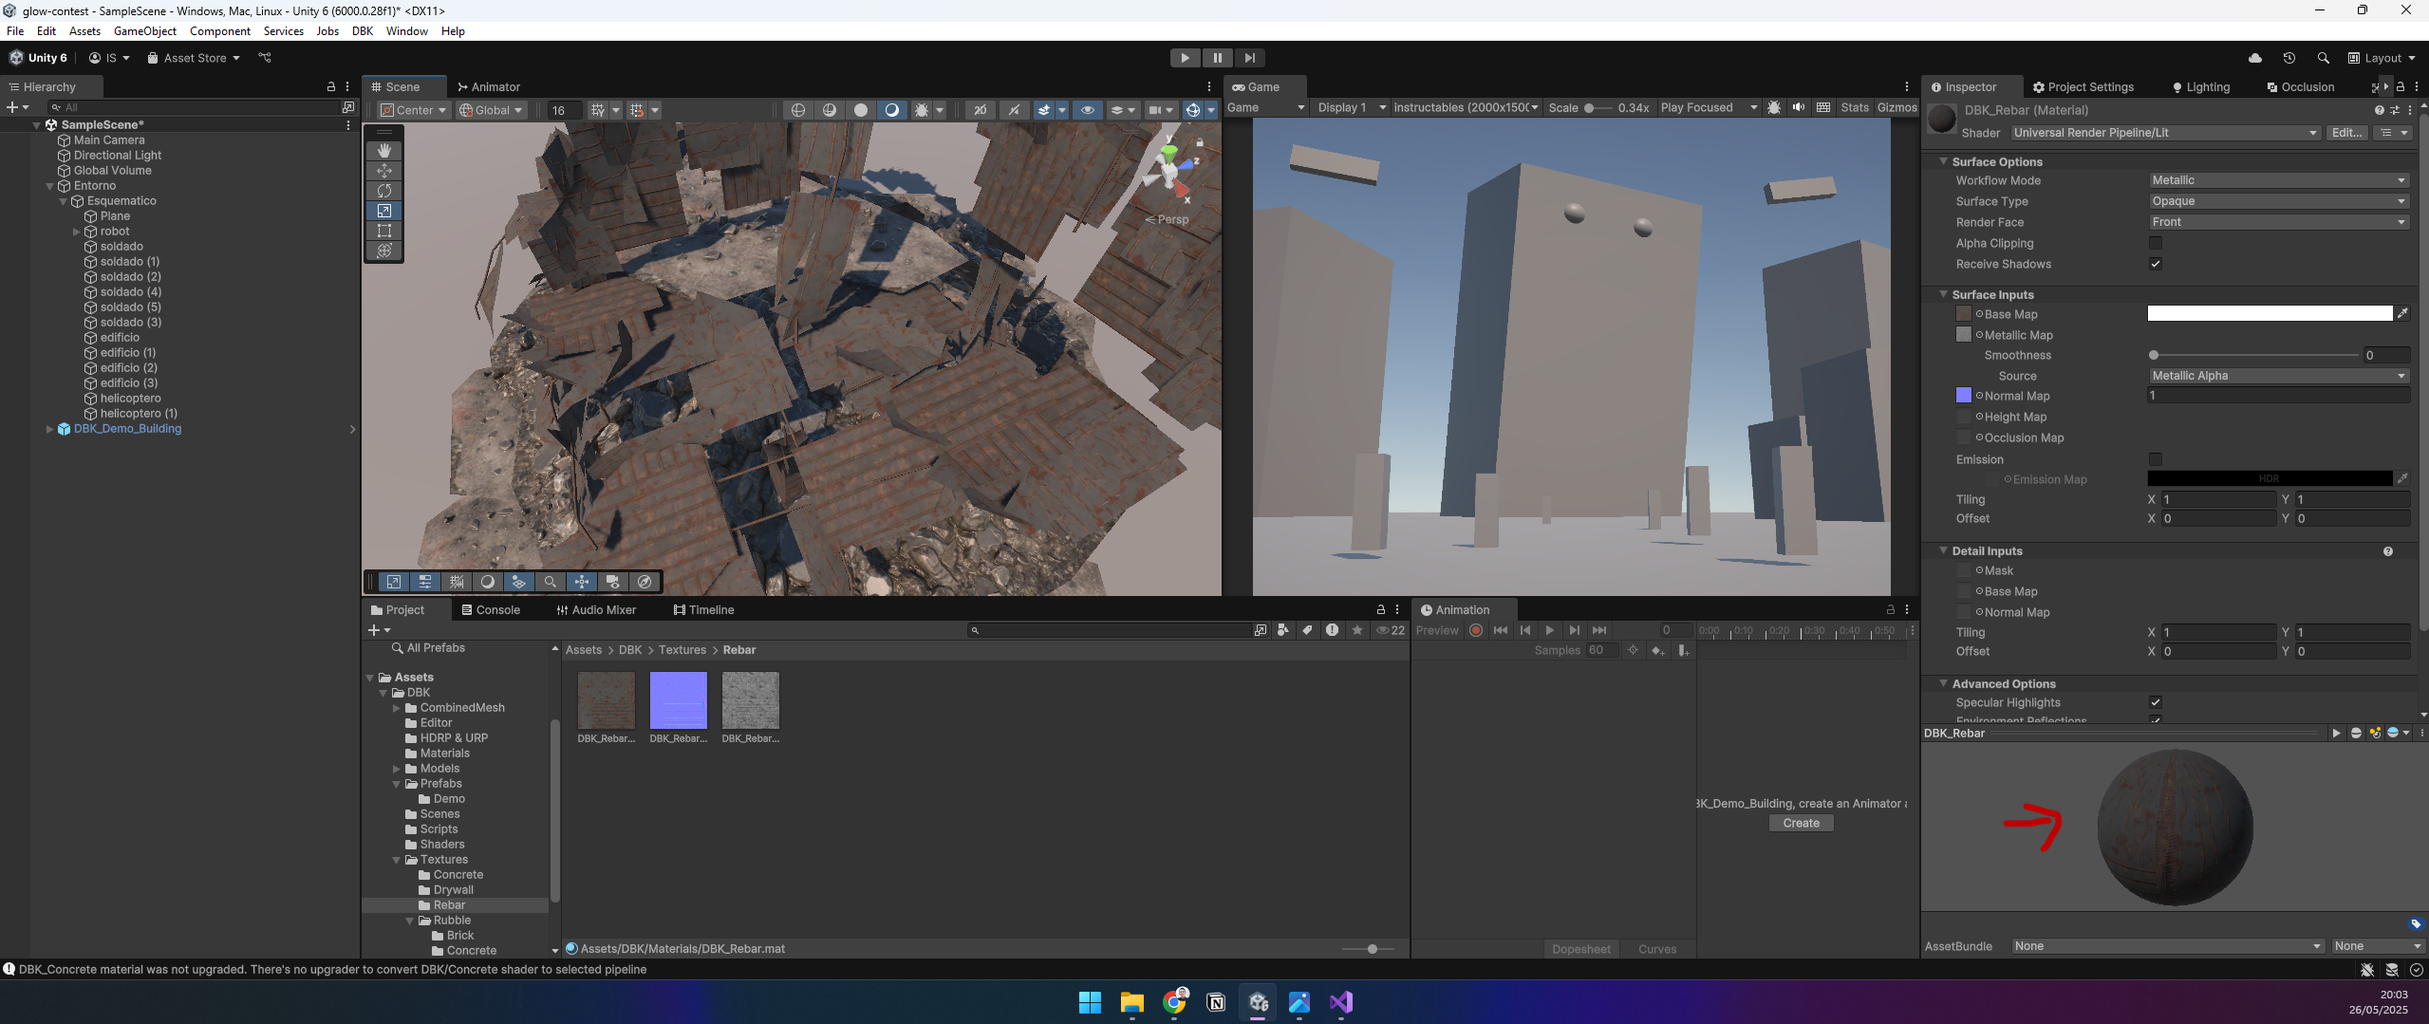
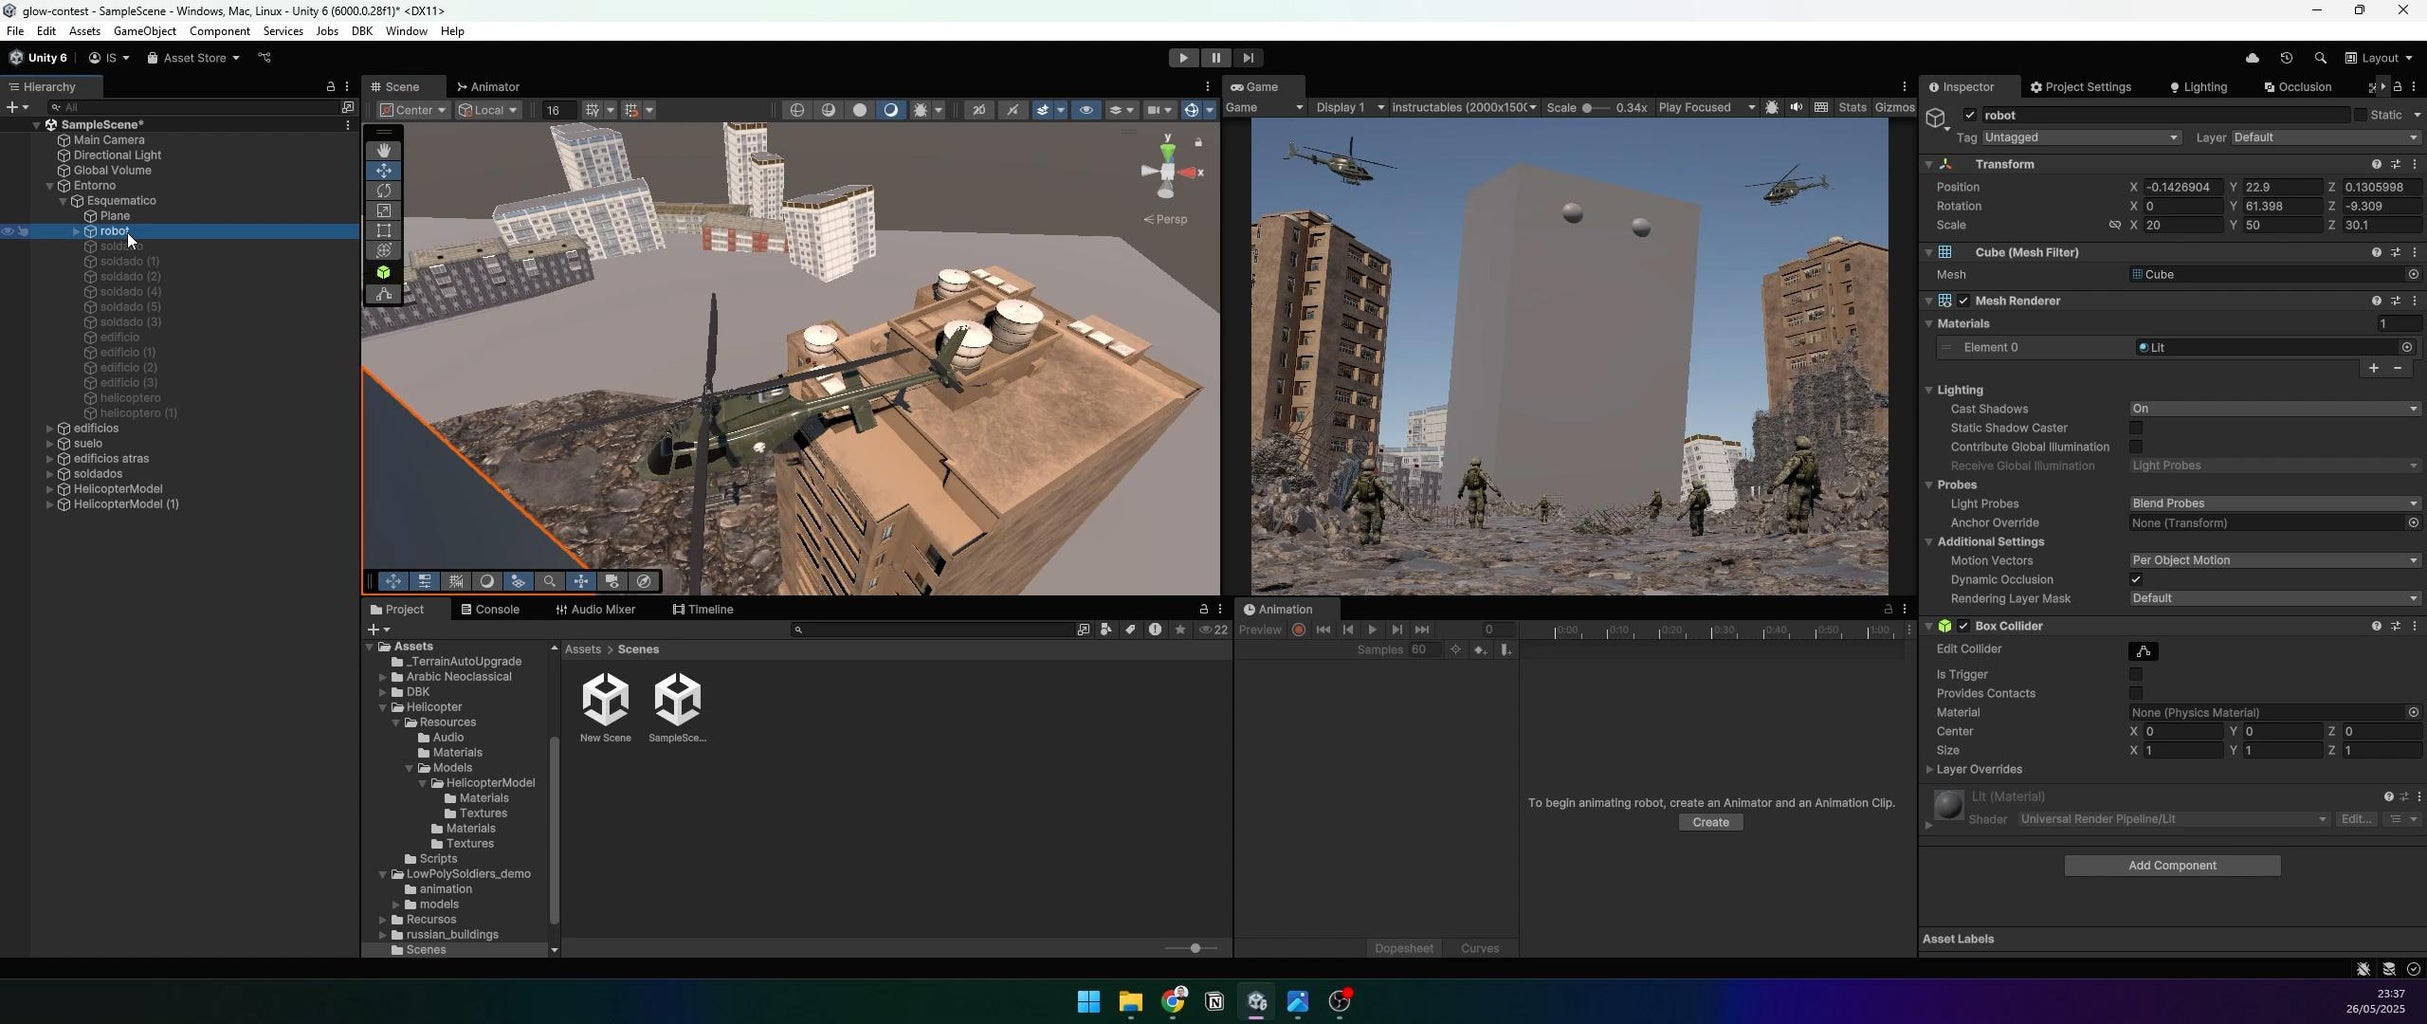
Step 3: Build the Scene Schematic
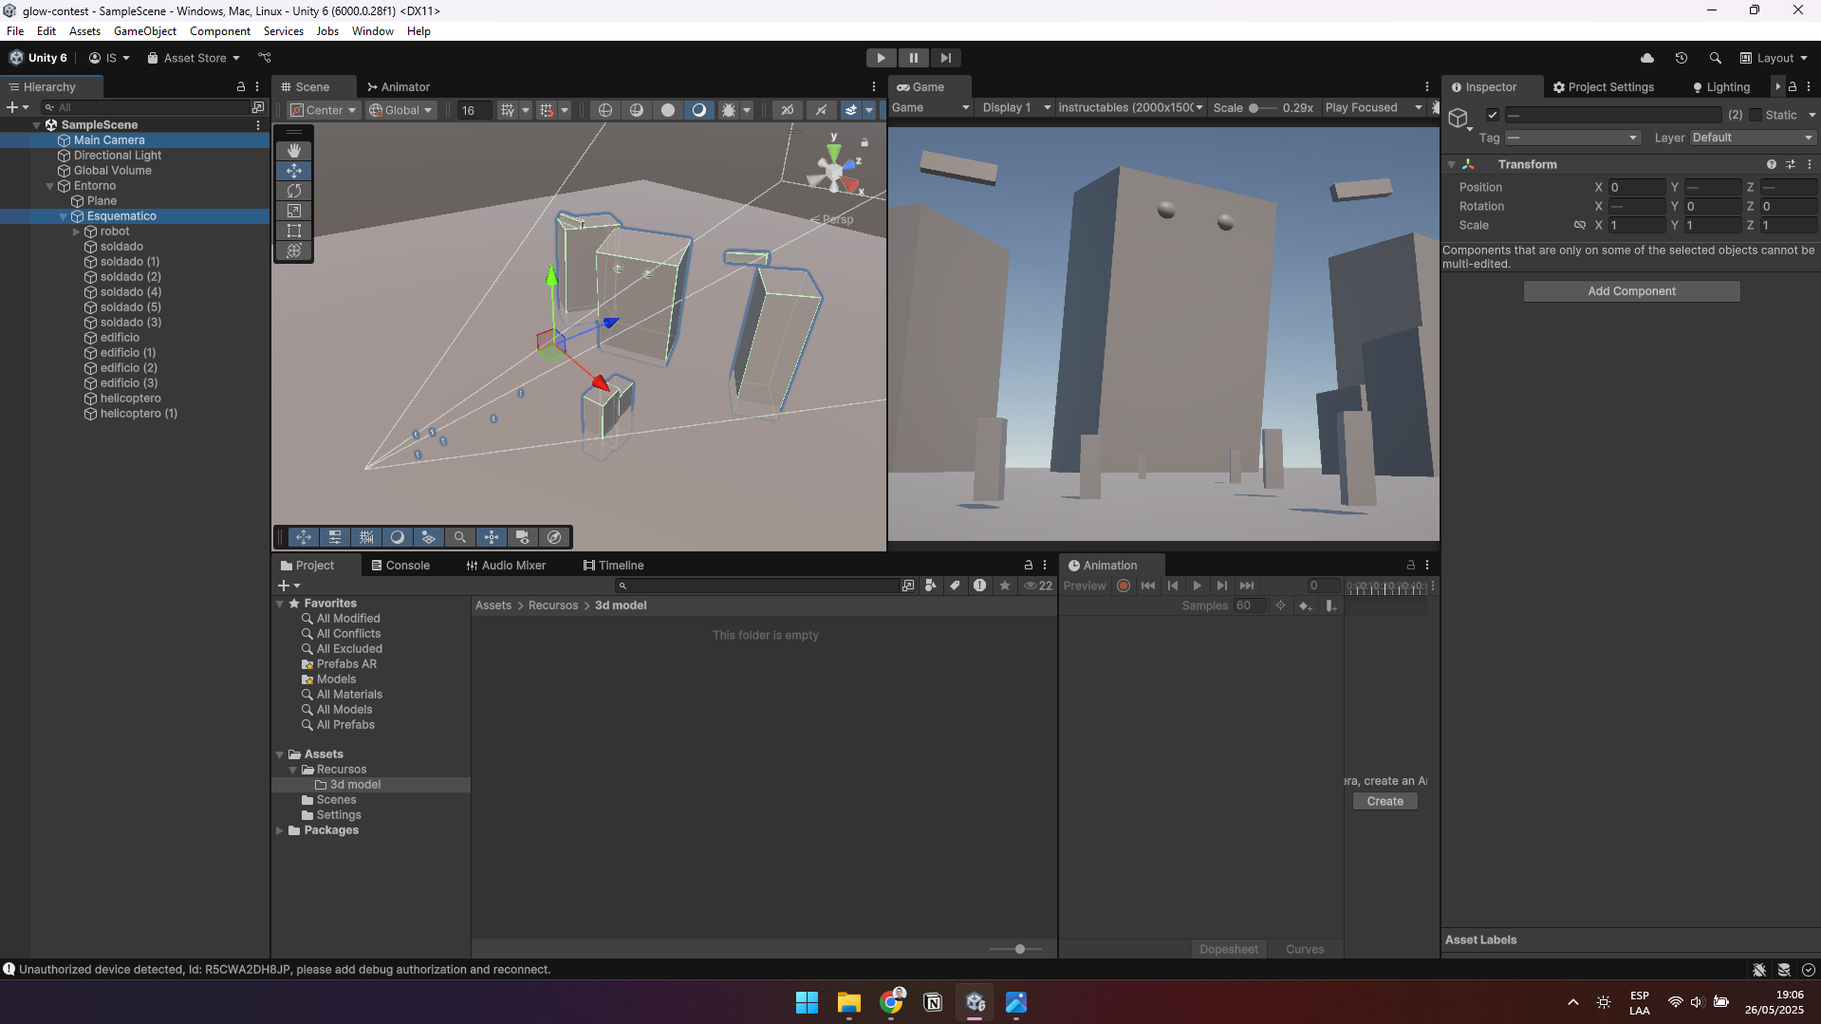
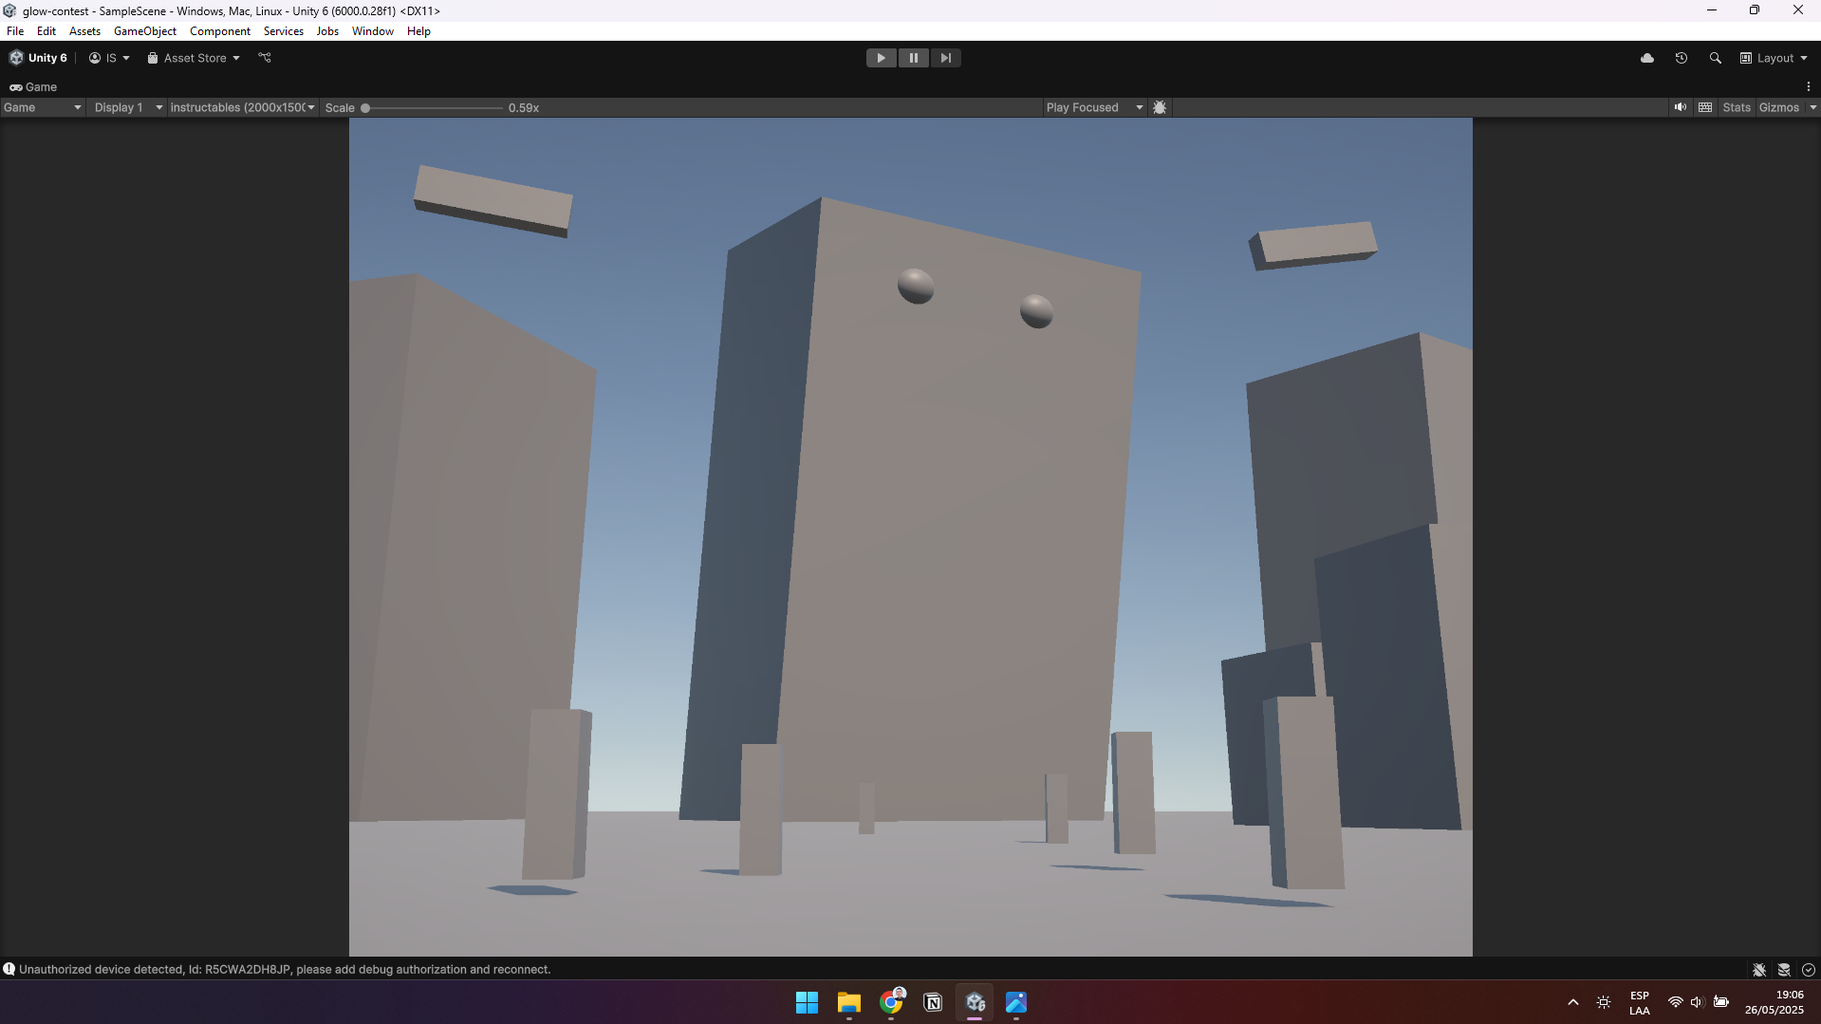
In Unity, create an empty GameObject in the Hierarchy named “Schematic.” Use primitive shapes (cubes, planes) to block out the scene. I placed:
- A central cube (50m tall, 20m wide) for the robot.
- Smaller cubes for buildings (40m tall, 15m wide), slightly tilted to suggest collapse.
- Tiny cubes (2m tall) for soldiers on the ground.
- Two cubes (12m long) for helicopters in the sky.
- A large plane as the ground.
- Focus on positioning now; we’ll handle lighting later.
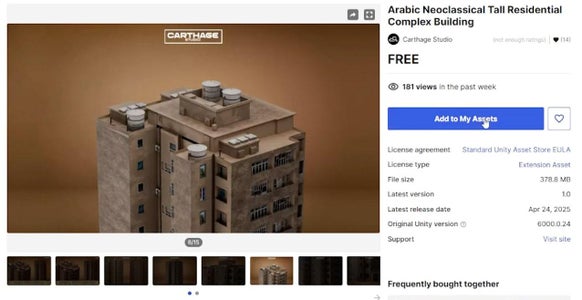
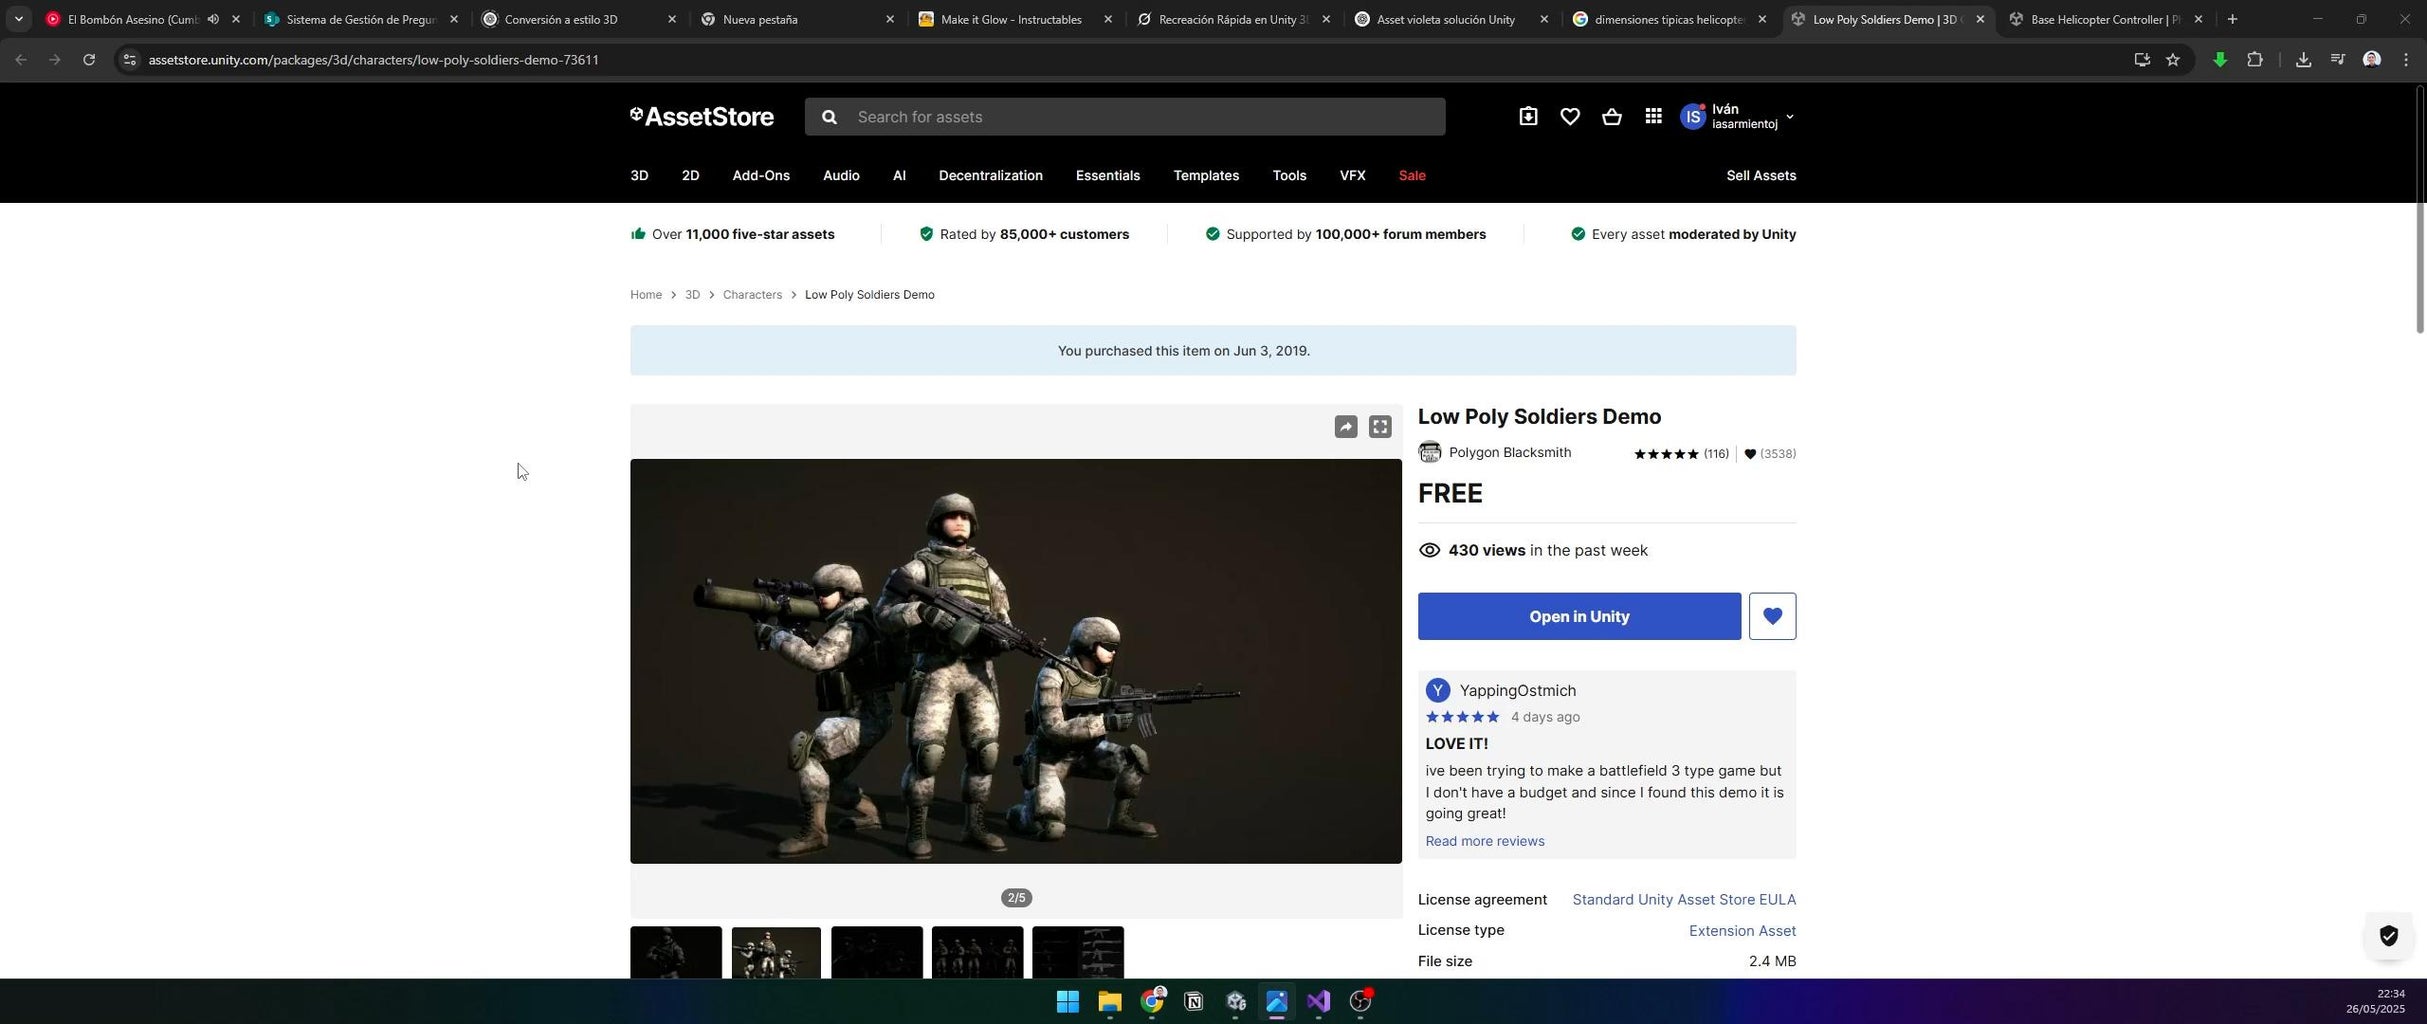
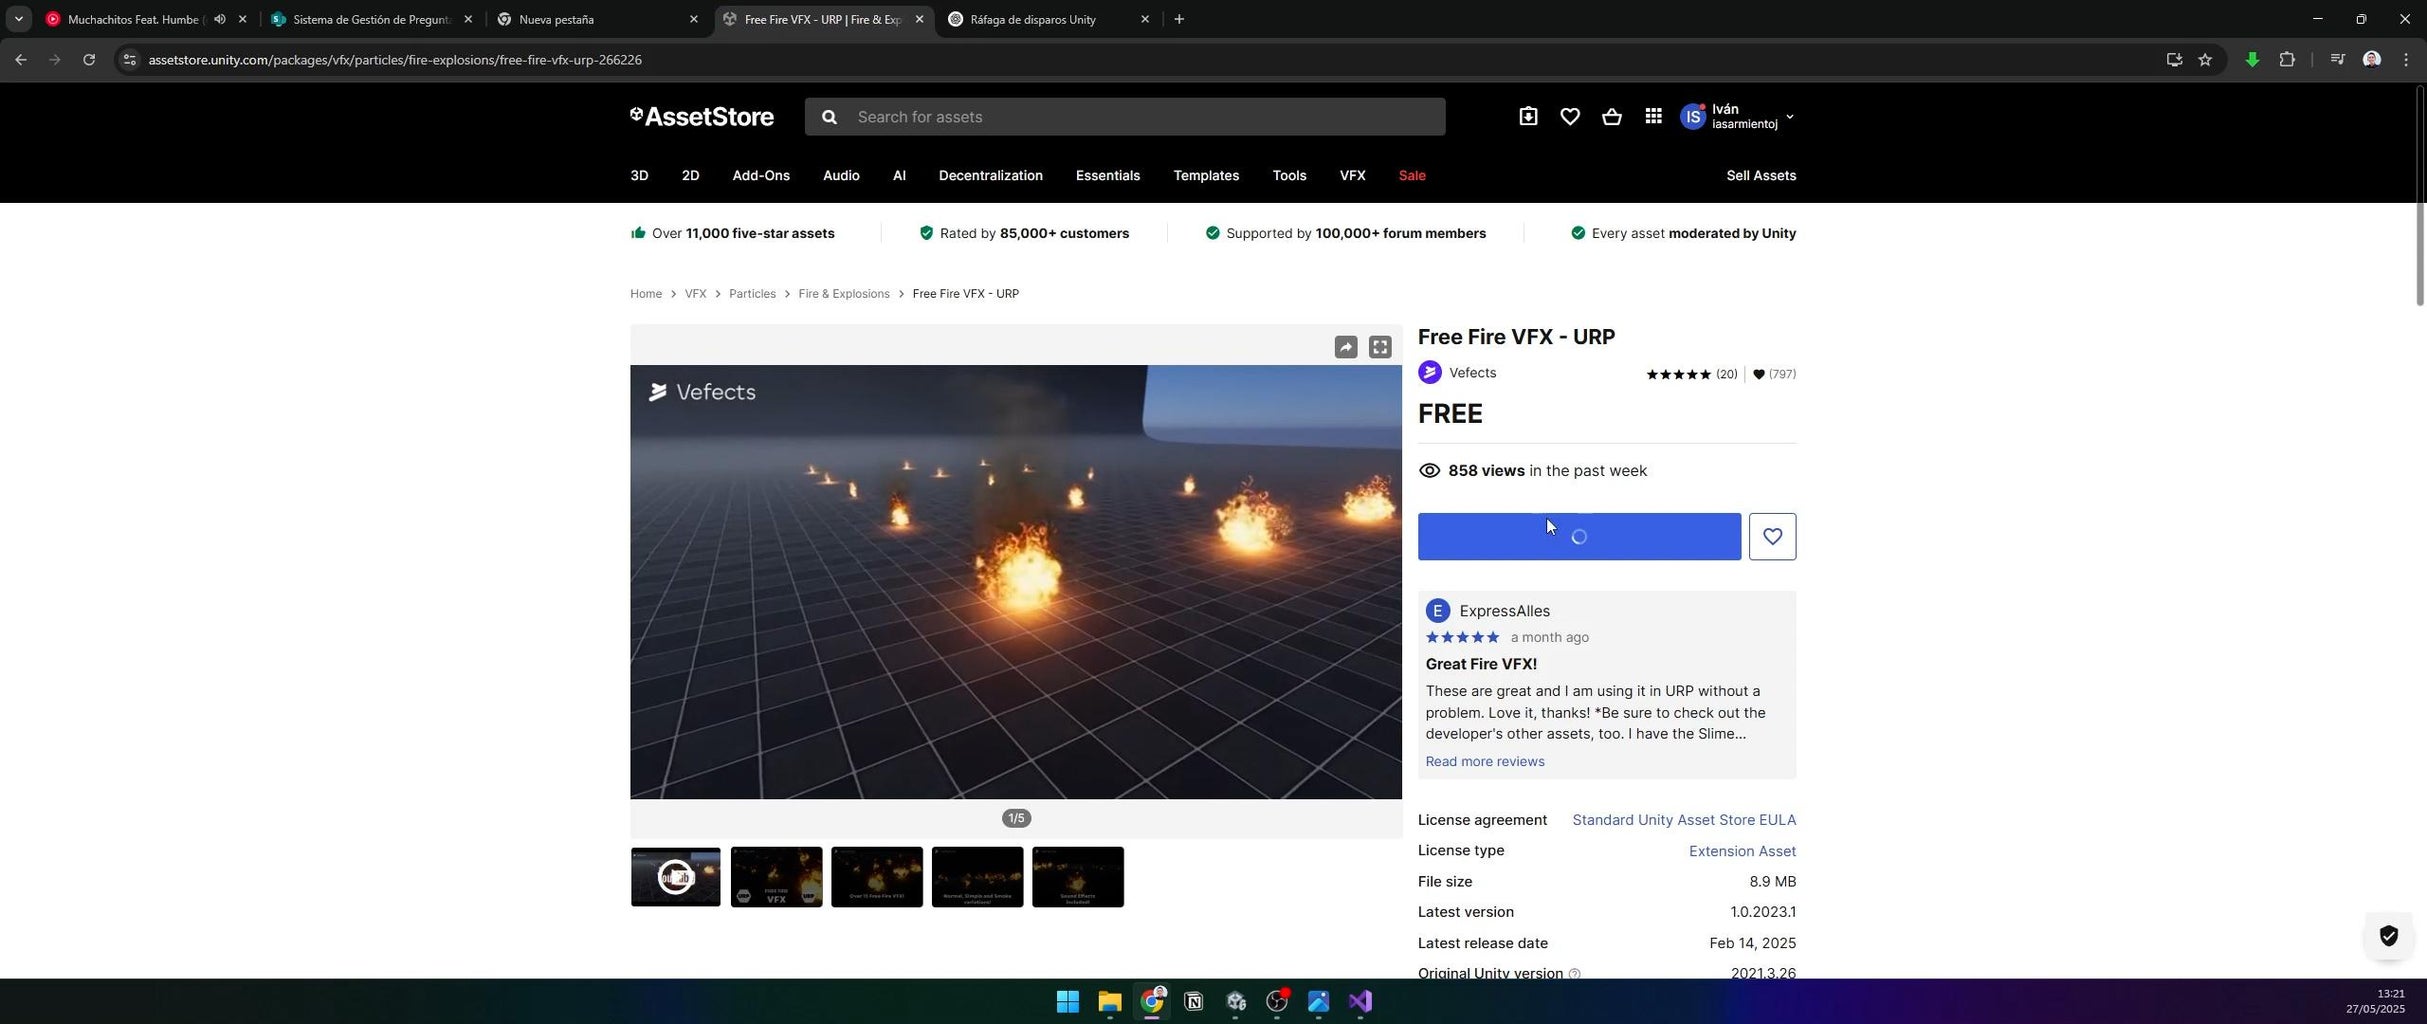
Step 4: Import Assets From Unity Asset Store
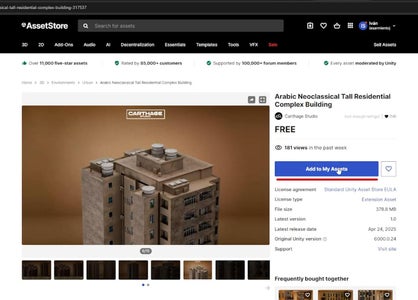
To build the environment, import assets from the Unity Asset Store. I used nine assets (links to be added). To import:
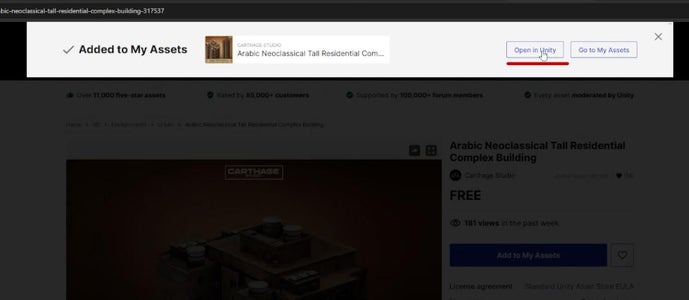
- Go to the Asset Store in Unity.
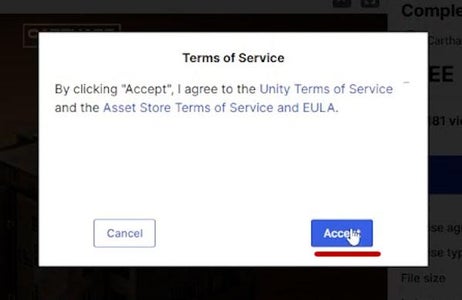
- Click Open in Unity for each asset.
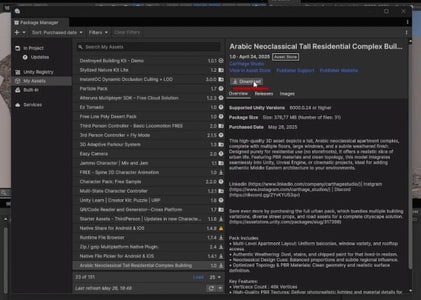
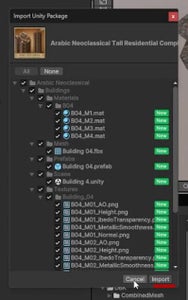
- Accept terms, download, and import via the Package Manager.
- Find assets in the project’s Prefabs or Scenes folders.
- (Placeholder for asset links; replace with actual links from the Unity Asset Store):
- Asset 1: [https://assetstore.unity.com/packages/3d/environments/urban/arabic-neoclassical-tall-residential-complex-building-317537]
- Asset 2: [https://assetstore.unity.com/packages/tools/physics/base-helicopter-controller-40107]
- Asset 3: [https://assetstore.unity.com/packages/vfx/particles/fire-explosions/cinematic-explosions-free-257086]
- Asset 4: [https://assetstore.unity.com/packages/3d/environments/destroyed-building-kit-demo-174899]
- Asset 5: [https://assetstore.unity.com/packages/vfx/particles/fire-explosions/free-fire-vfx-urp-266226]
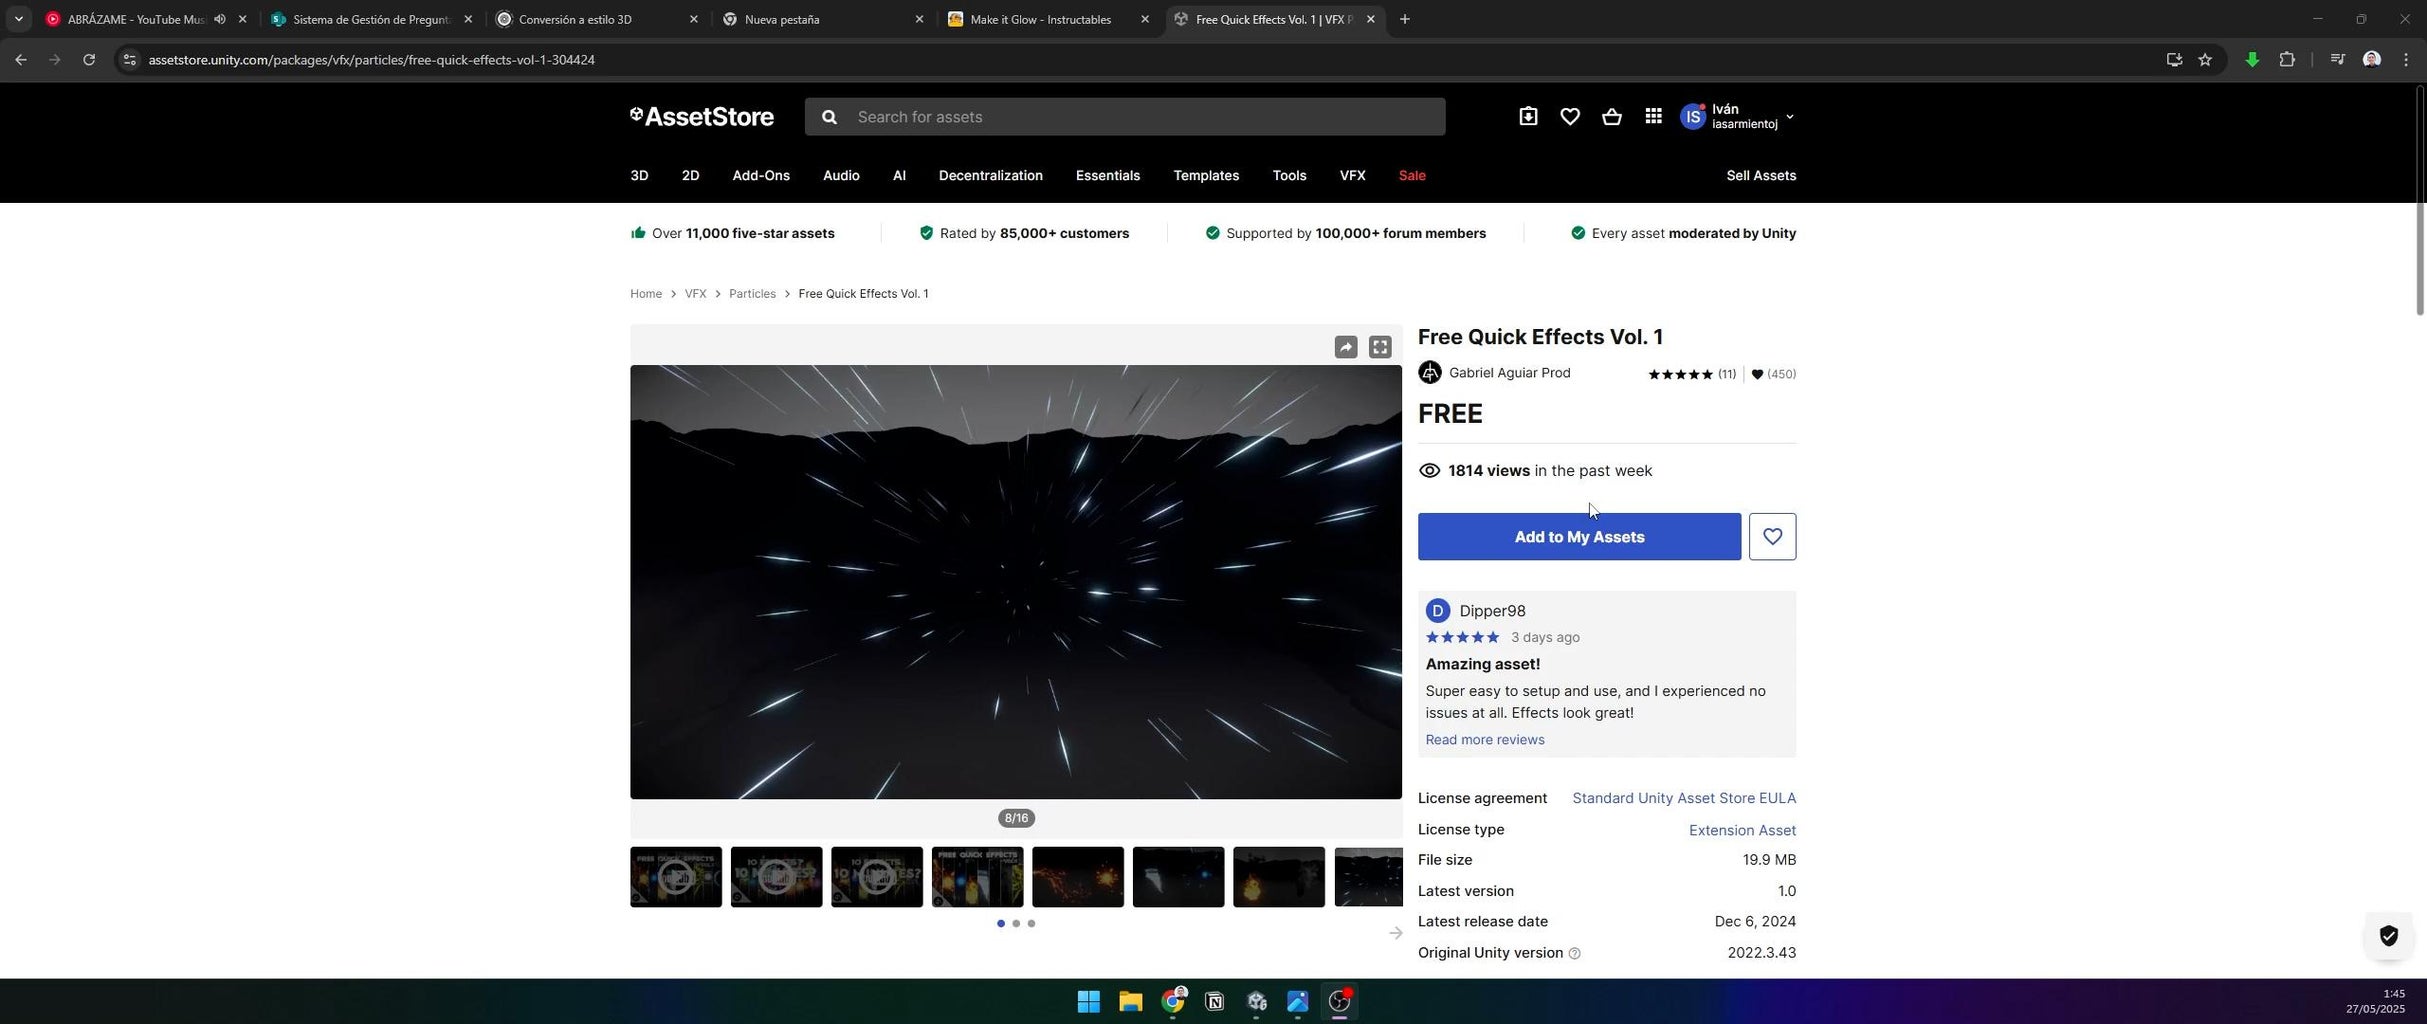
- Asset 6: [https://assetstore.unity.com/packages/vfx/particles/free-quick-effects-vol-1-304424]
- Asset 7: [https://assetstore.unity.com/packages/3d/characters/low-poly-soldiers-demo-73611]
Step 5: Construct the Ground and Ruins
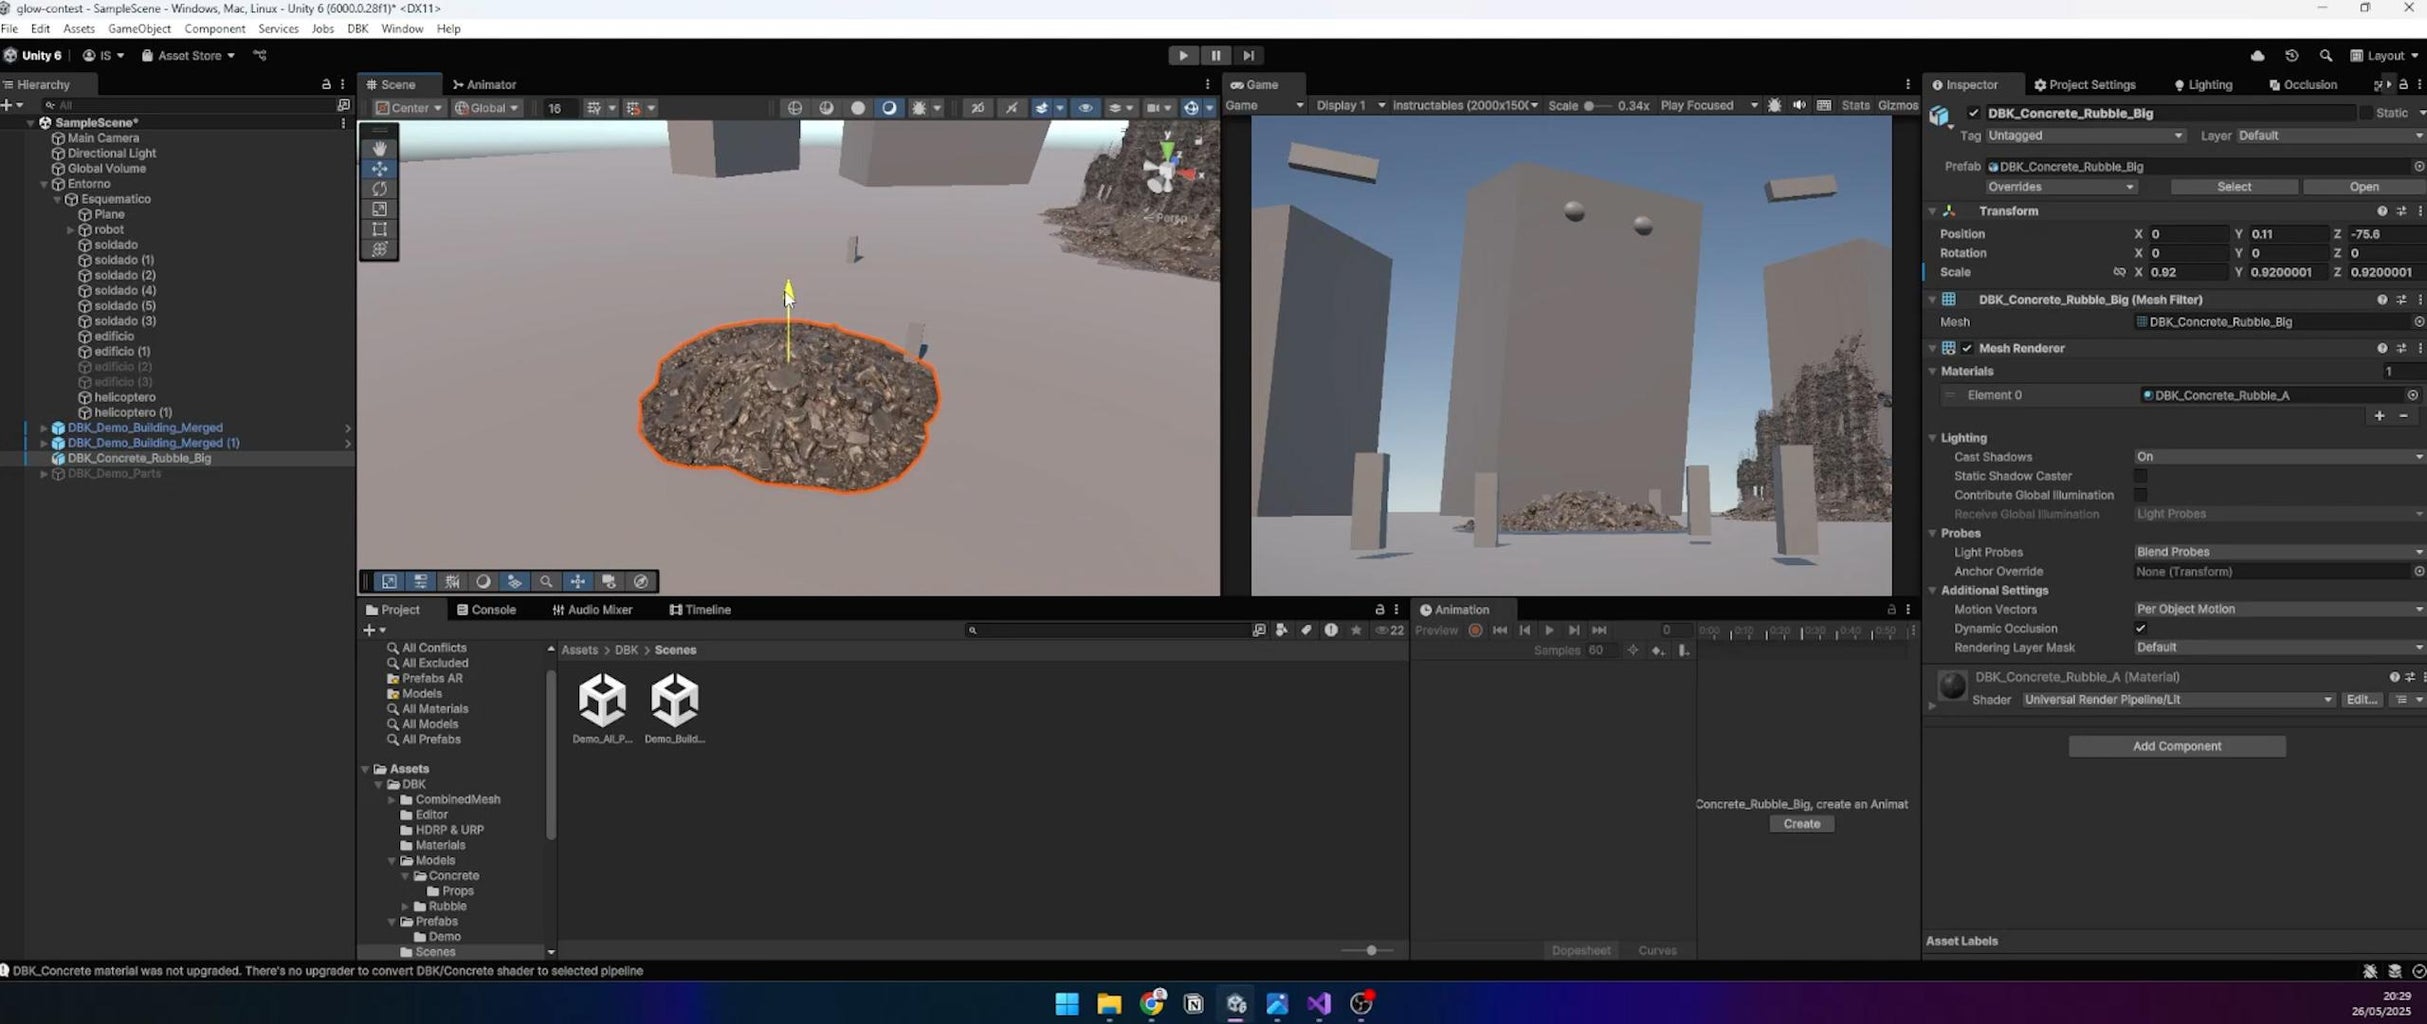
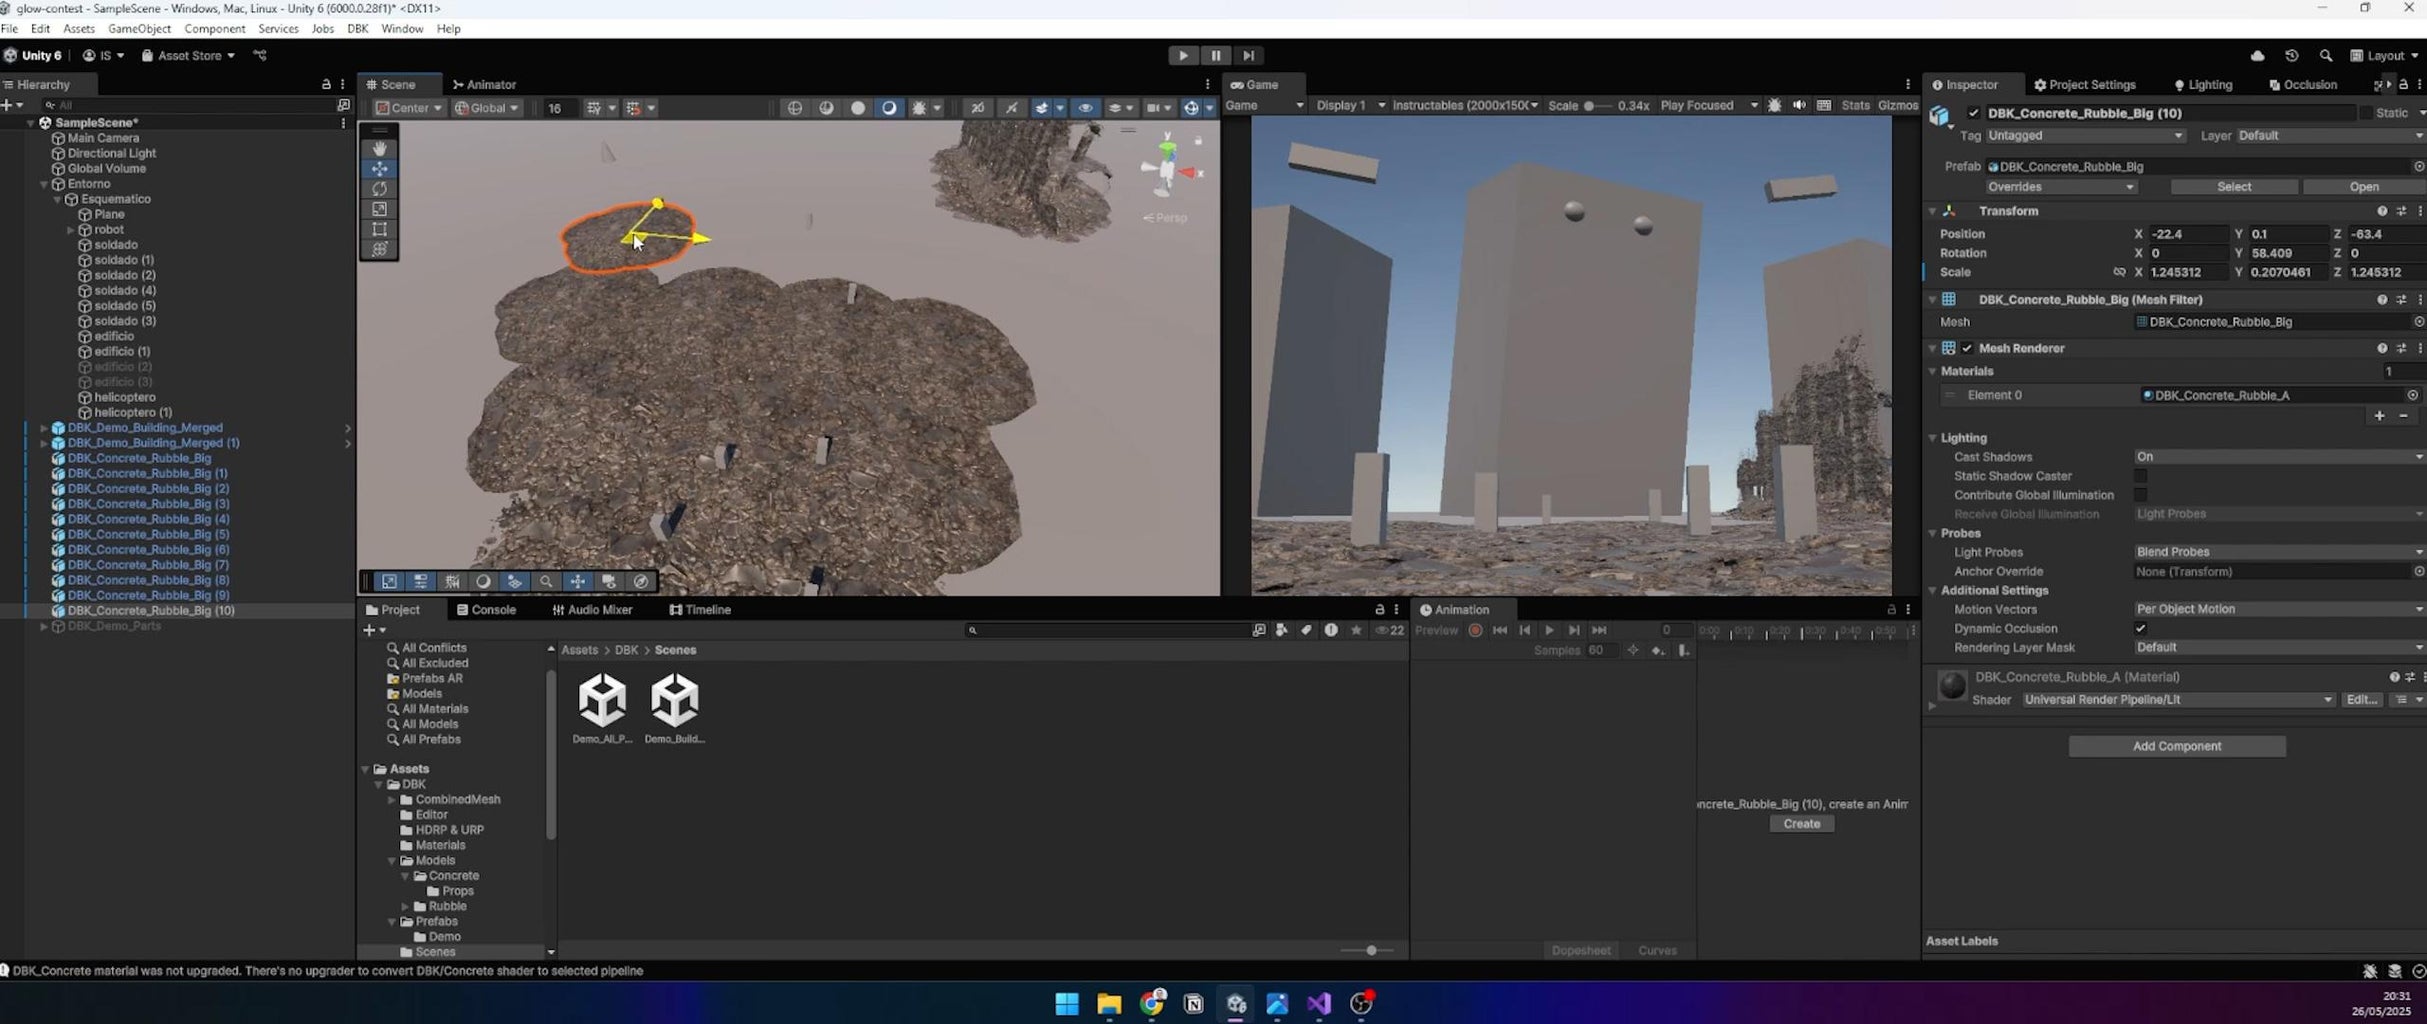
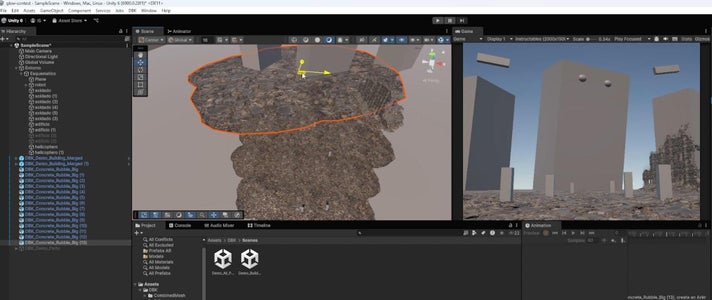
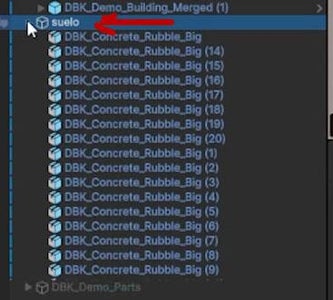
For the ground, I used an asset of a rubble pile, scaled and flattened to resemble a destroyed city street, with mountainous debris at the edges. This asset included a ruined building, which I swapped for one of the schematic building cubes. I also added destroyed wall pieces with exposed rebar to enhance the apocalyptic vibe. Drag these prefabs into the scene and position them around the ground plane.
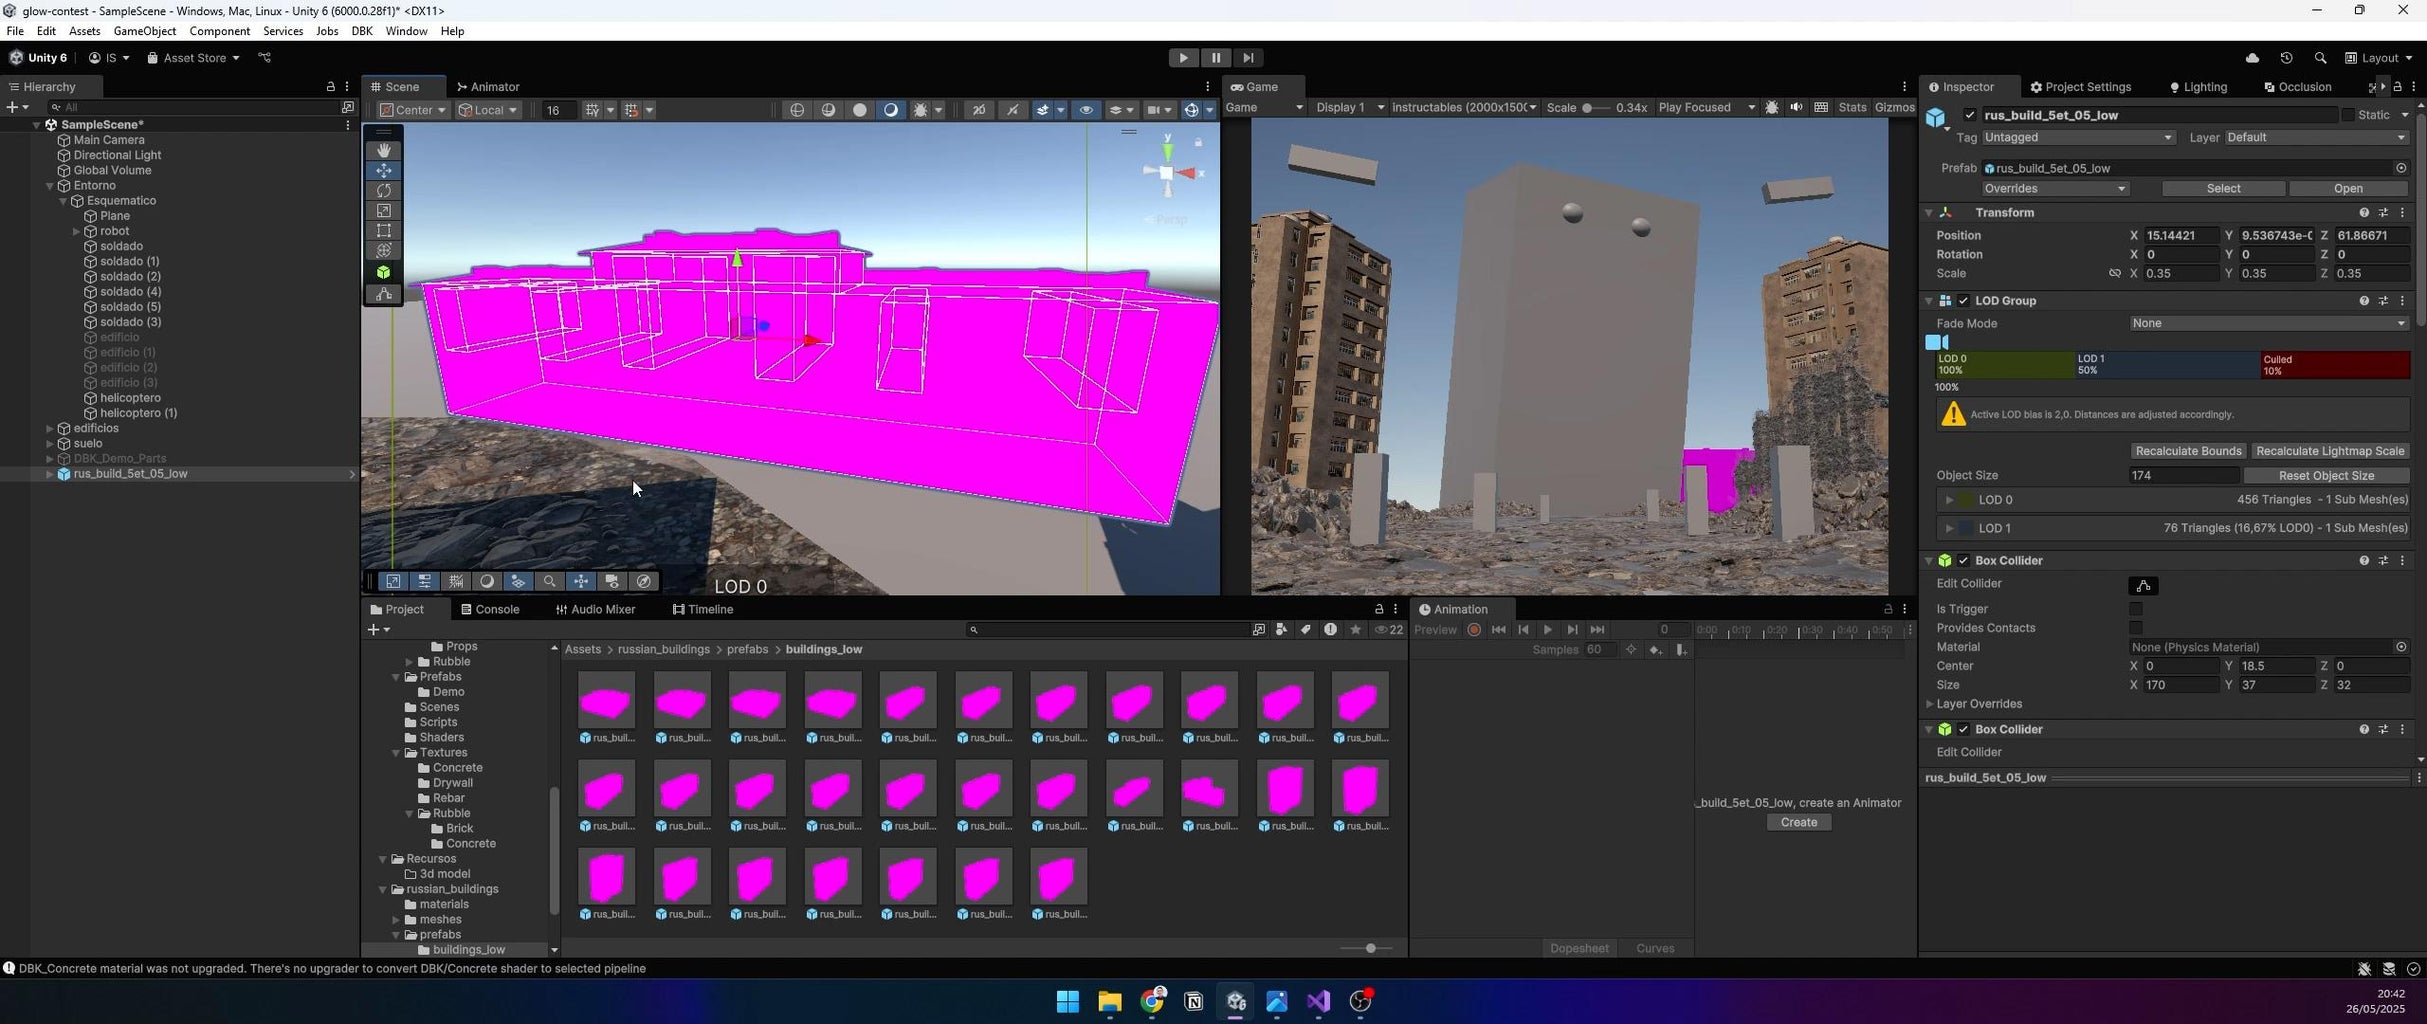
Step 6: Fix Pink Material Issues
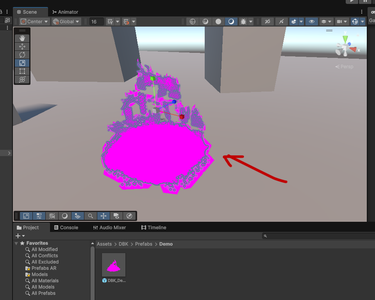
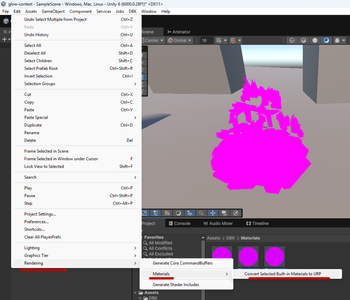
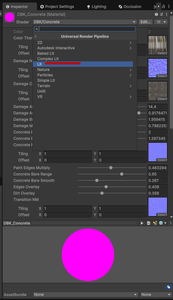

When using URP, imported assets may appear pink due to incompatible shaders. Fix this by:
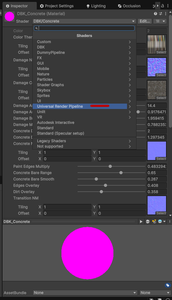
- Converting Materials: Go to Edit > Rendering > Materials > Convert Selected Built-in Materials to URP.
- Manual Fix: For unique shaders, select the material, change the shader to Universal Render Pipeline/Lit, and reassign textures in the Base Map and Normal Map slots.
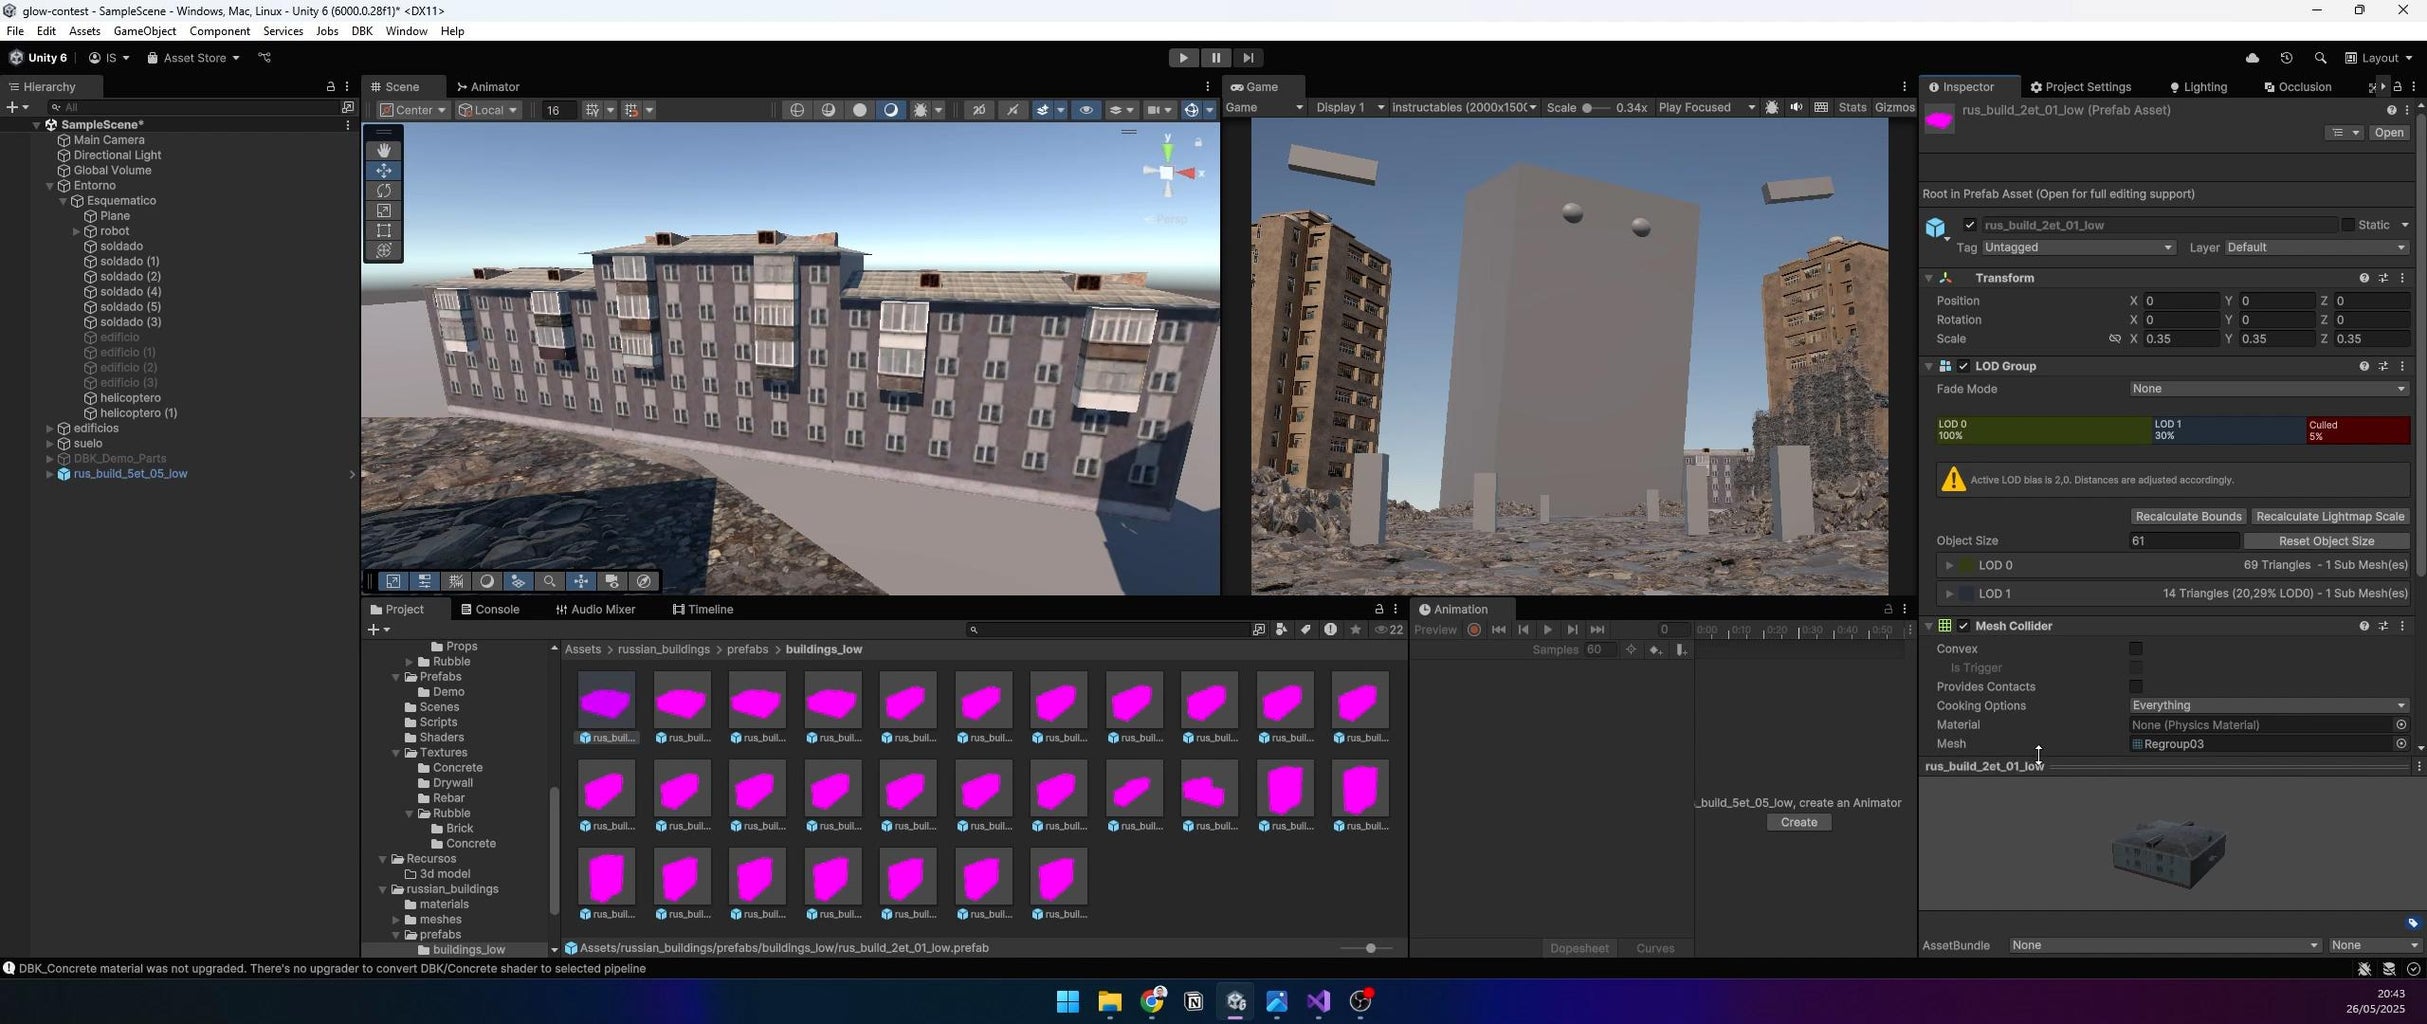
Step 7: Place Simple Buildings
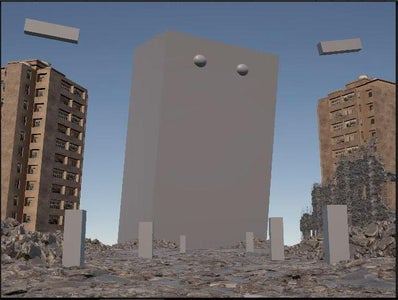

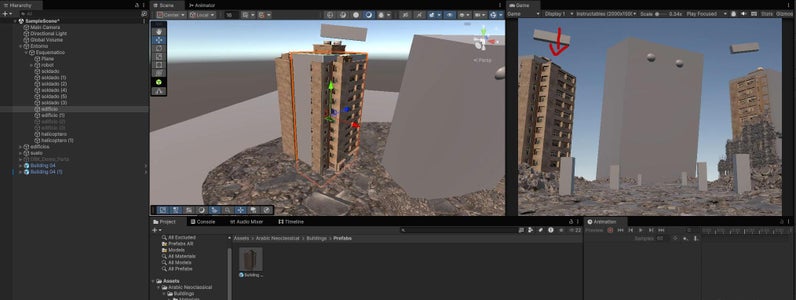

Since lighting will dominate the scene, use low-detail building assets for efficiency. Replace the schematic building cubes with simple city buildings, slightly tilted for a collapsing effect. Scale them to match the 40m height and 15m width of the schematic cubes.
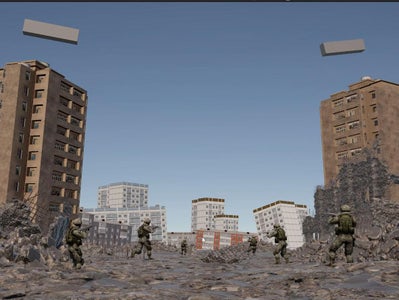
Step 8: Add Distant Cityscape


For the horizon, place simpler building assets in irregular patterns far from the camera to suggest a chaotic, distant city. These don’t need high detail since they’ll appear as silhouettes against the stormy sky.
Step 9: Add Soldiers
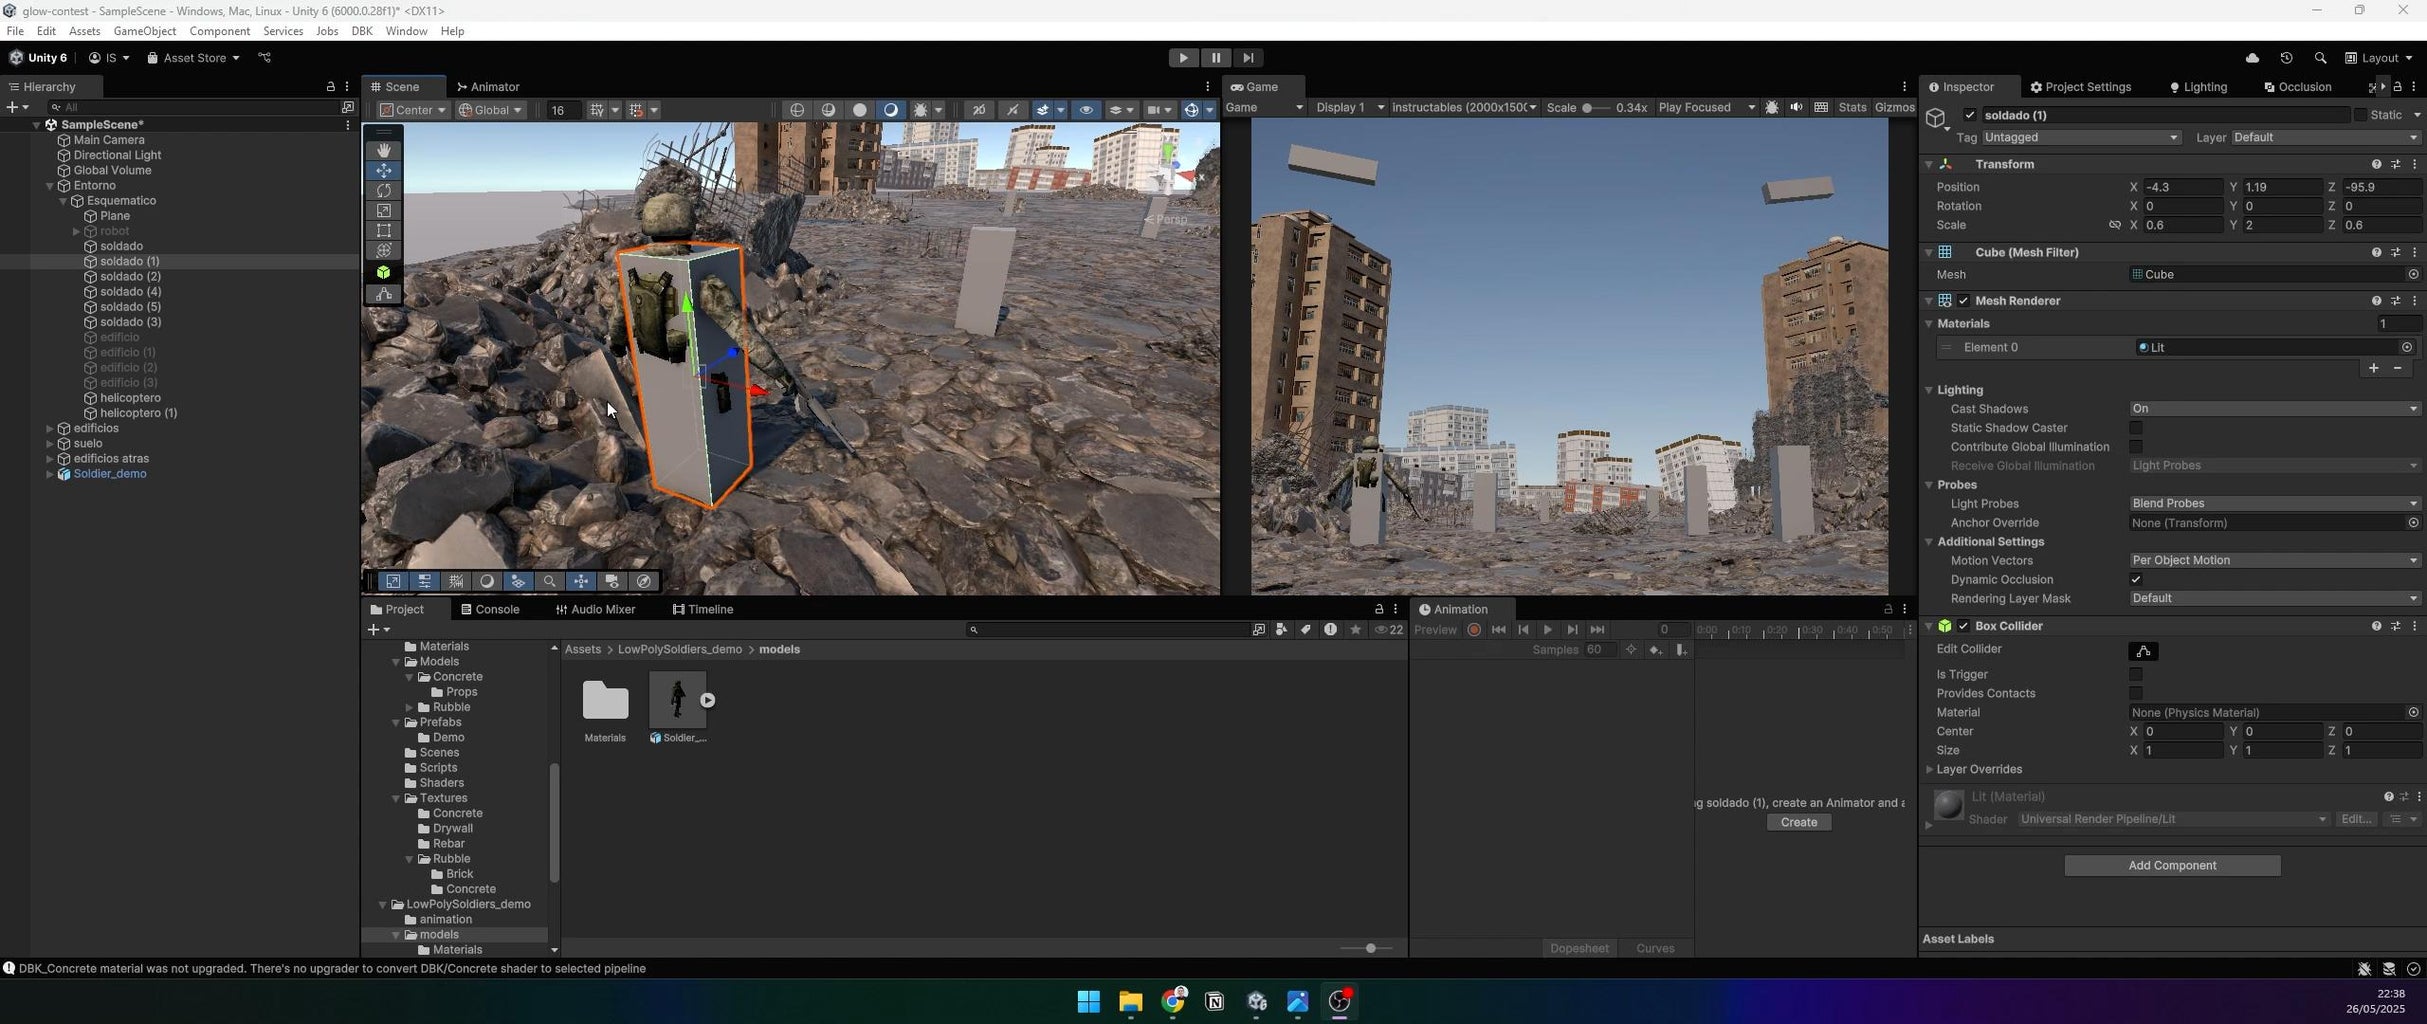
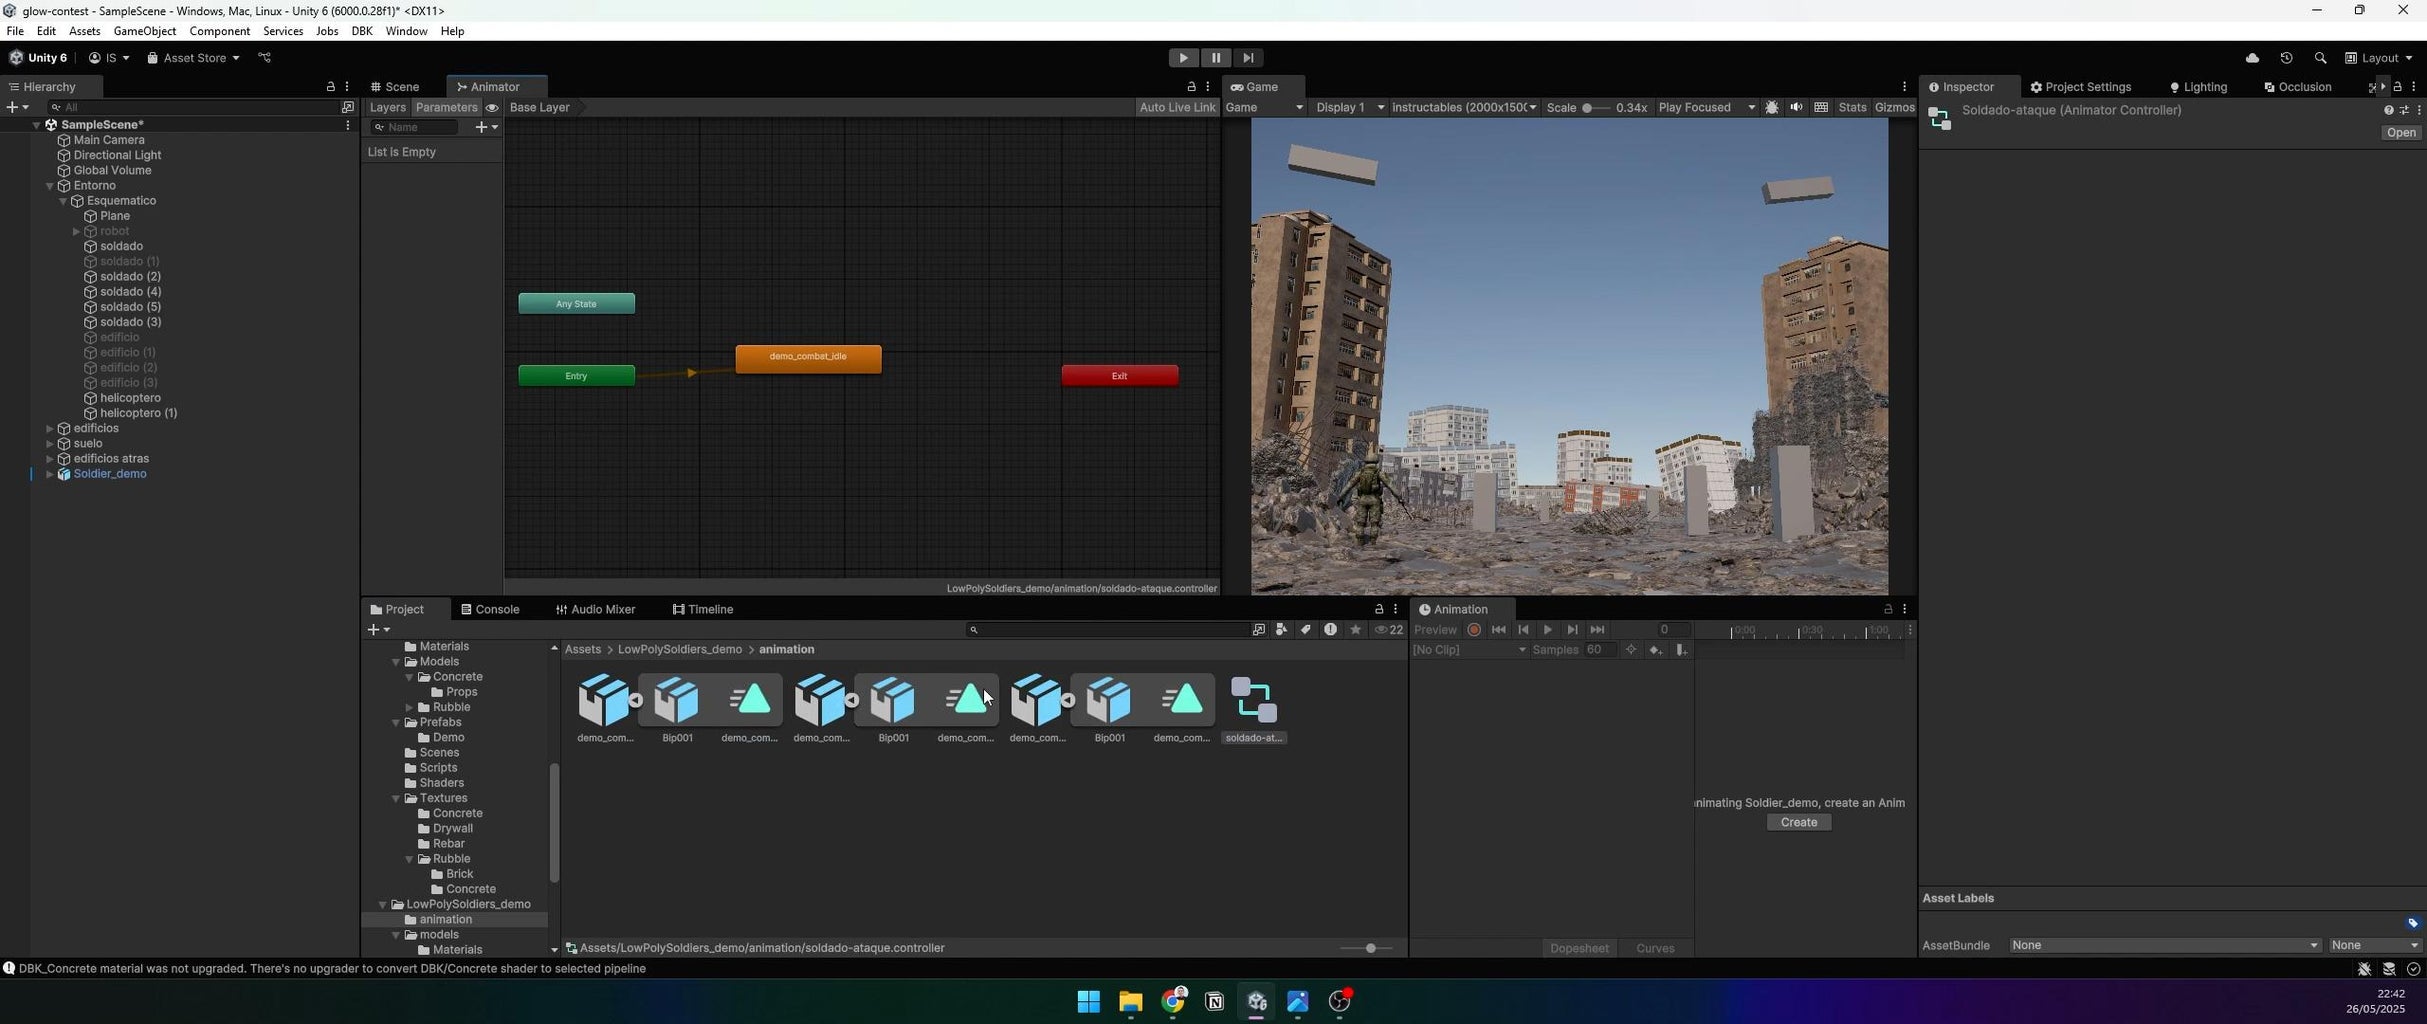

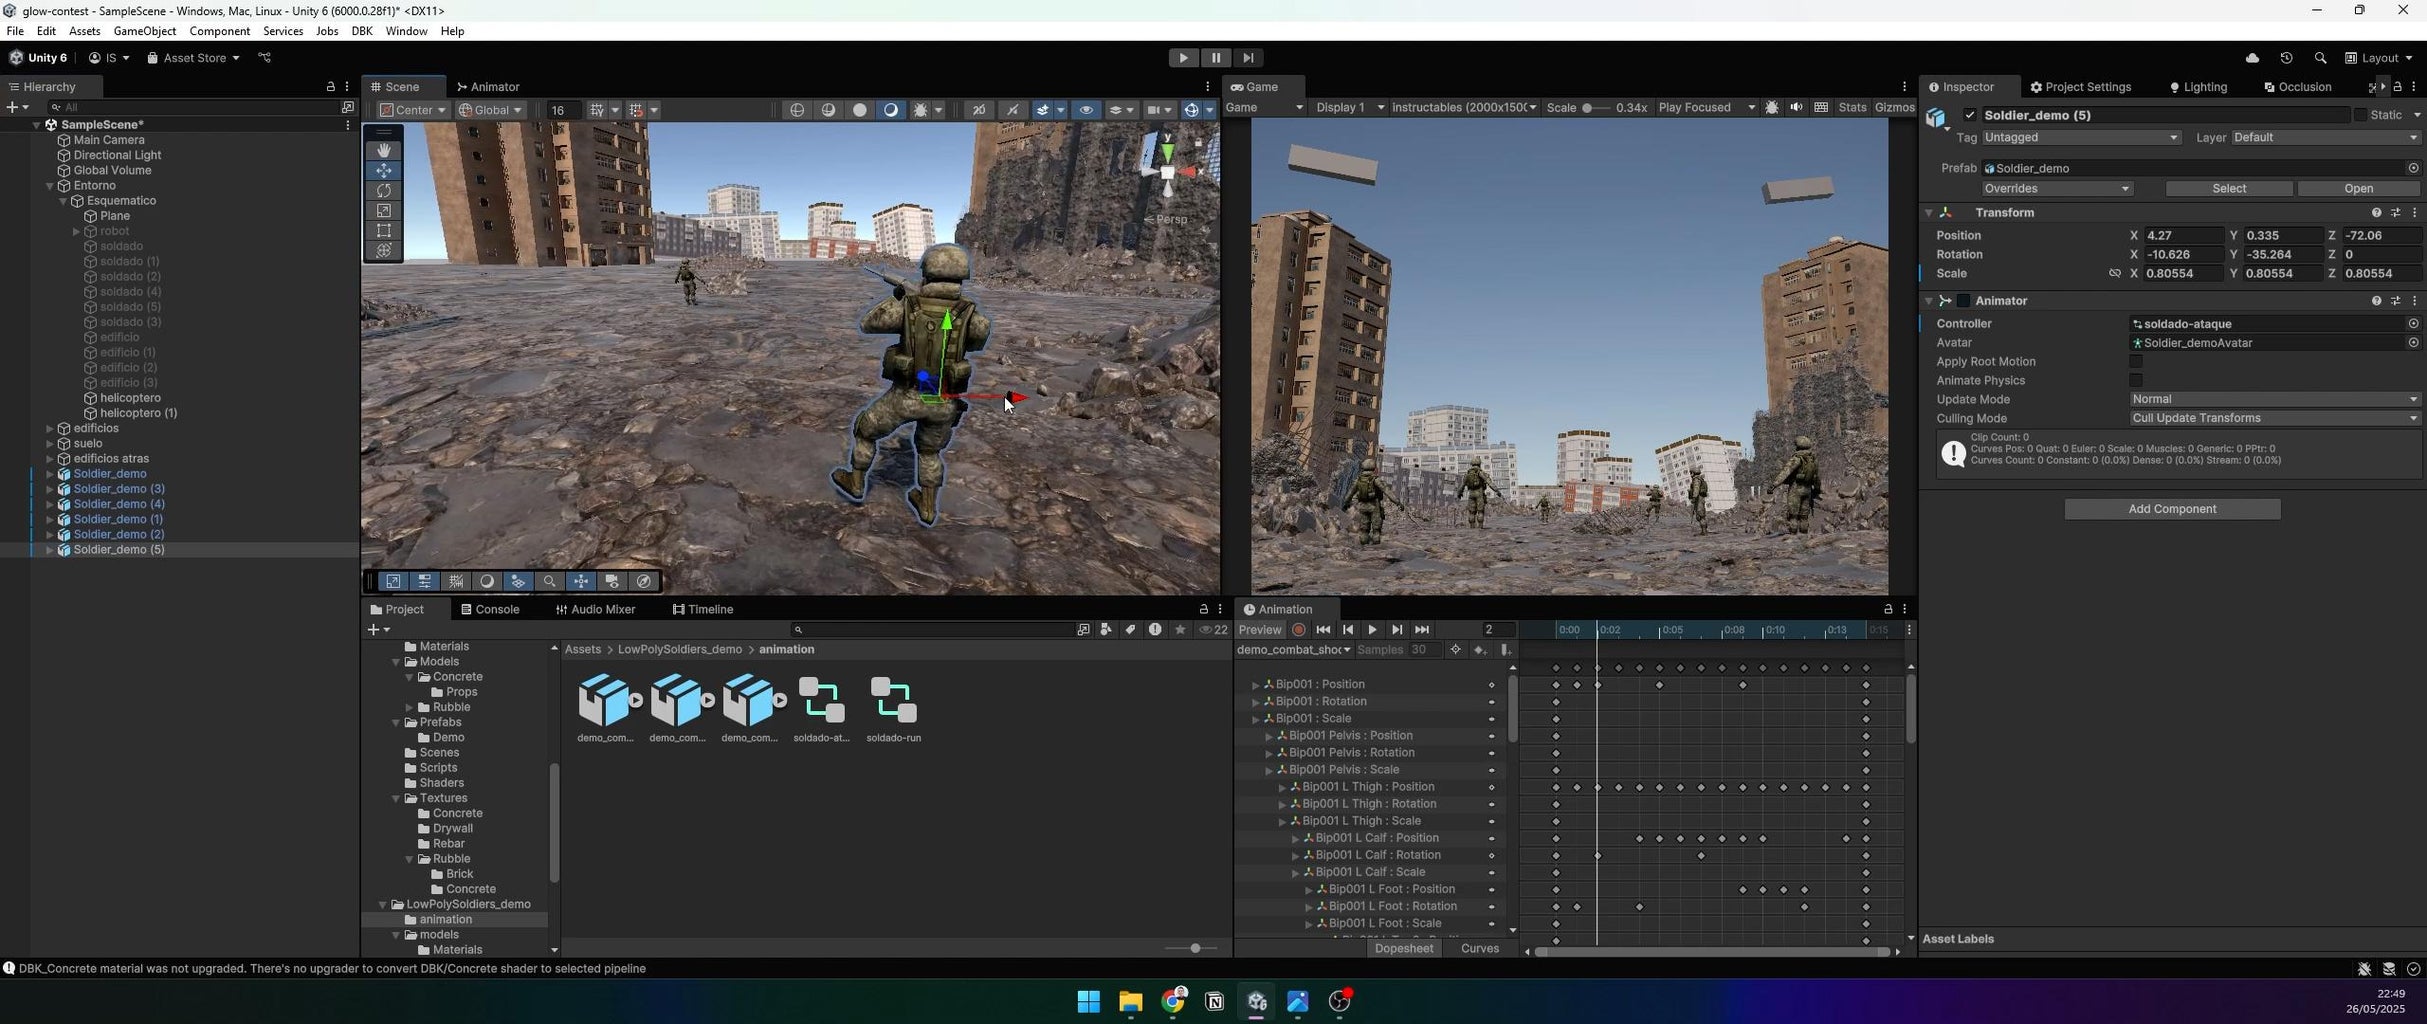
Use a soldier asset with pre-built shooting and running animations. Place them where the 2m schematic cubes were. For organization, create an empty GameObject called “Soldiers” as a parent. To animate:
- Drag soldier prefabs from the Prefabs folder to the Hierarchy.
- Add an Animator component to each soldier.
- Drag the running or shooting animation into the Animator Controller.
- The animations will play automatically when you hit Play.
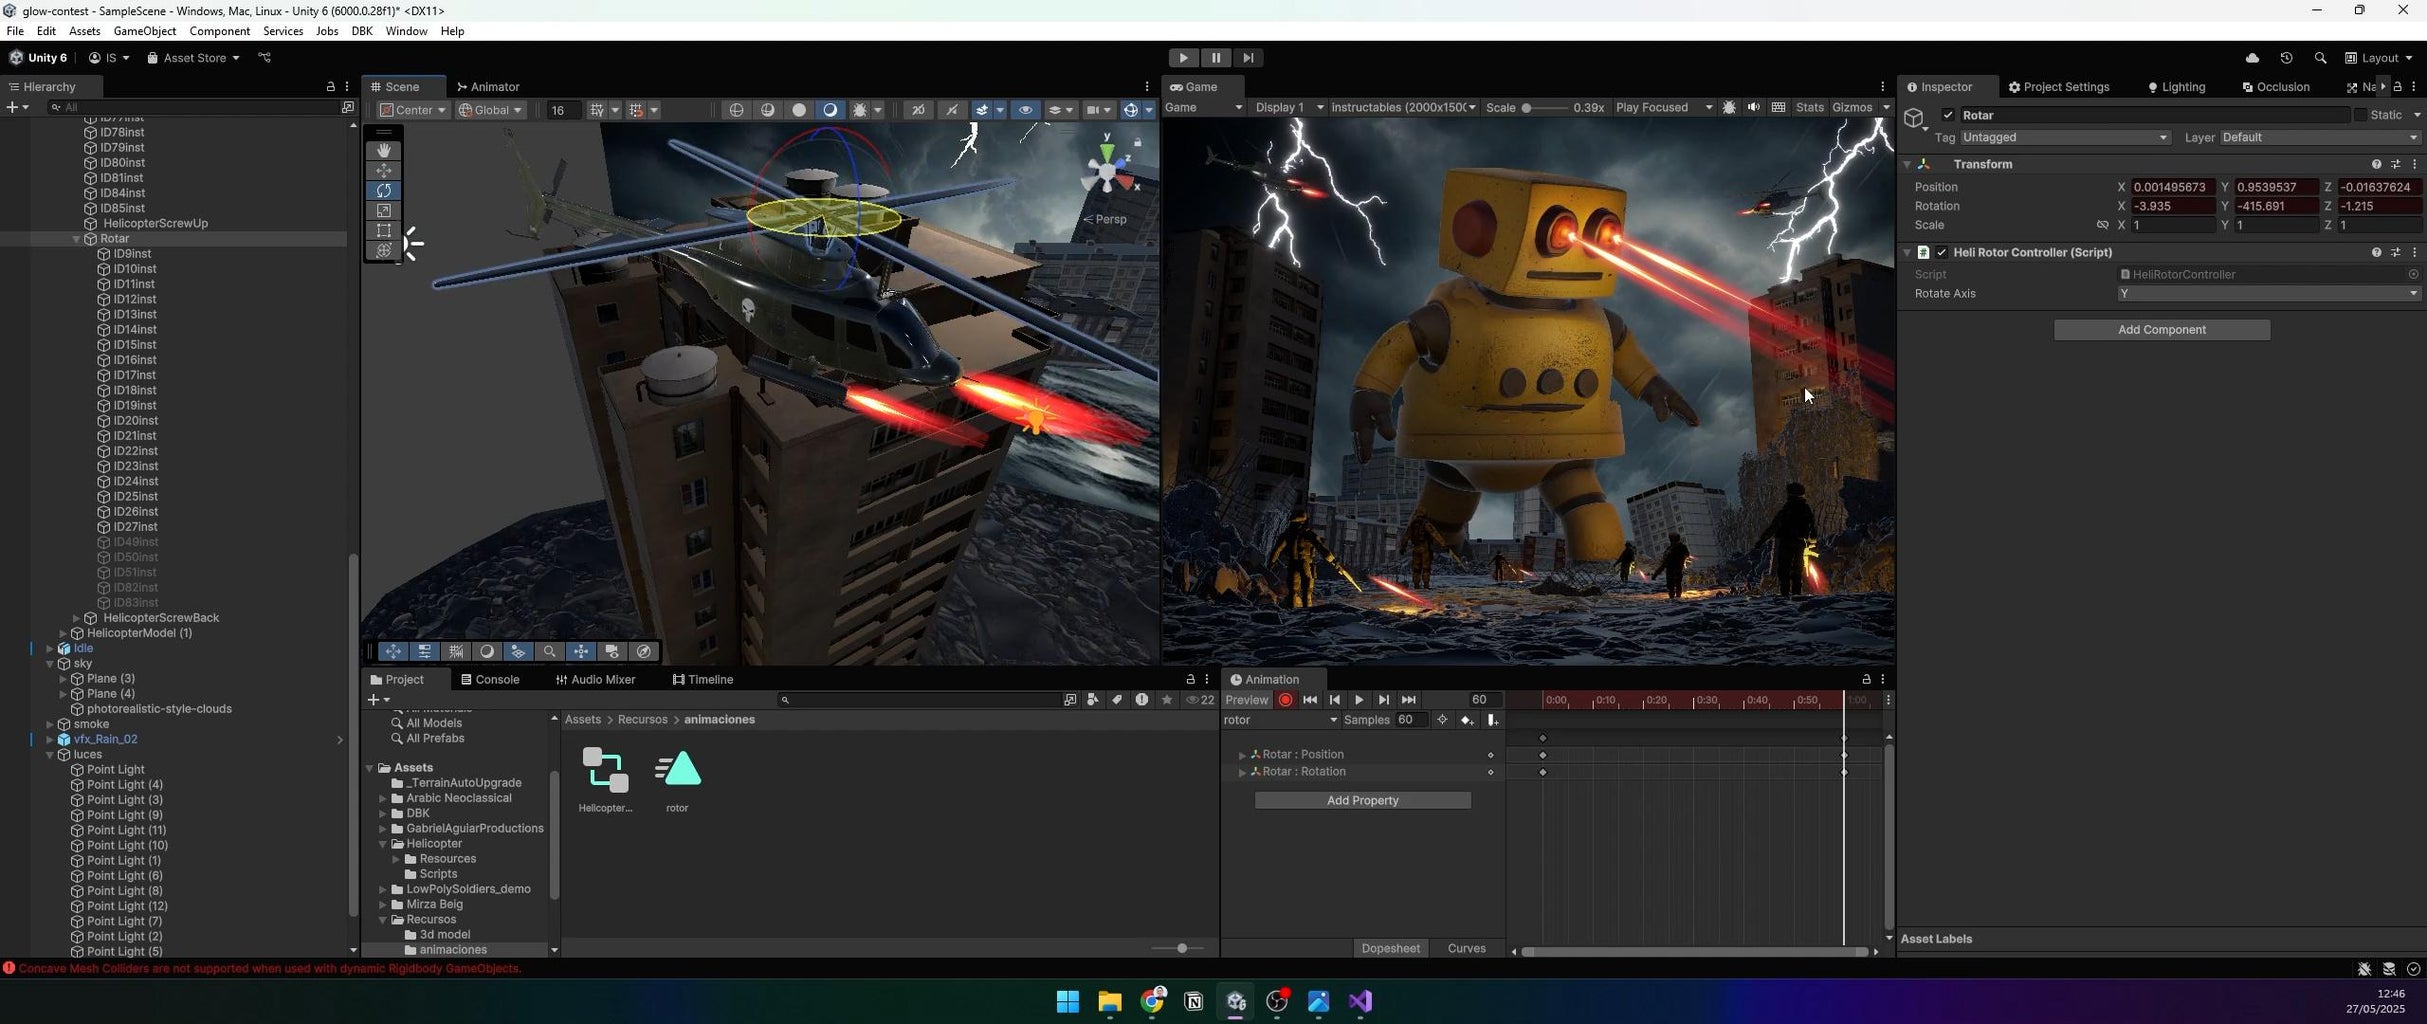
Step 10: Add Helicopters
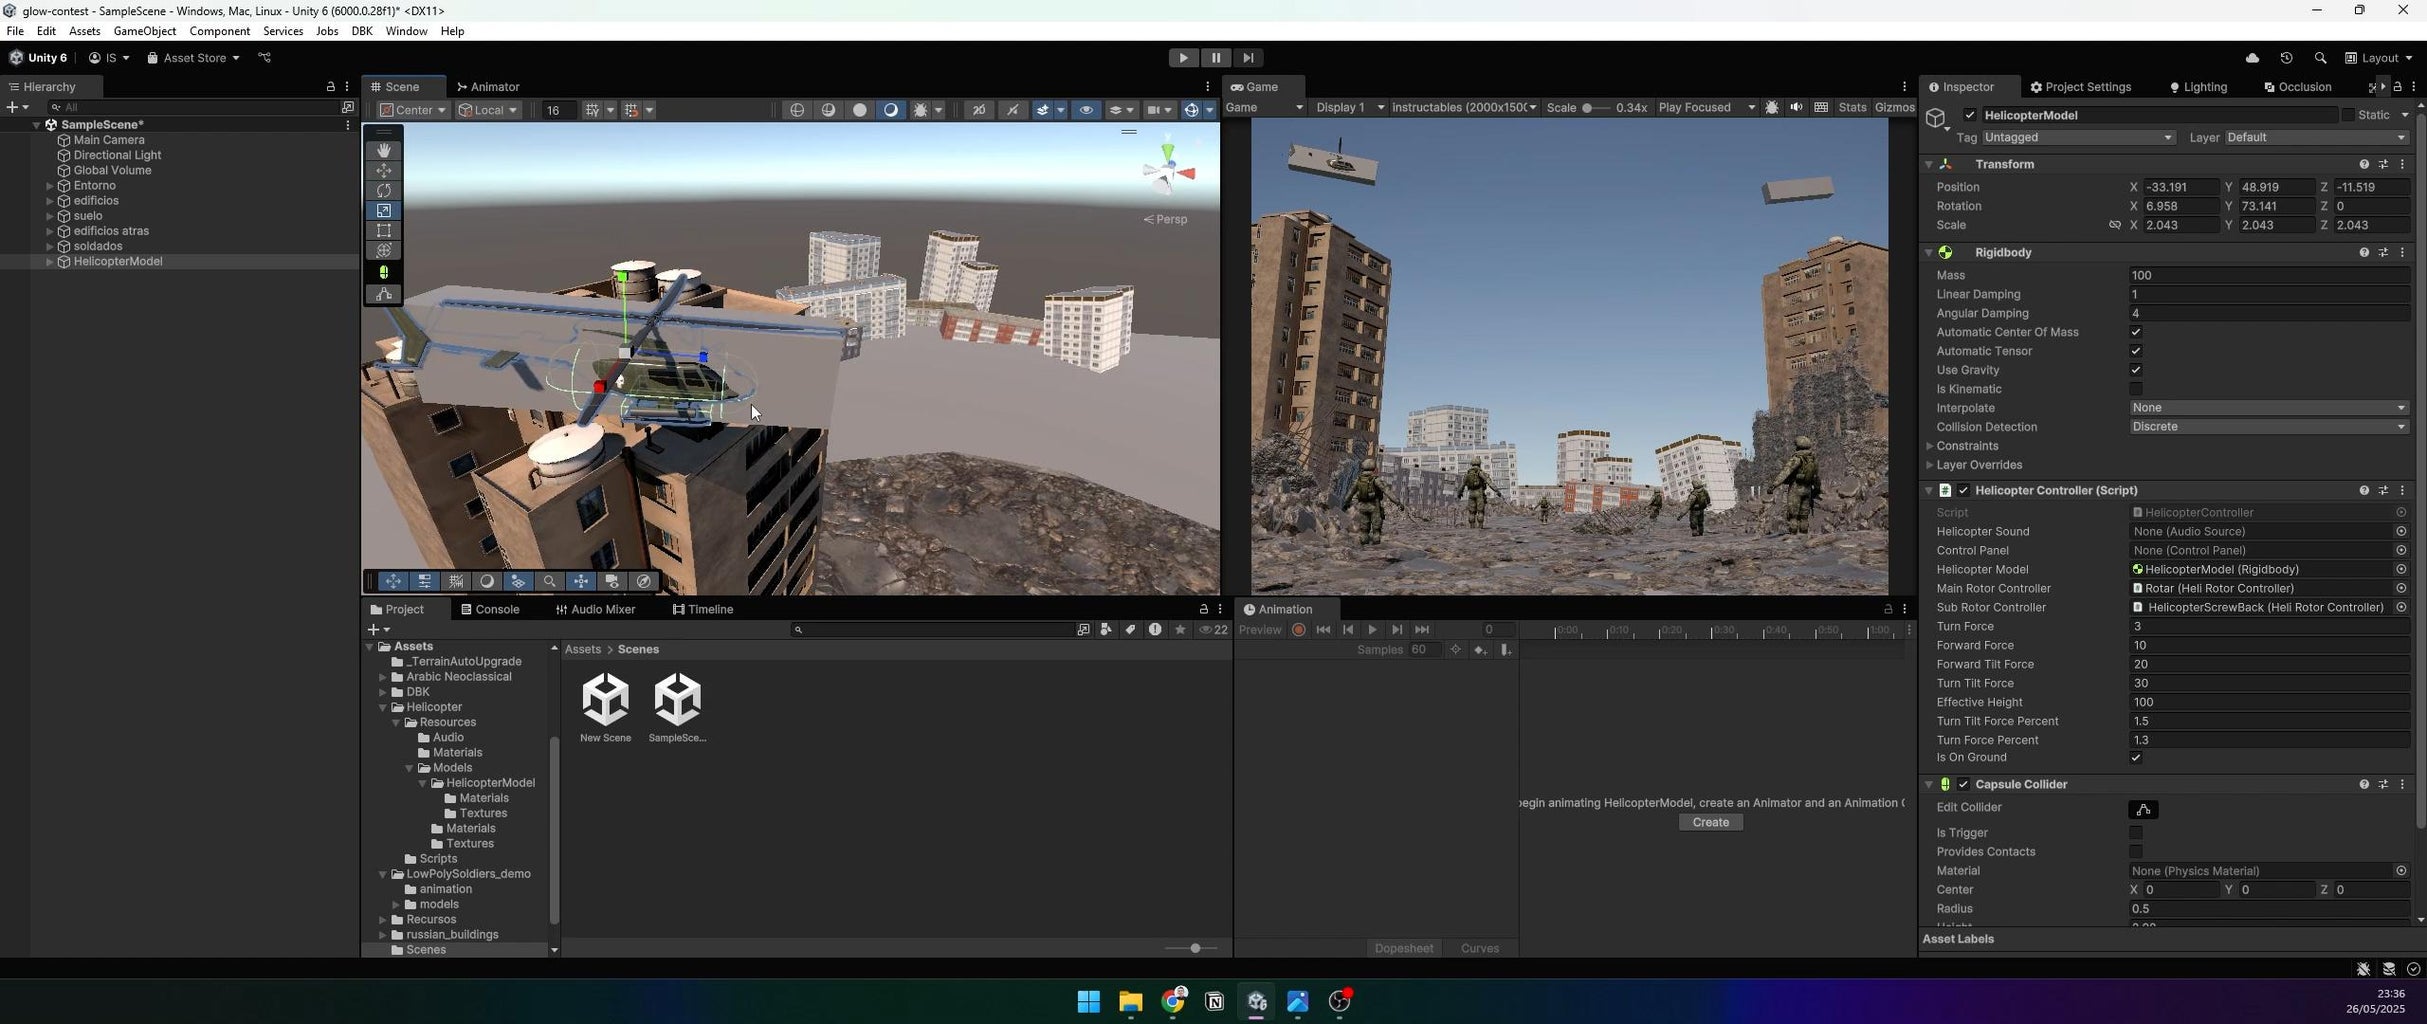
Import a military helicopter asset with an animatable rotor. Fix any pink materials as in Step 6. Place helicopters where the 12m schematic cubes were. Animate the rotor using the Animator component (see Step 9).
Step 11: Focus on the Robot

Now, let’s create the star of the show—the Instructables robot. We’ll generate a 3D model based on the Instructables logo.
Step 12: Generate Robot Image
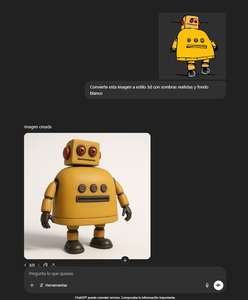
Use ChatGPT to create a 3D-style image of the Instructables robot. Use this prompt:
“Convert the Instructables robot logo to a 3D style with realistic shadows on a white background, posed in a T-pose for animation.”
If satisfied, refine with:
“Provide a frontal view of the Instructables robot in T-pose on a white background for 3D model generation.”
Save the resulting image.
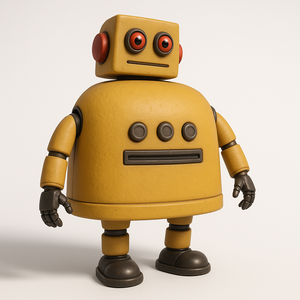
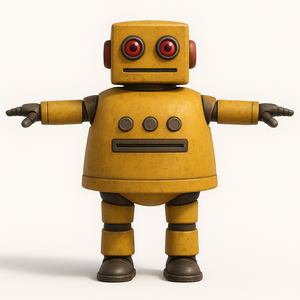
Step 13: Create 3D Robot Model
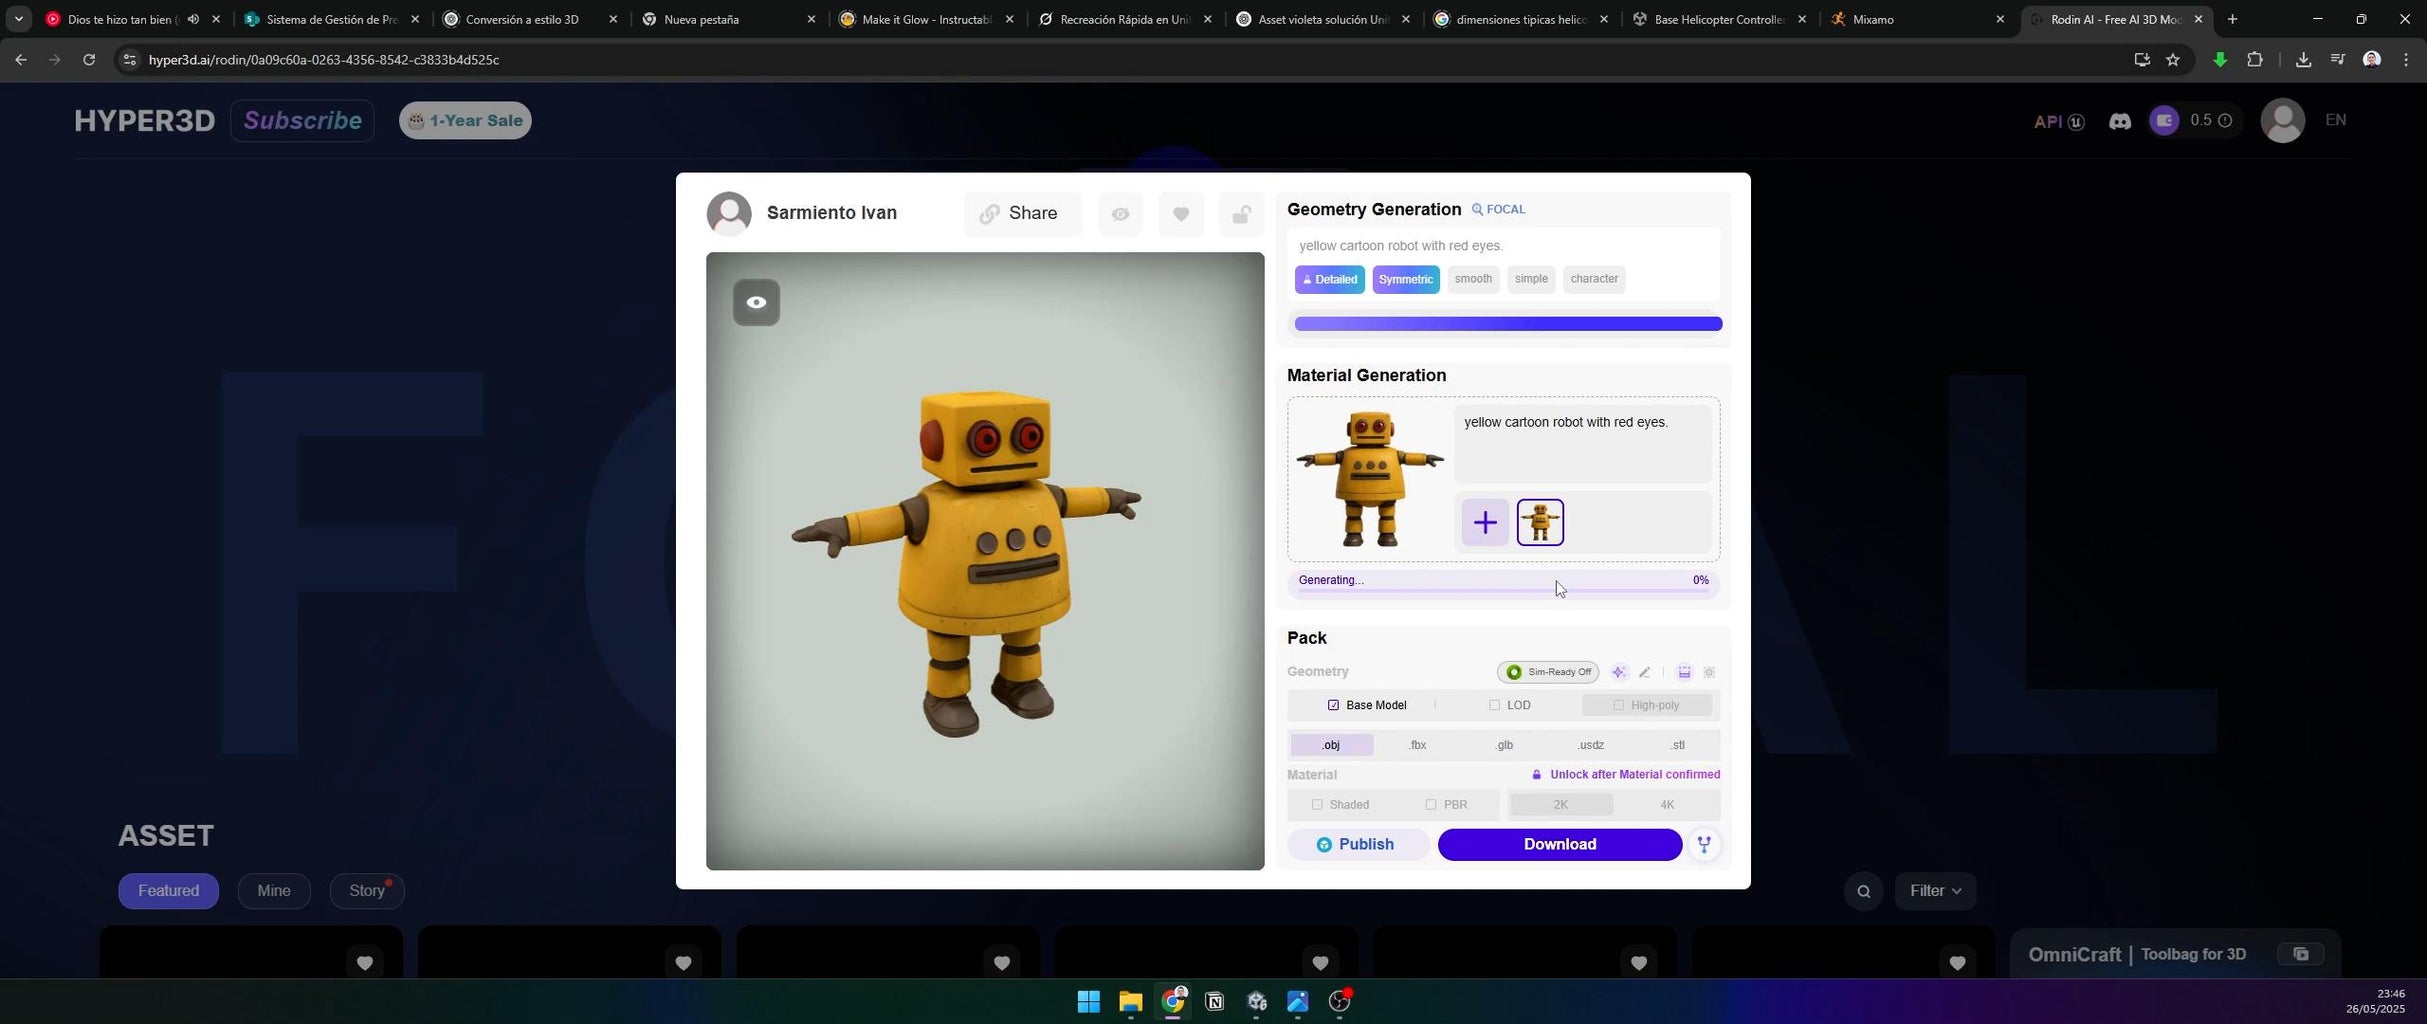
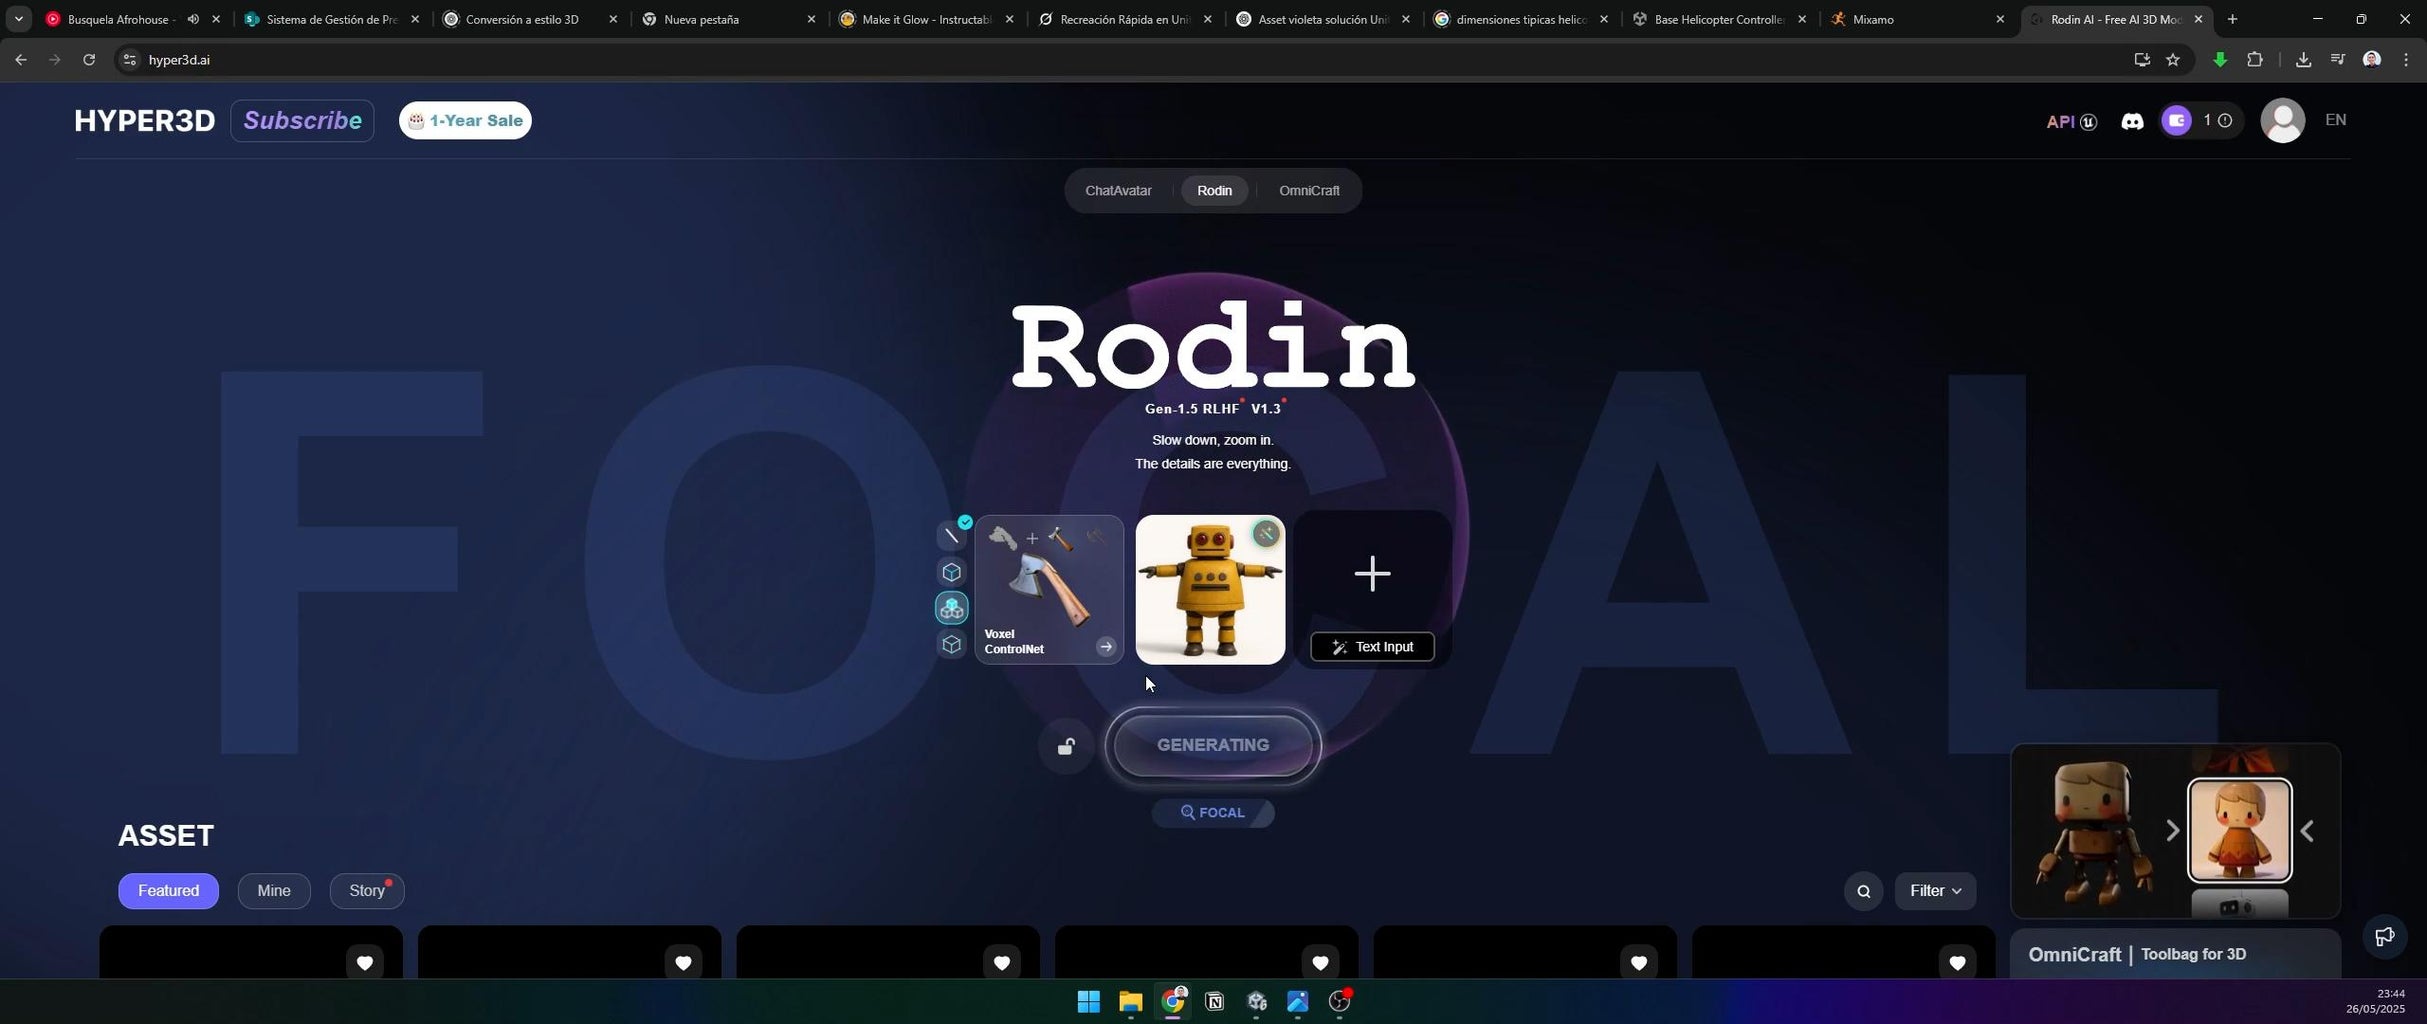
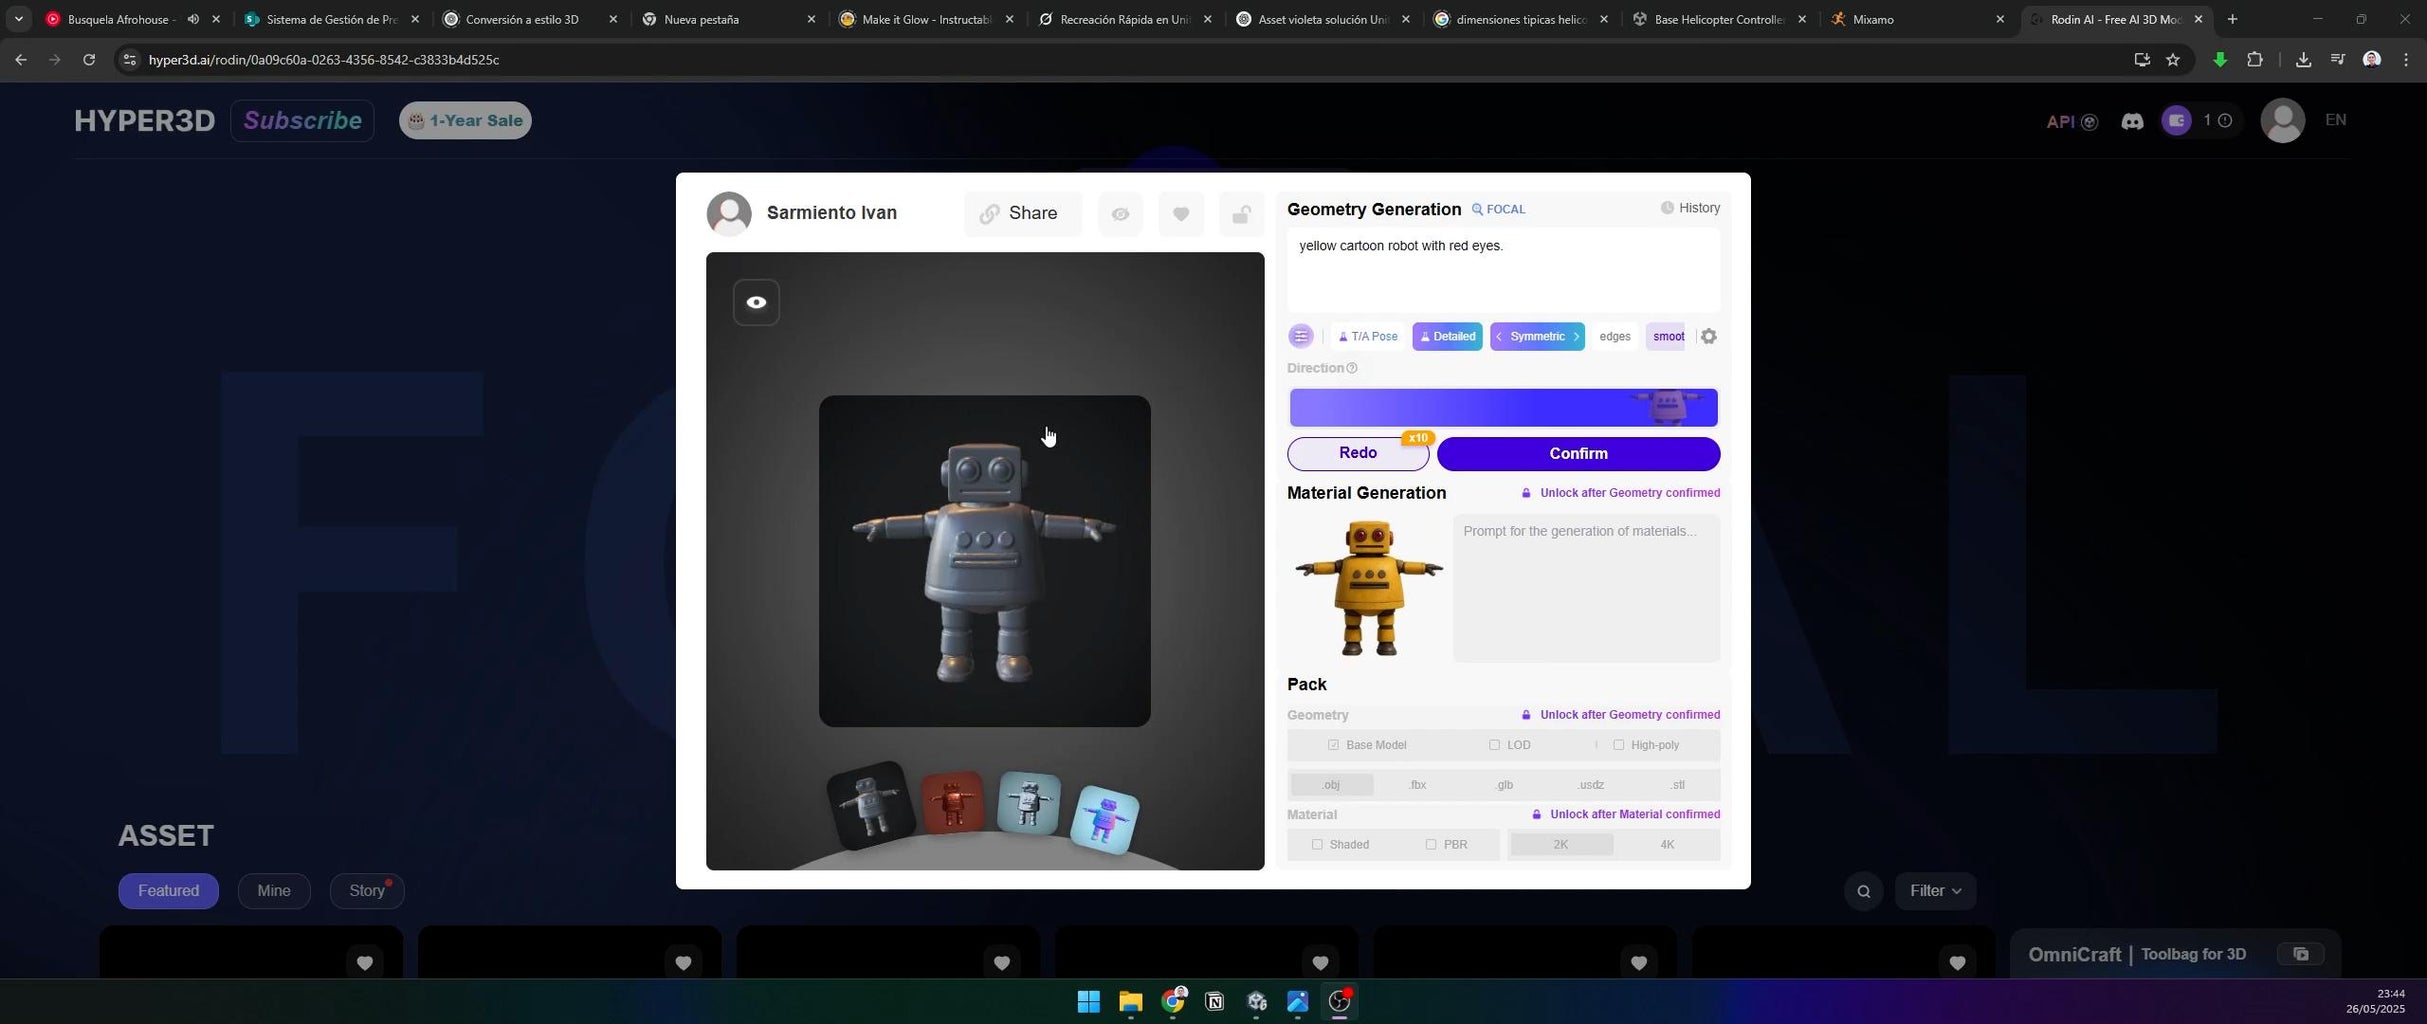
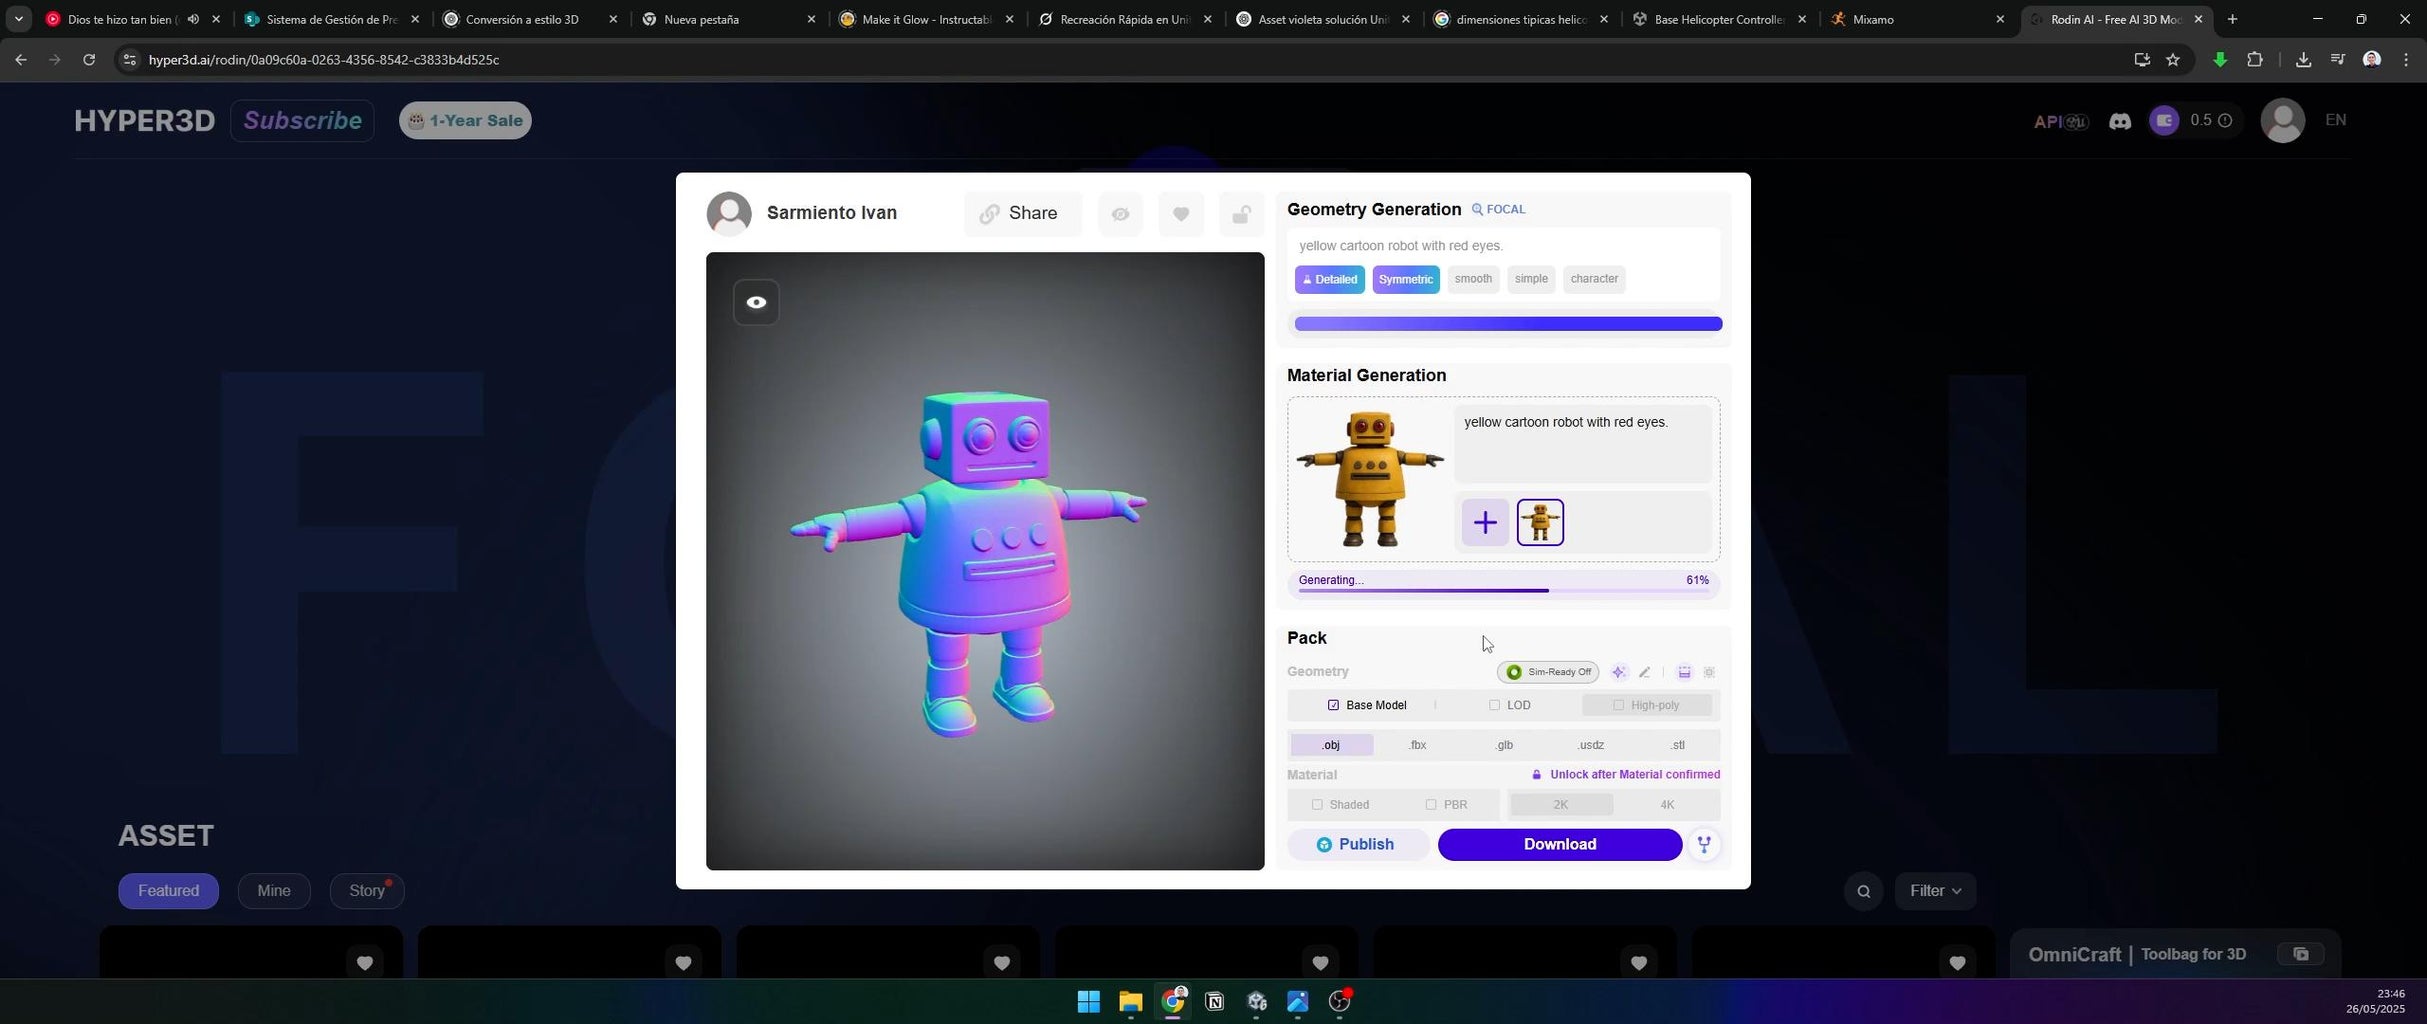
Visit Hyper3D.ai to generate a 3D model and texture from the image. Upload the image, follow the intuitive interface, and download the FBX model with textures. The results are stunningly accurate!
Step 14: Animate the Robot
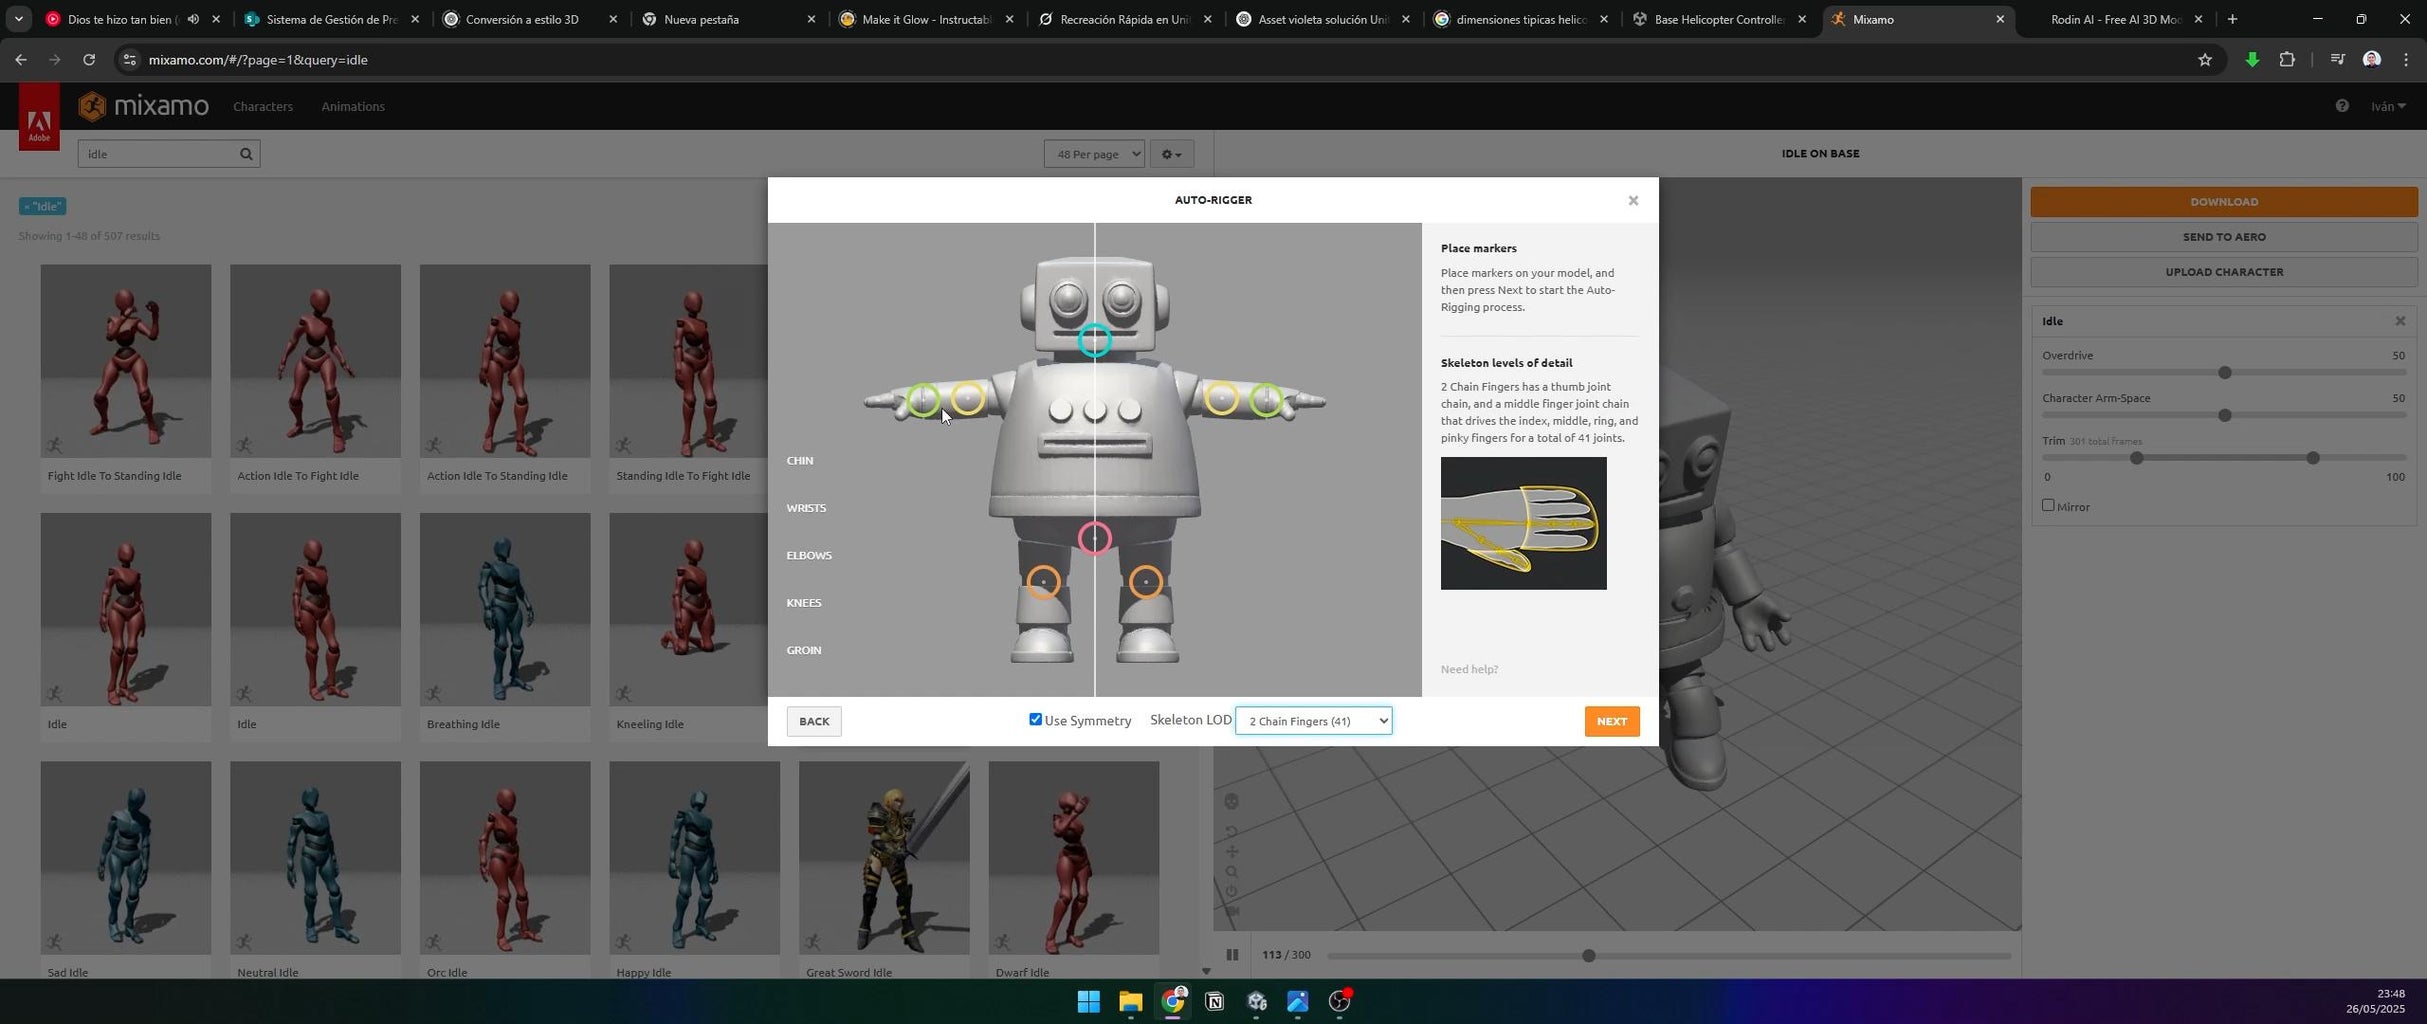
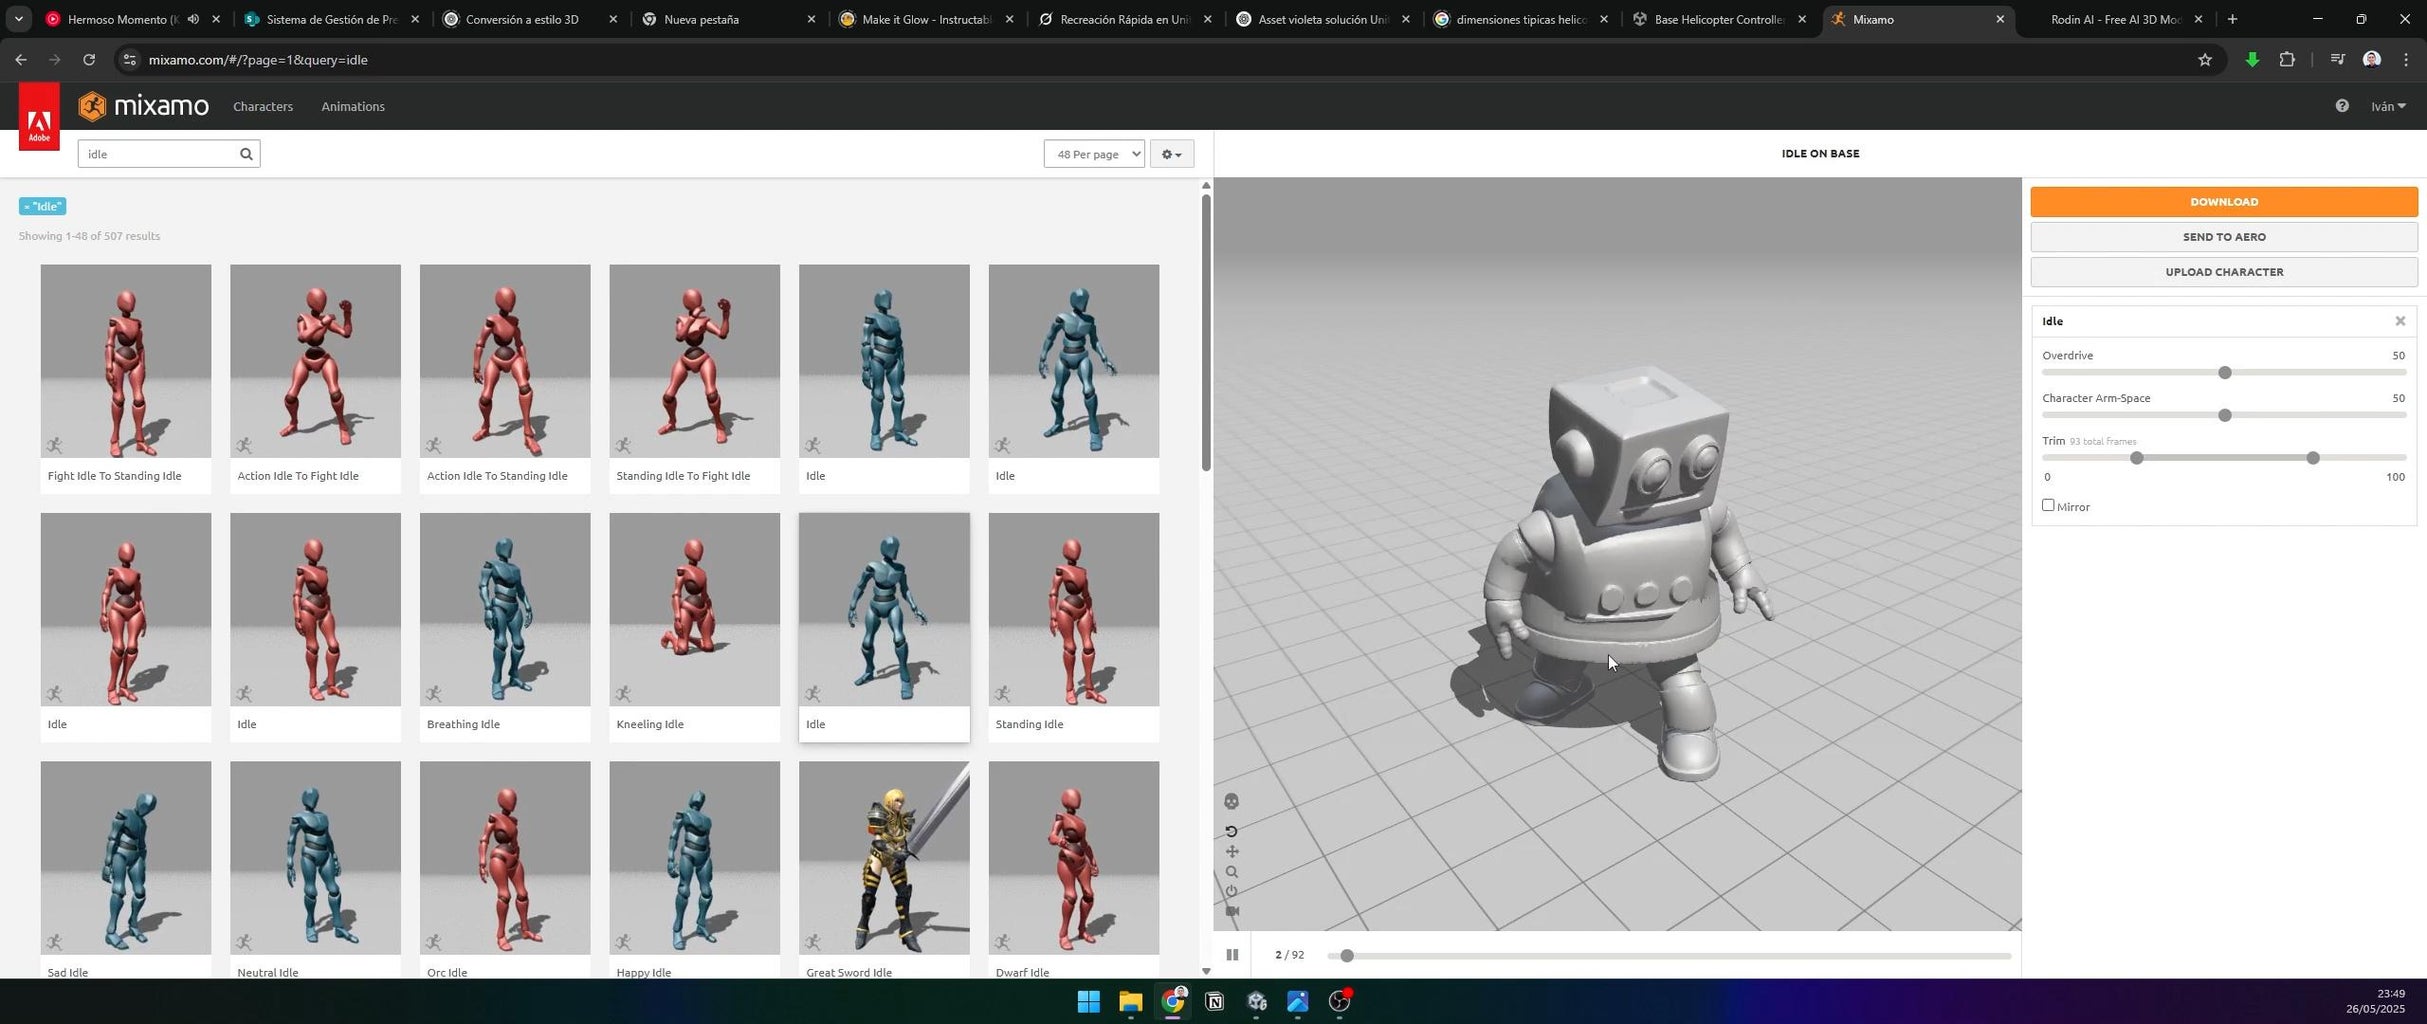

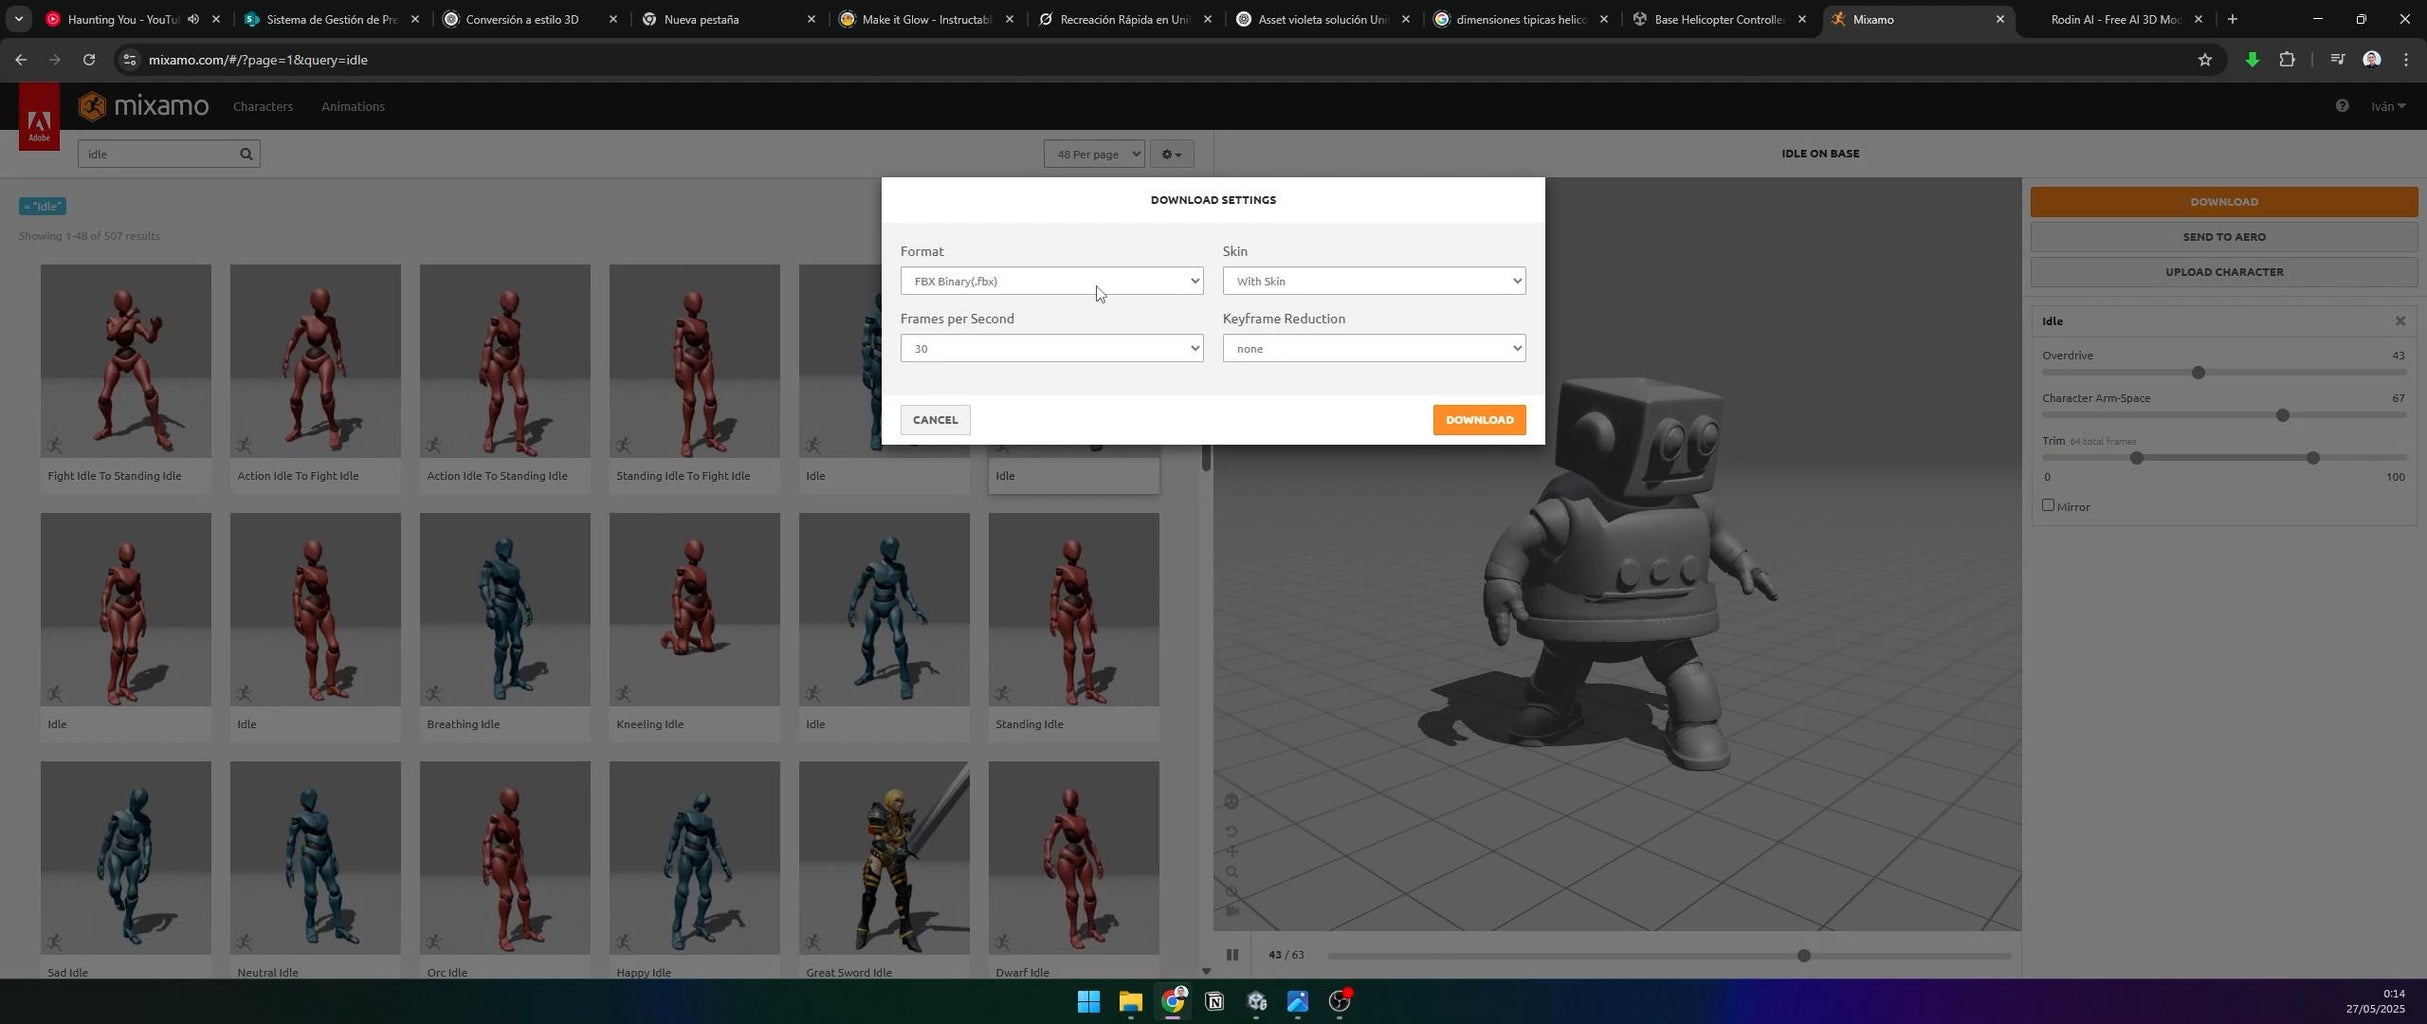
Go to Mixamo.com, upload the FBX model, and map key body parts as prompted. Choose an animation (I used an idle animation) and download the rigged model with animation.
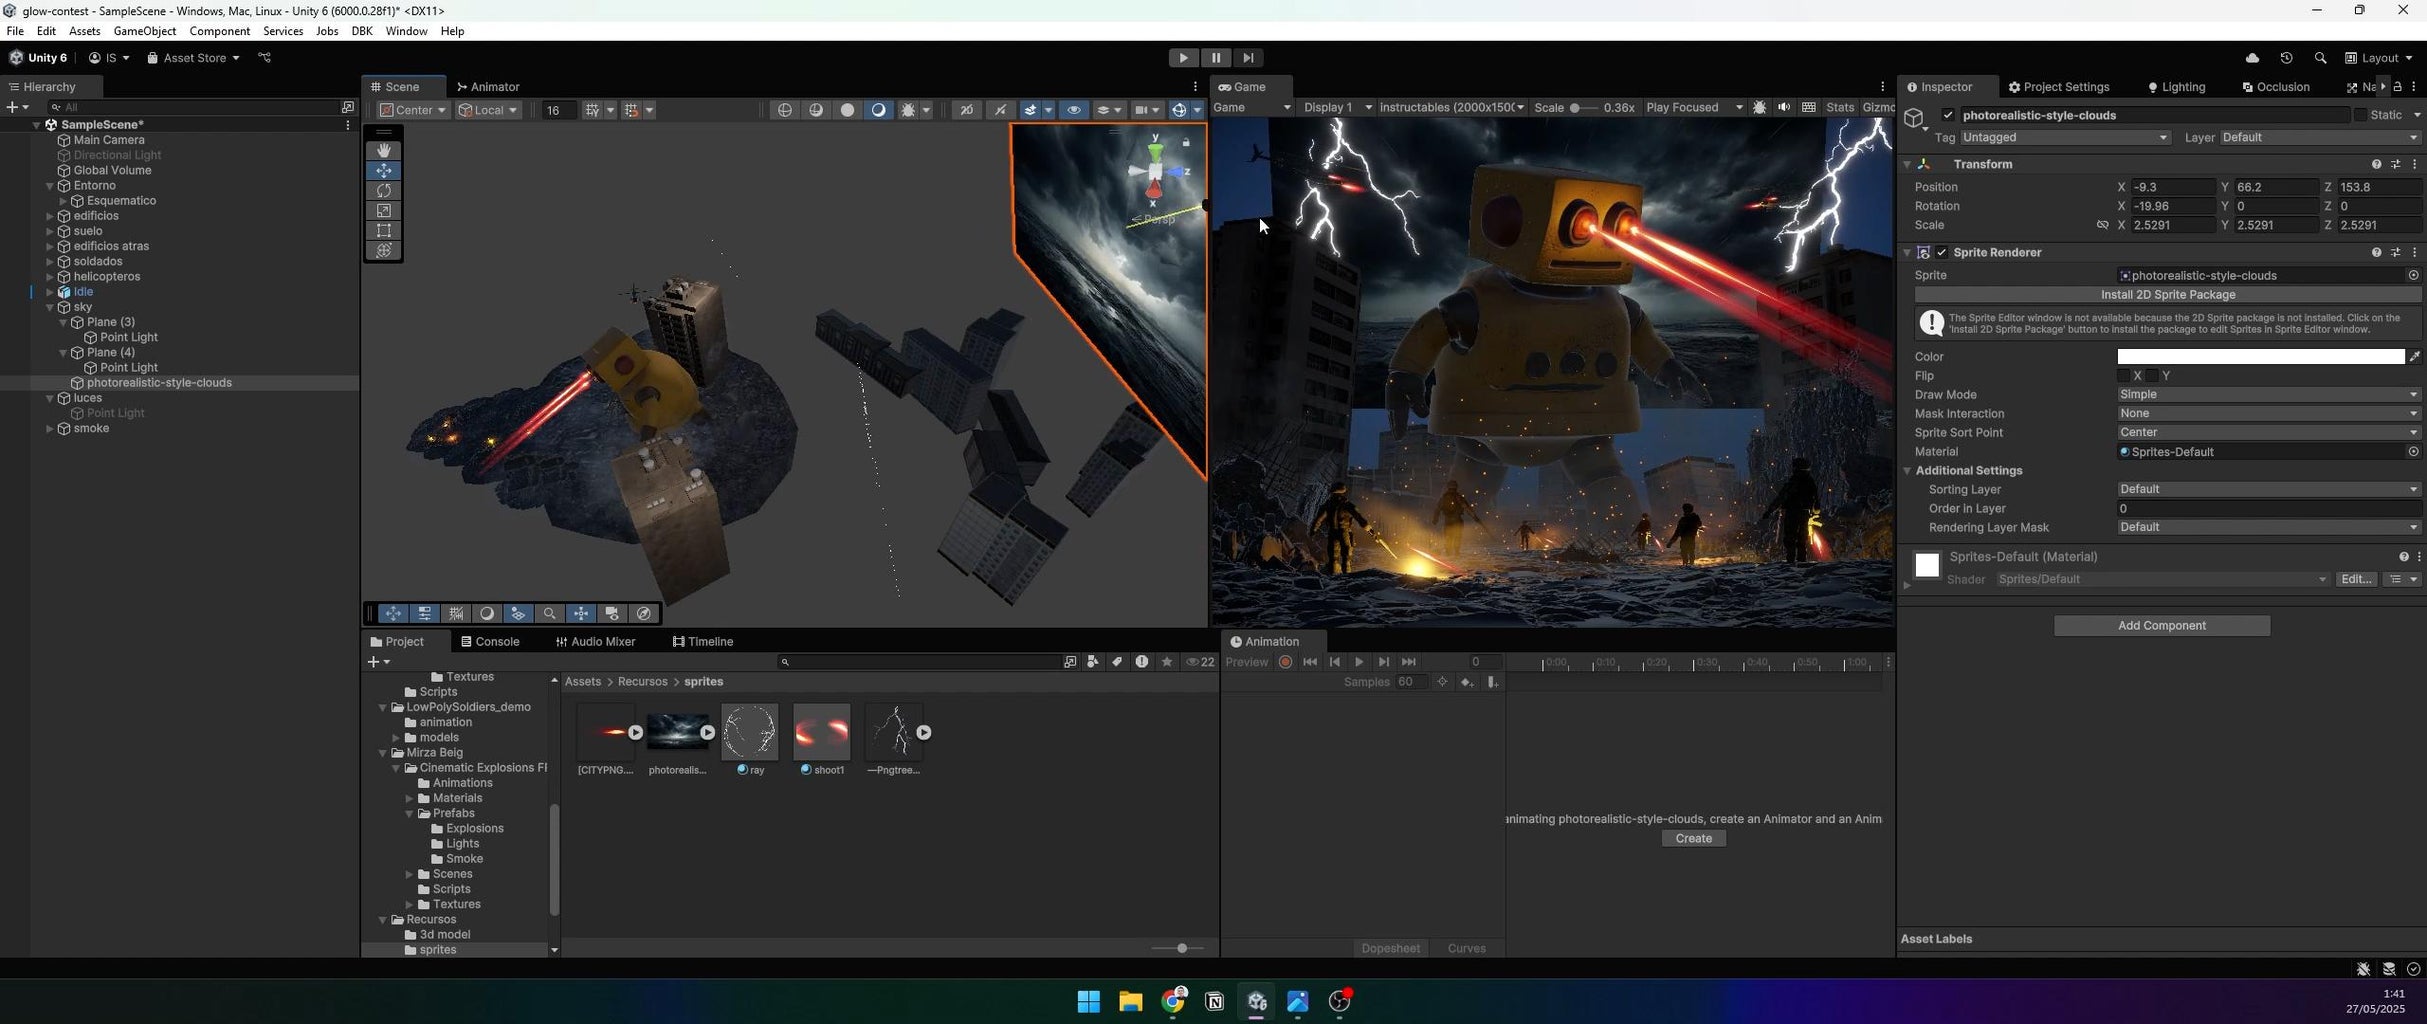
Step 15: Import and Texture the Robot
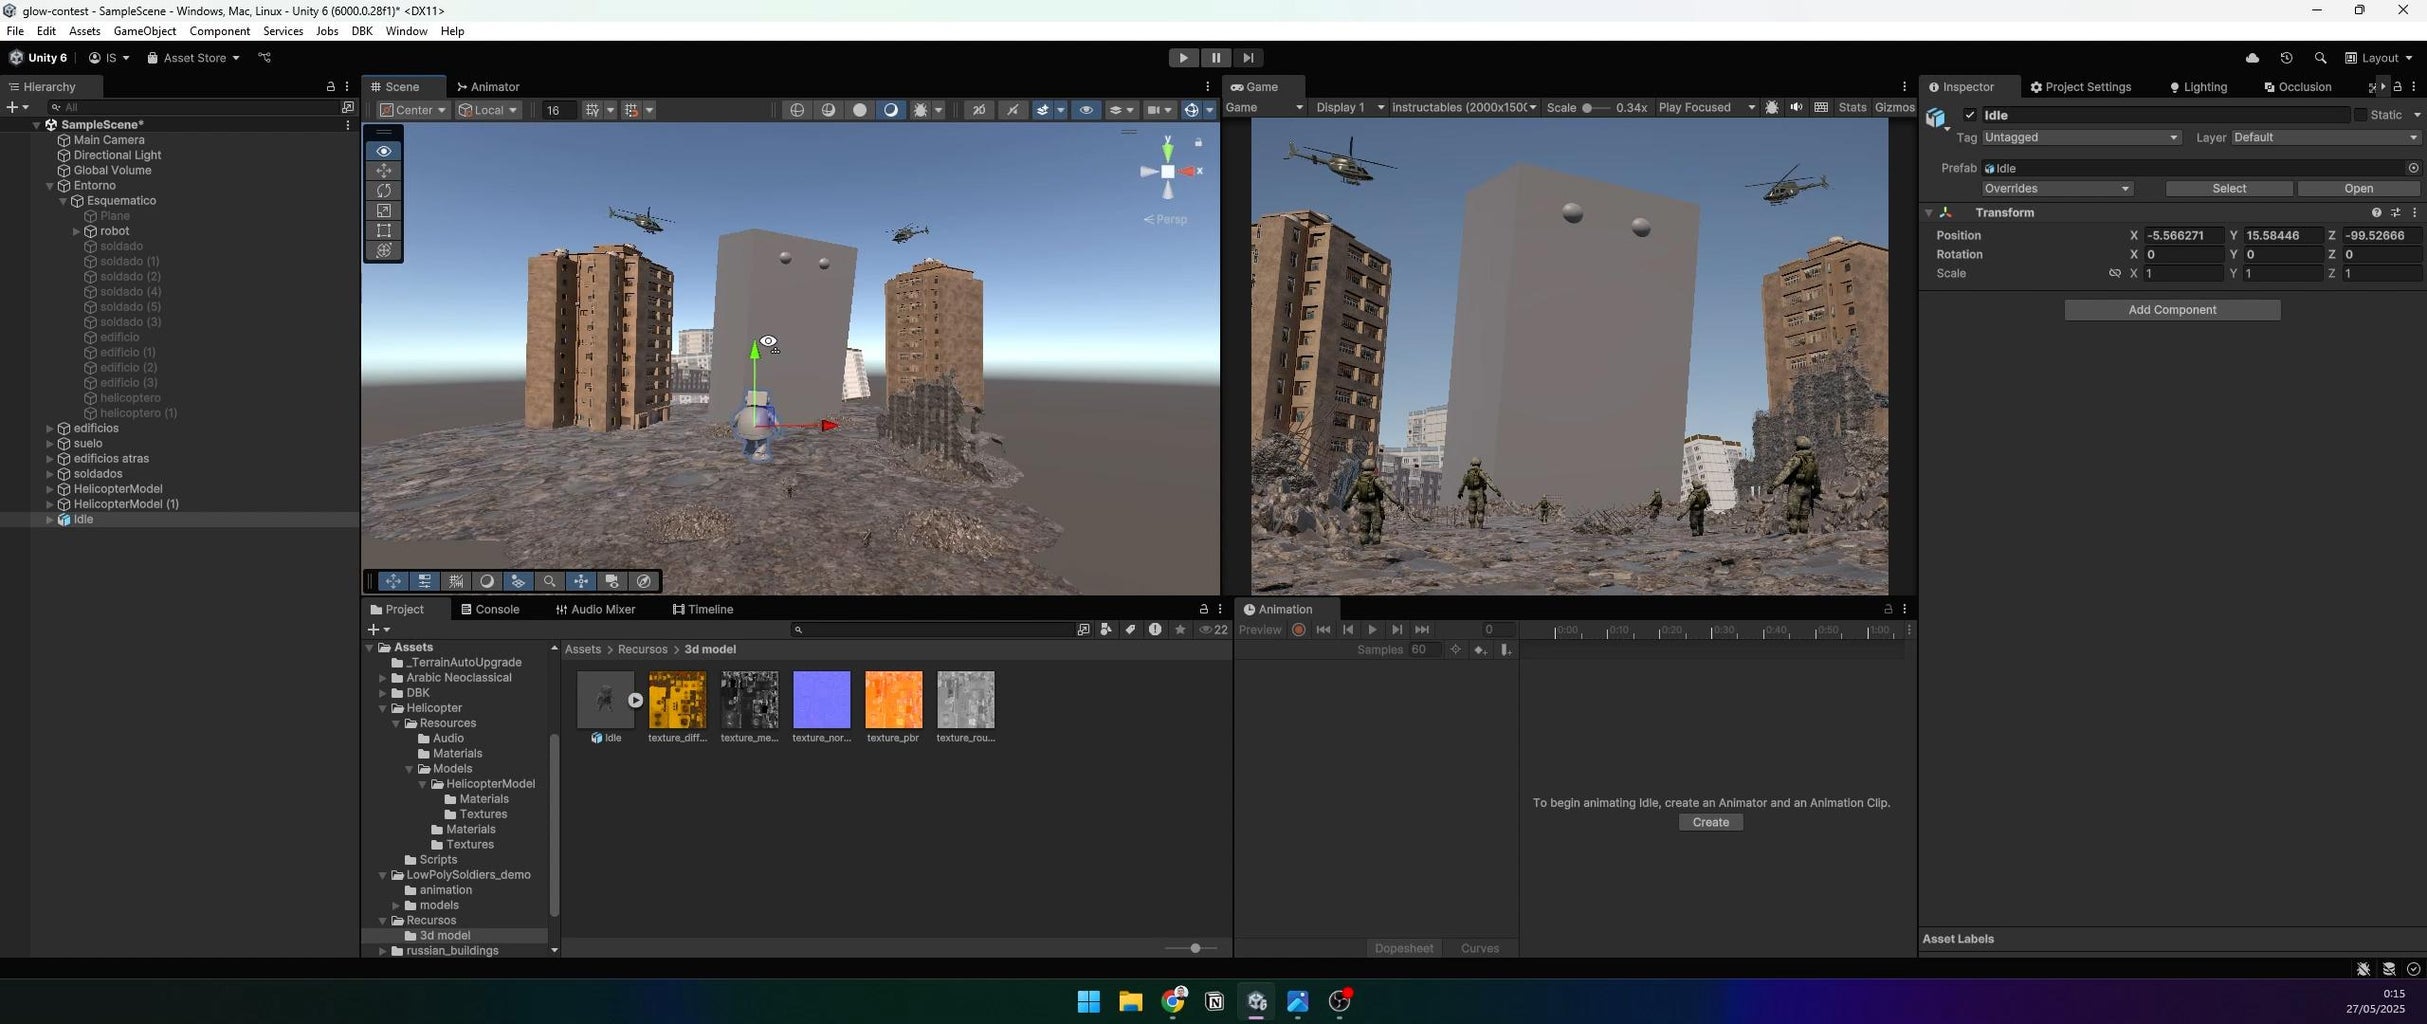
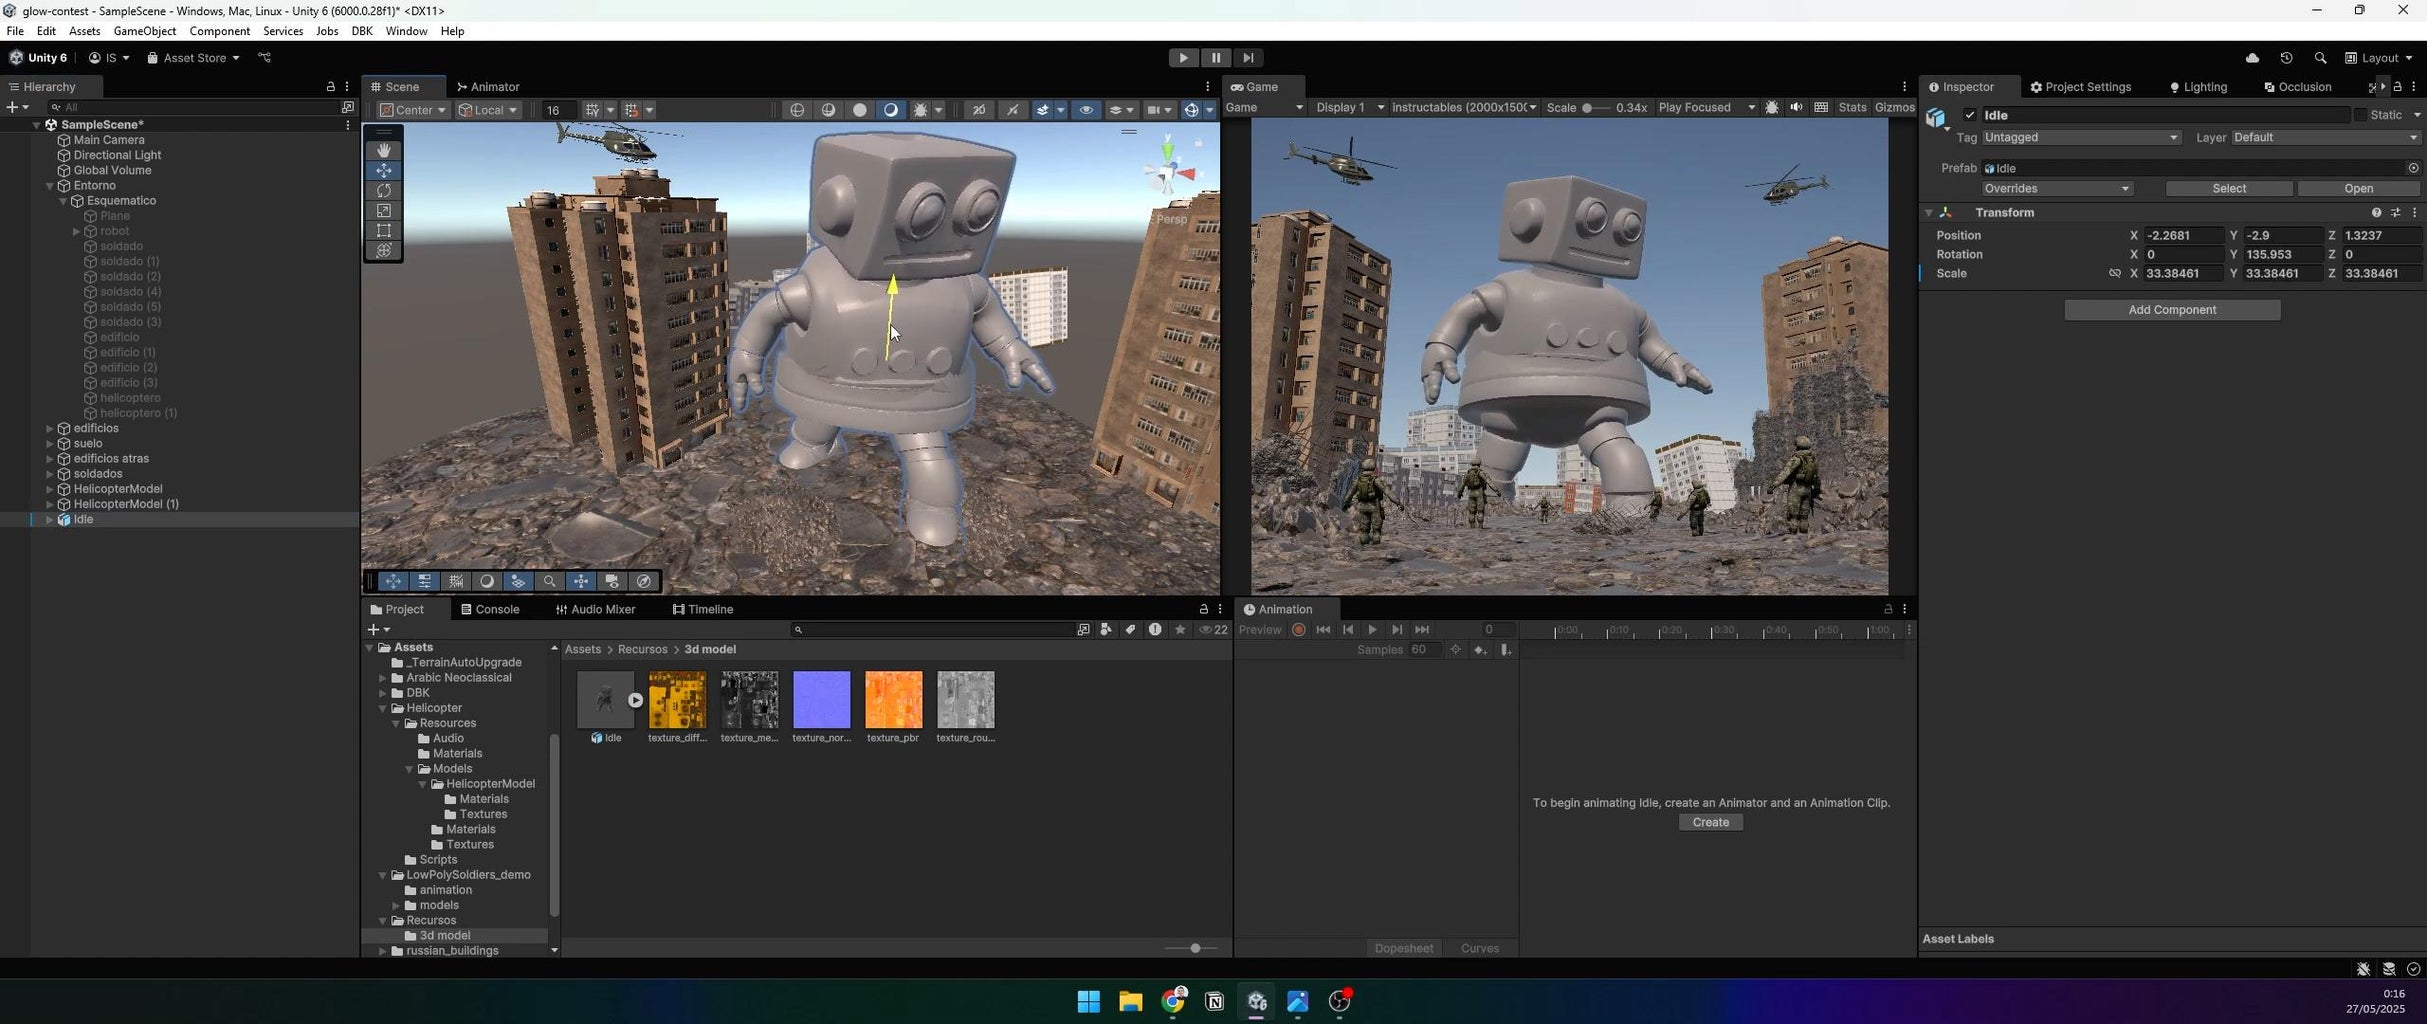
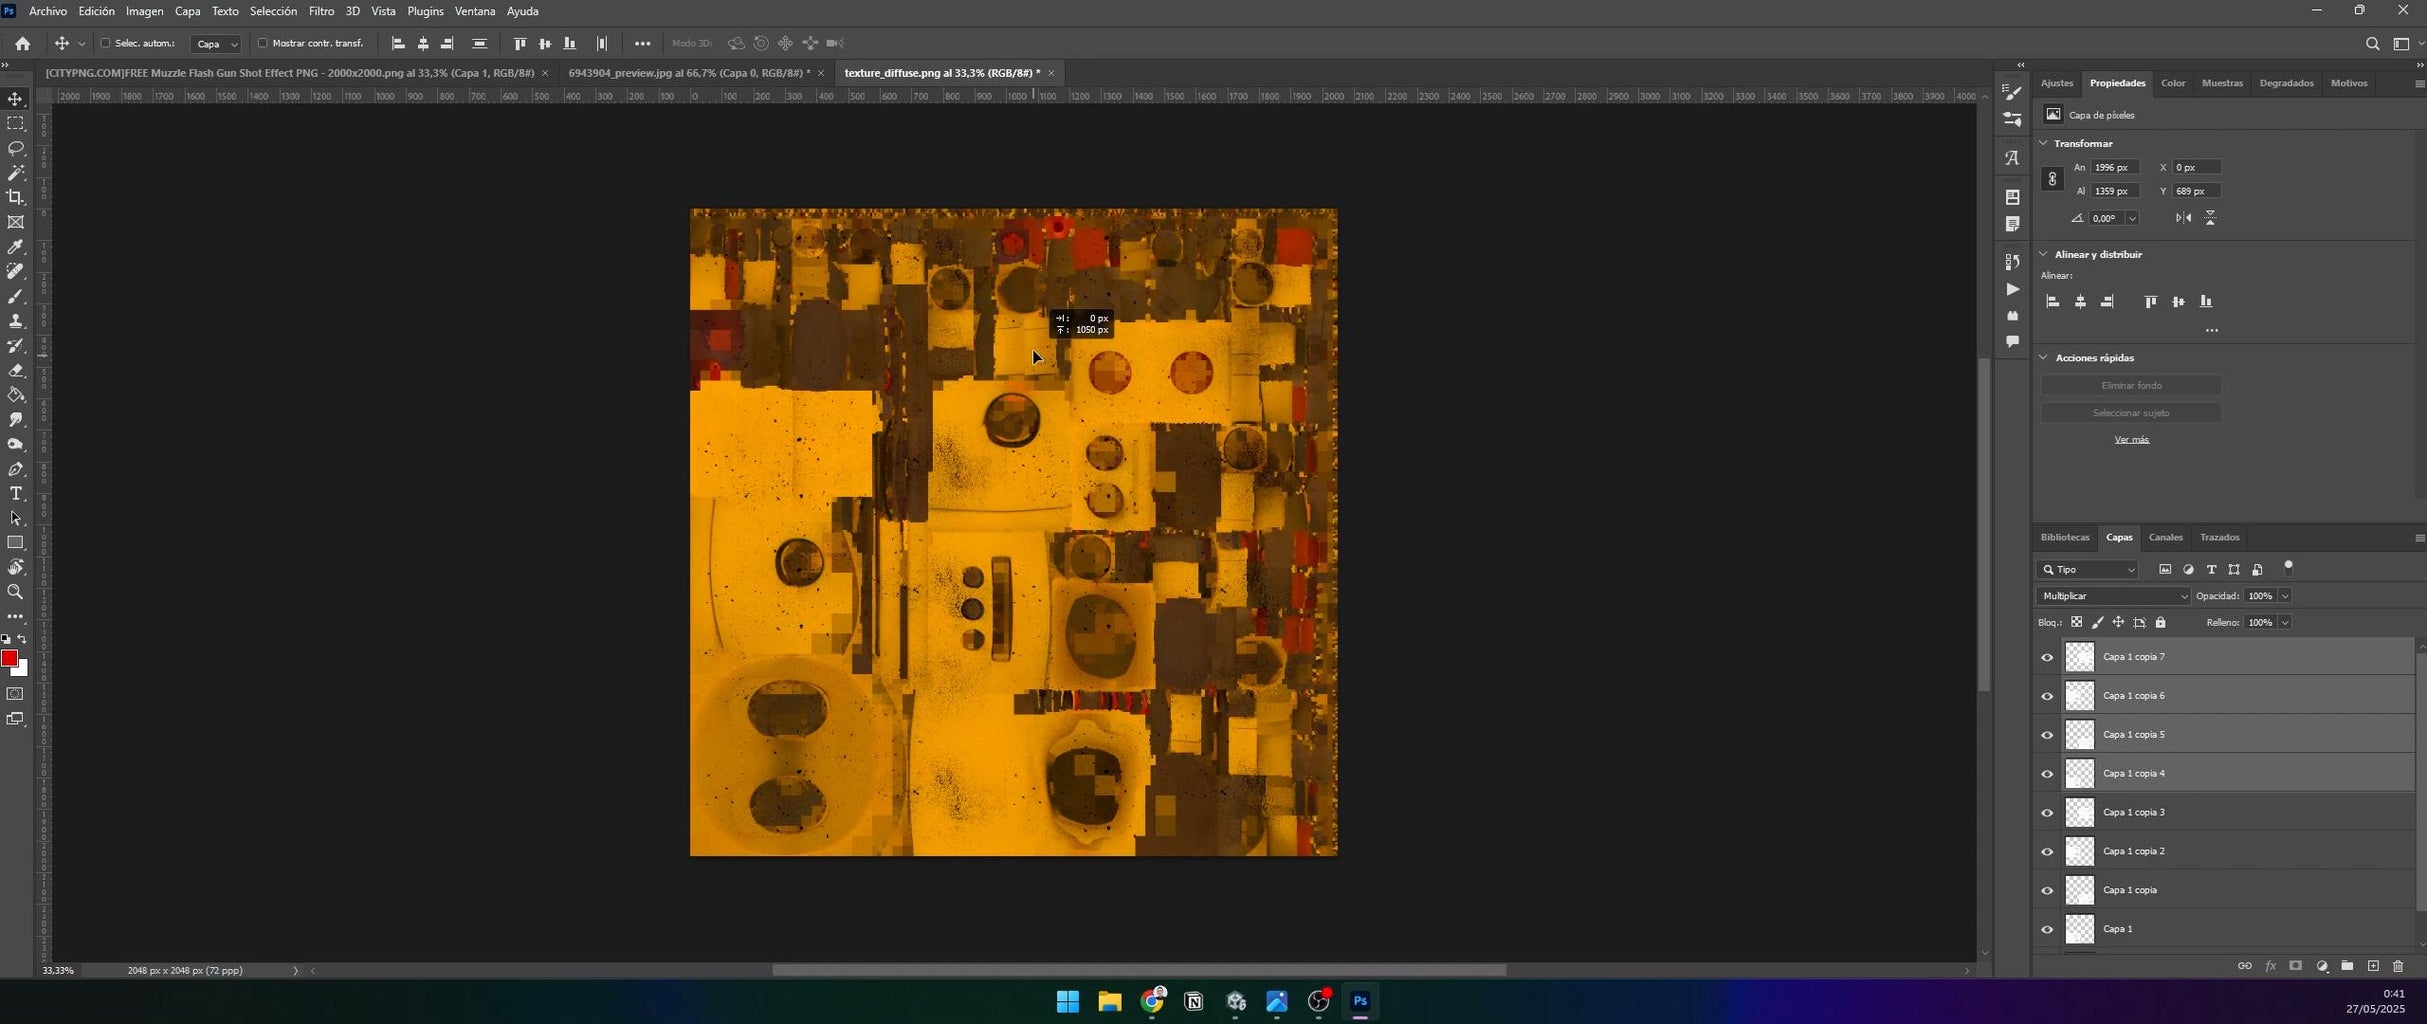
Import the robot model into Unity with its textures. Use an image editor (e.g., GIMP) to add dirt or wear to the texture for a battle-worn look. Create a new material, assign the textures, and place the robot at the 50m schematic cube’s position, scaling it to match.
Step 16: Set Up Night Scene
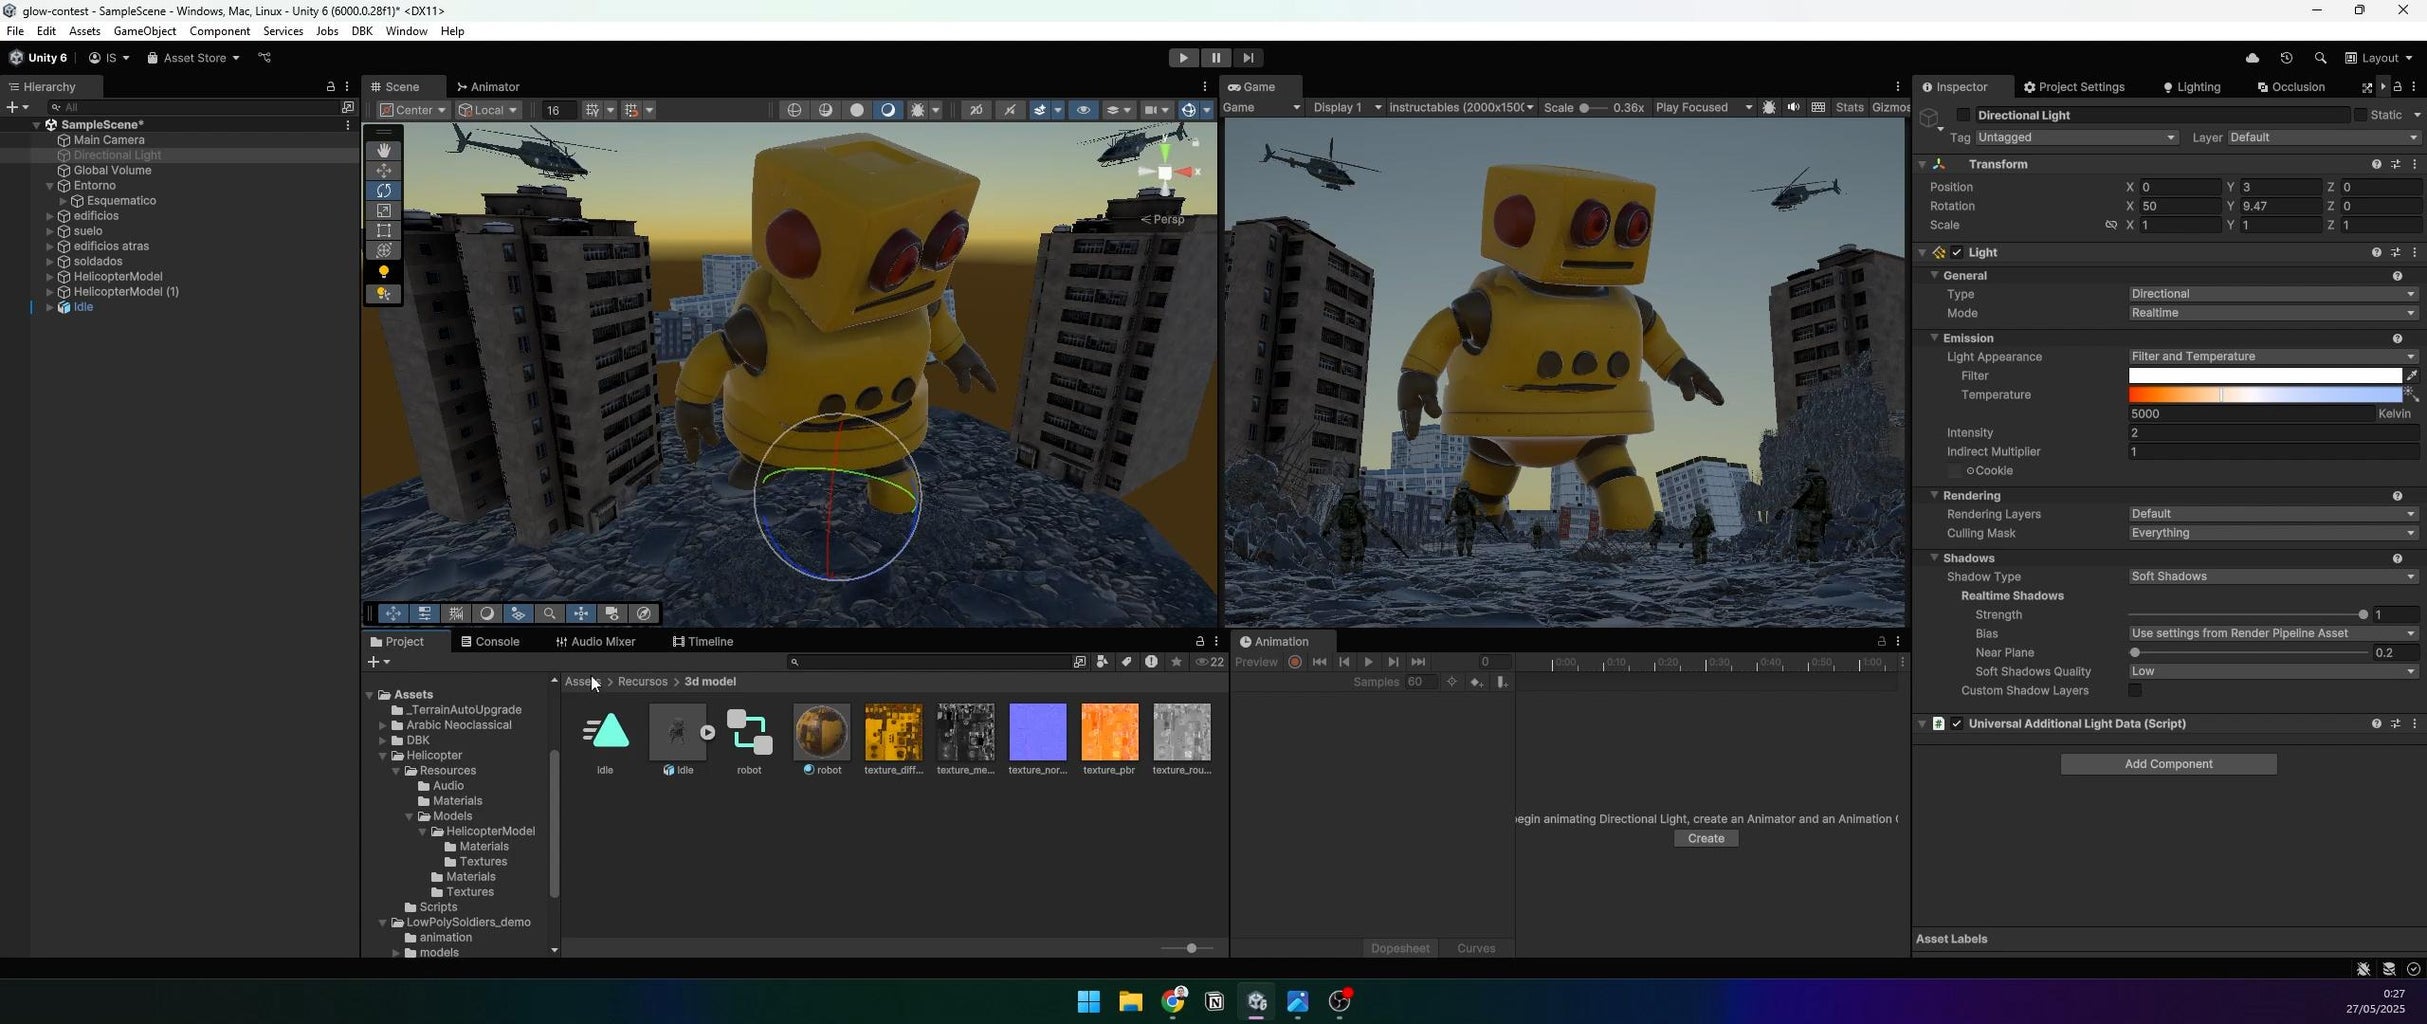
To create a dark, apocalyptic atmosphere, remove the default Directional Light and set the Skybox to none (Window > Rendering > Lighting > Environment). This ensures the scene is pitch black, ready for custom lighting.
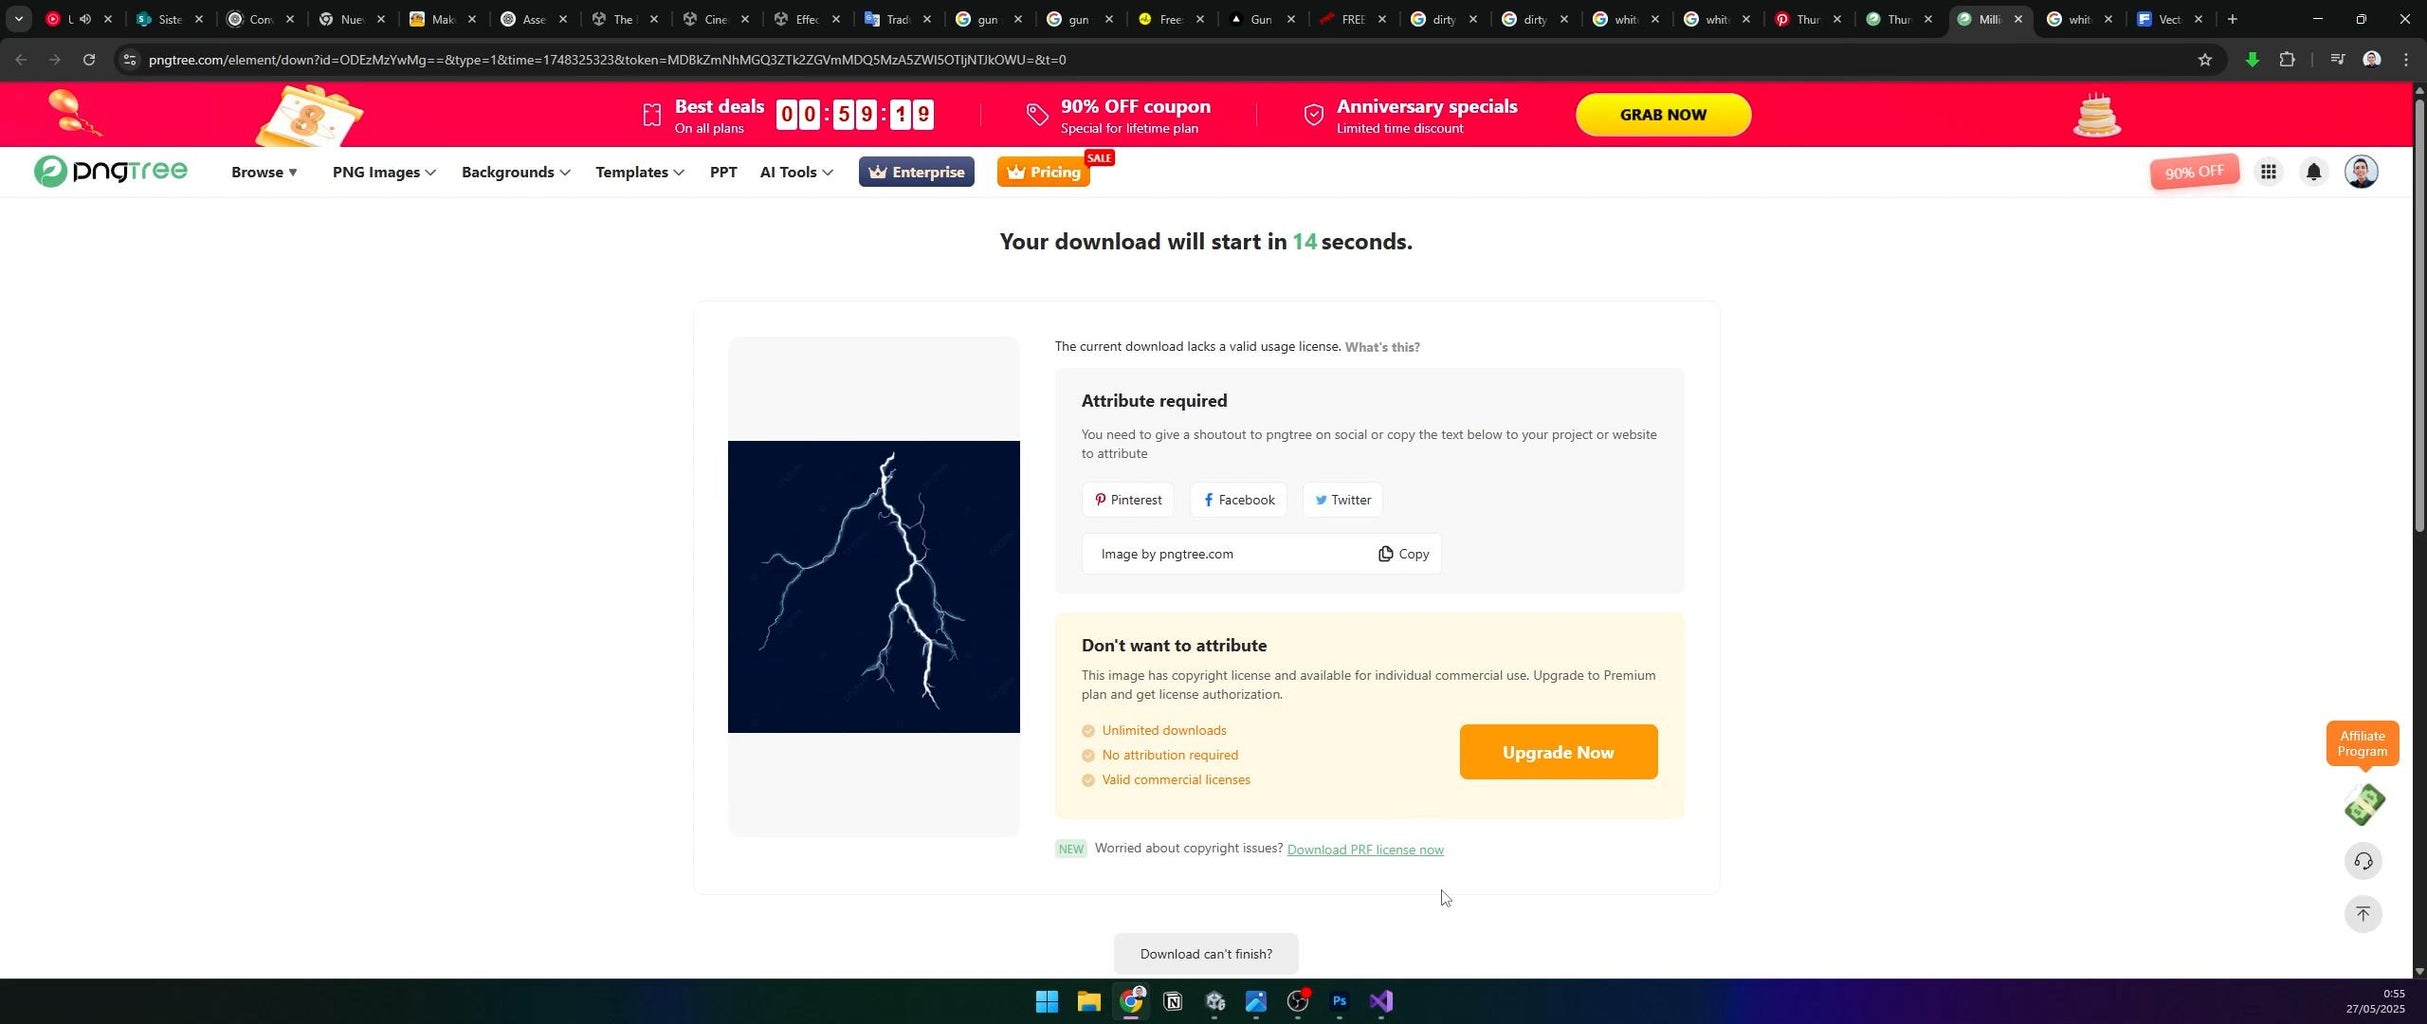
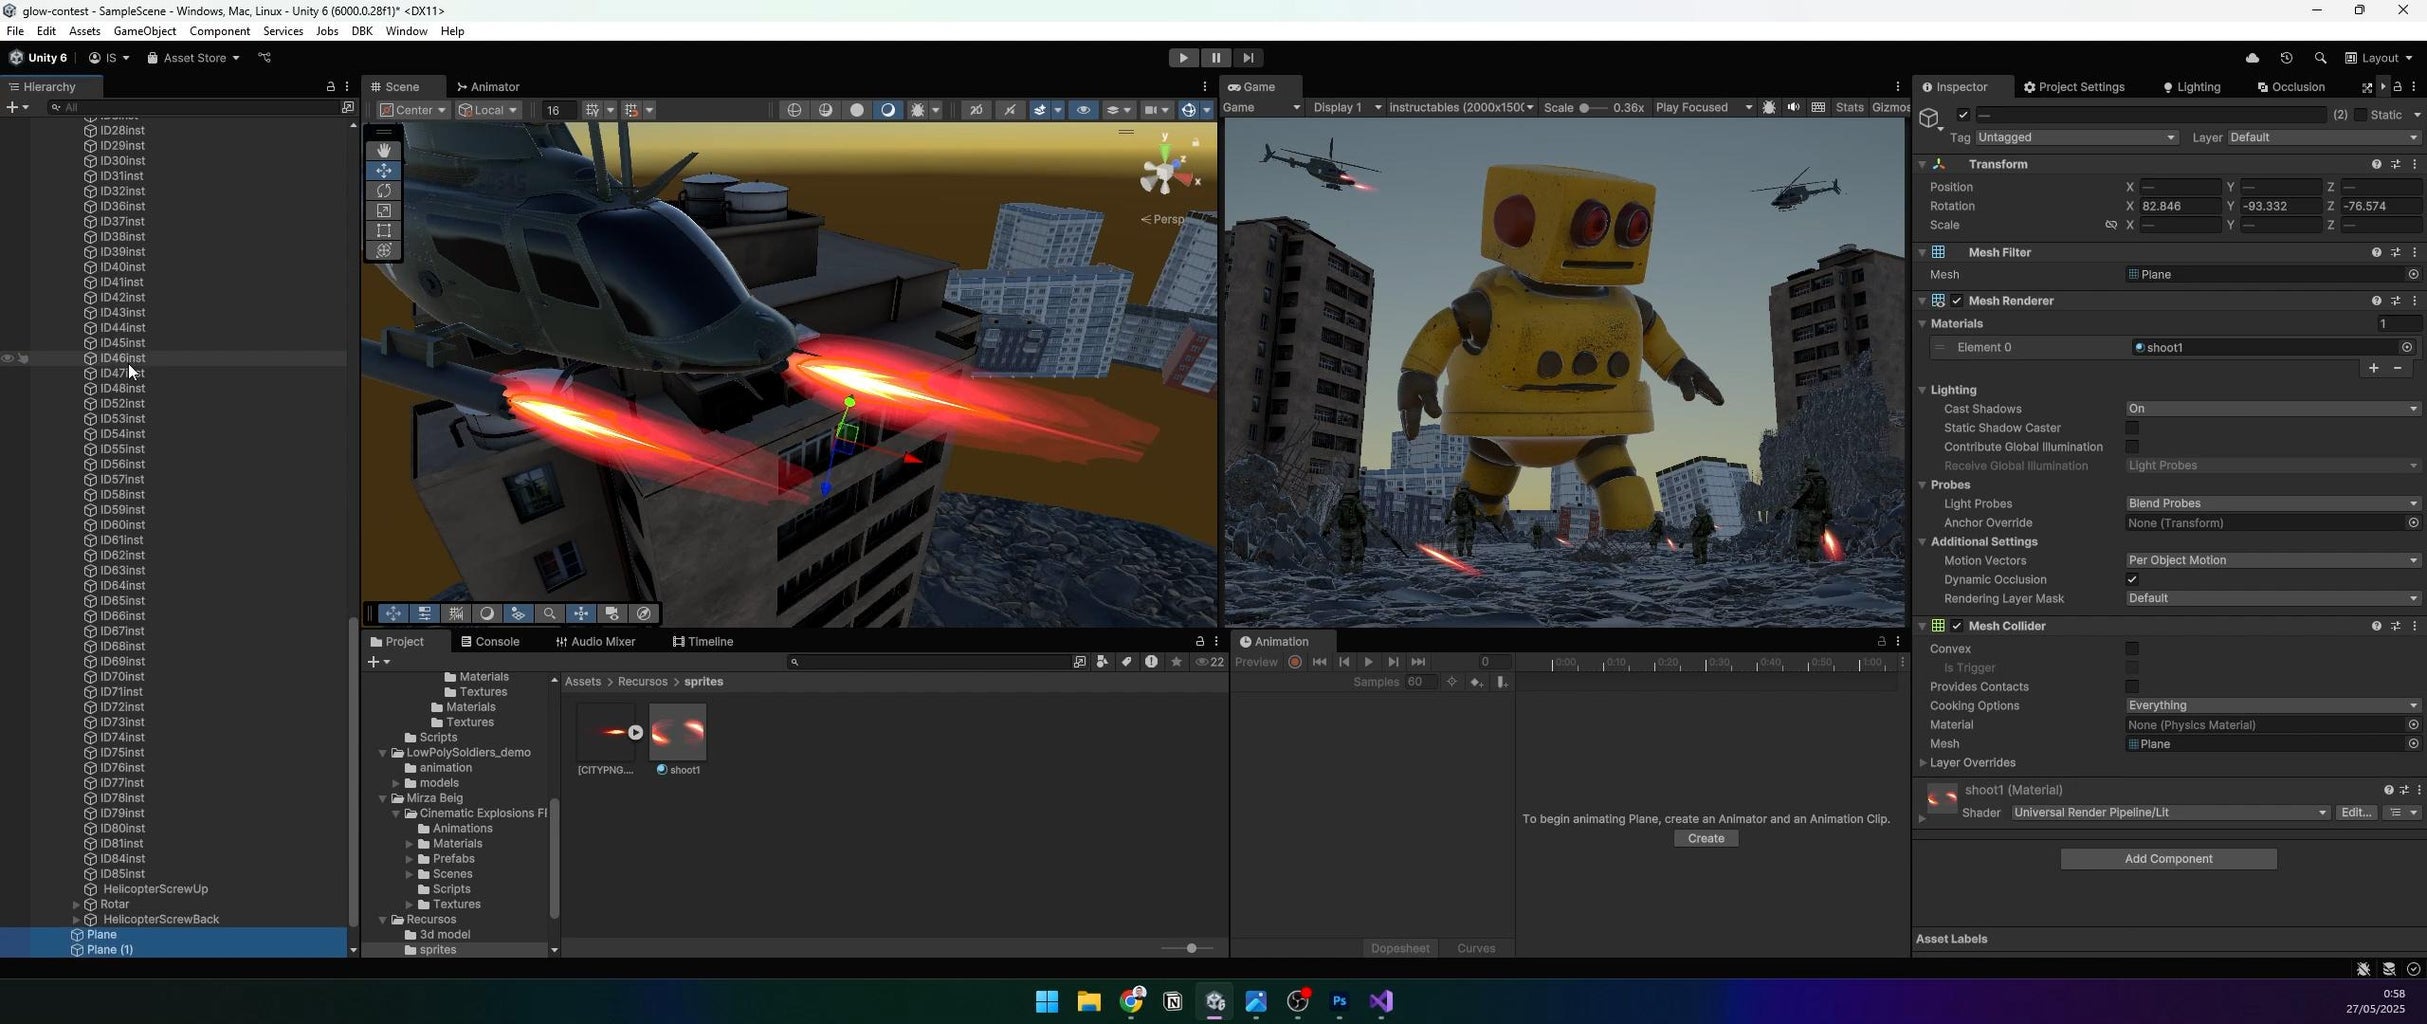
Step 17: Add Muzzle Flashes and Laser Beams
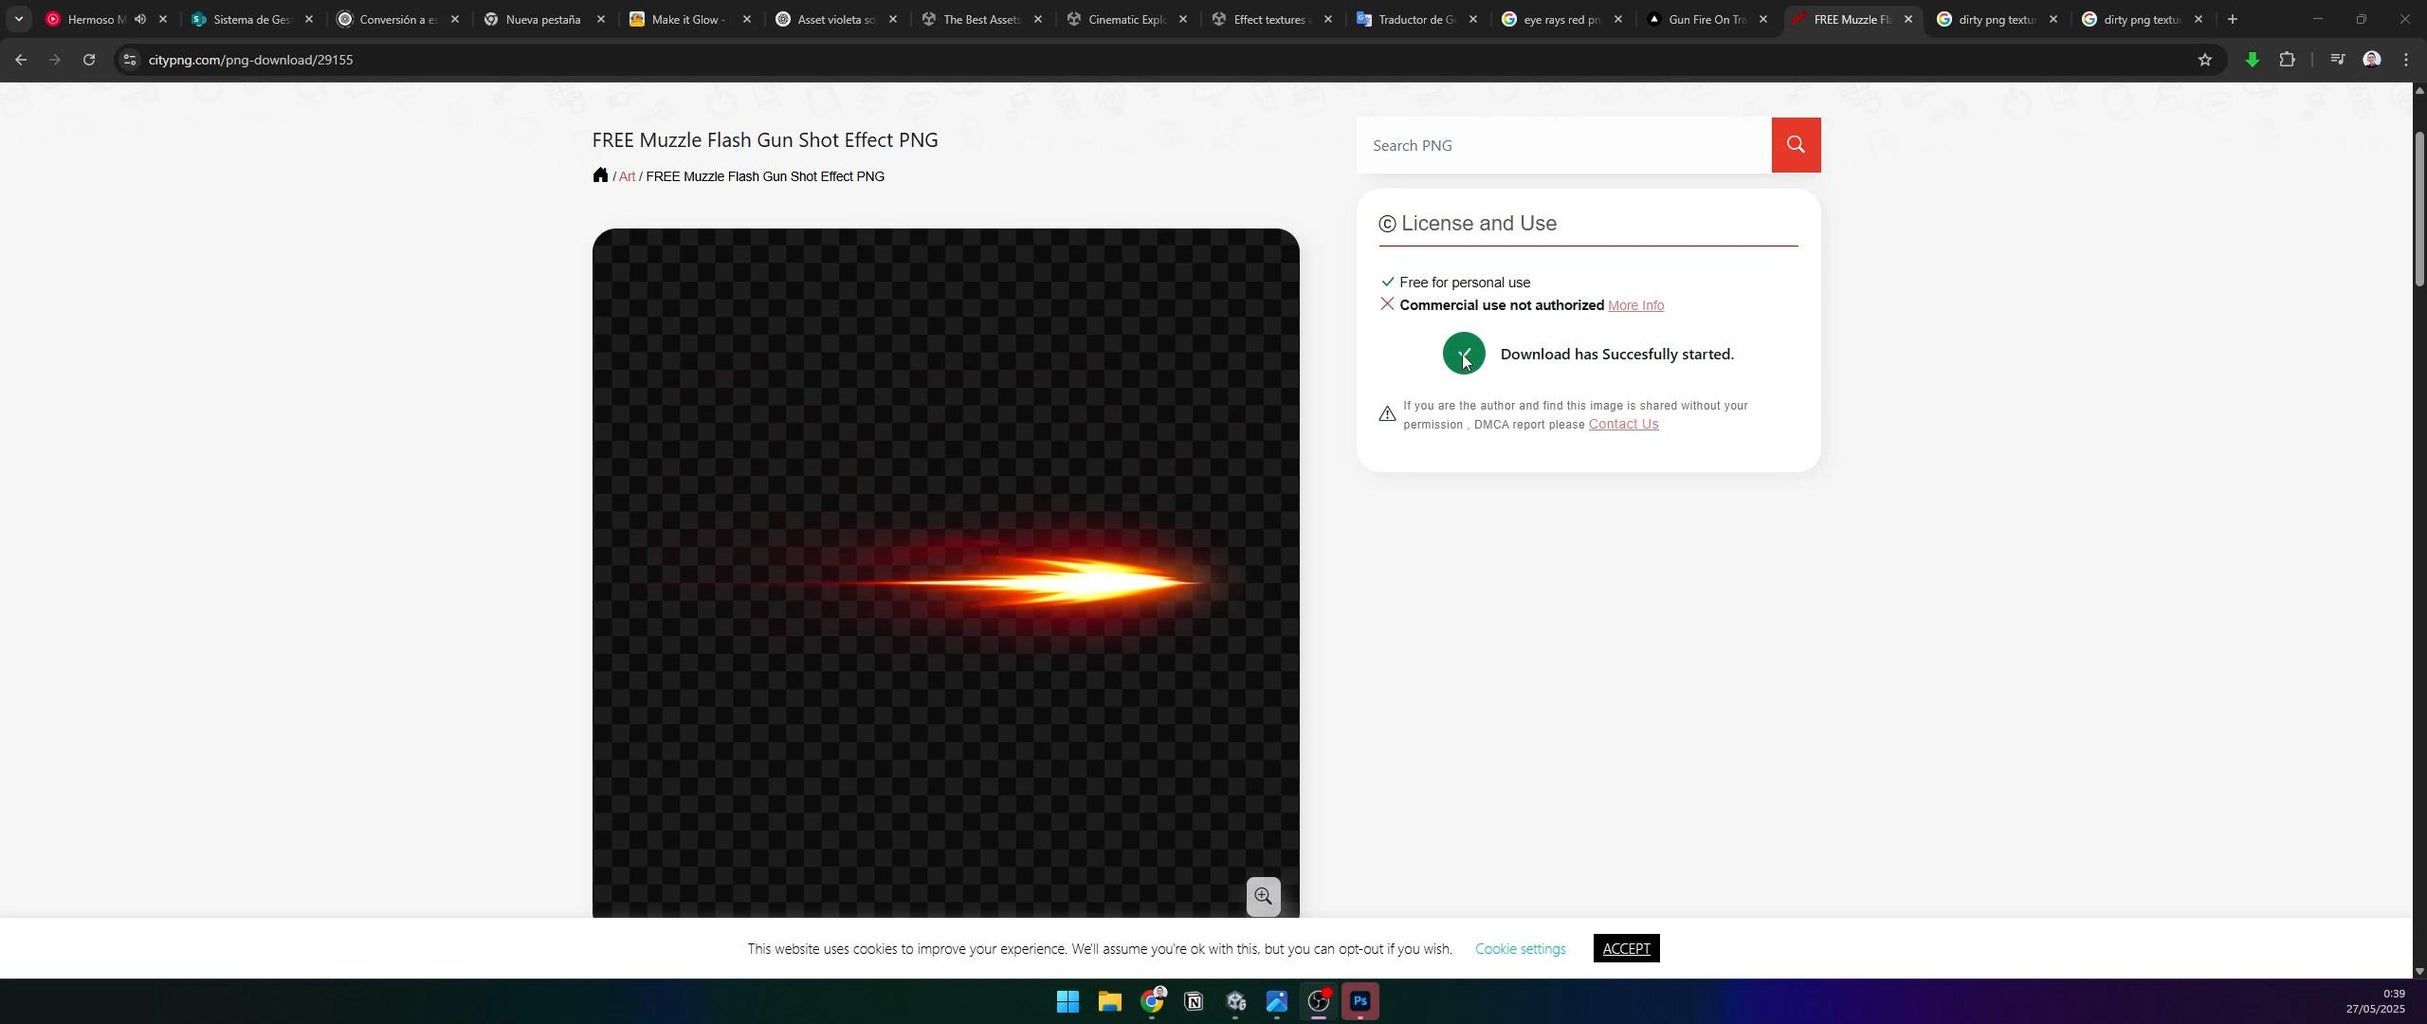
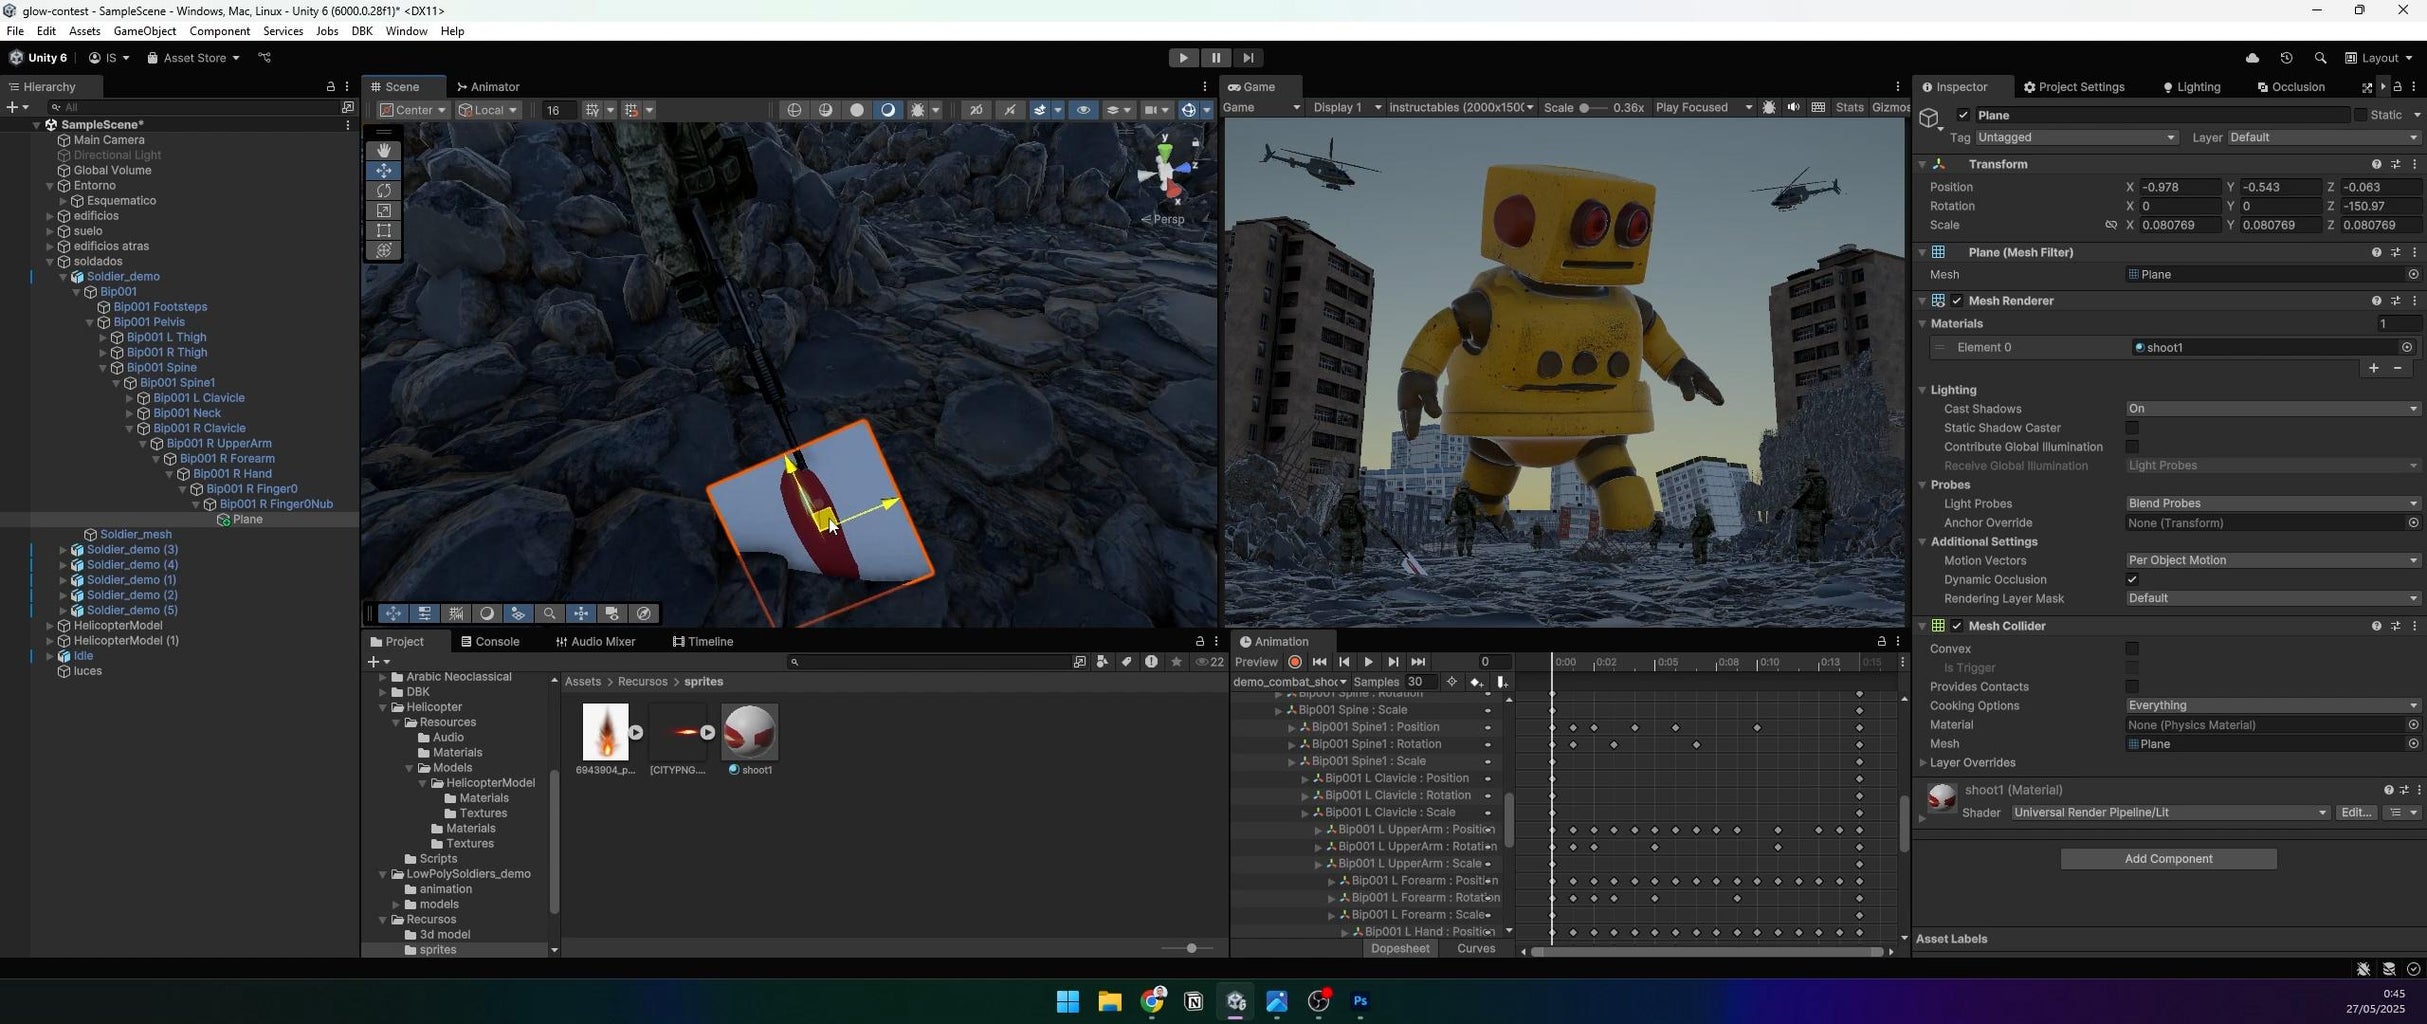
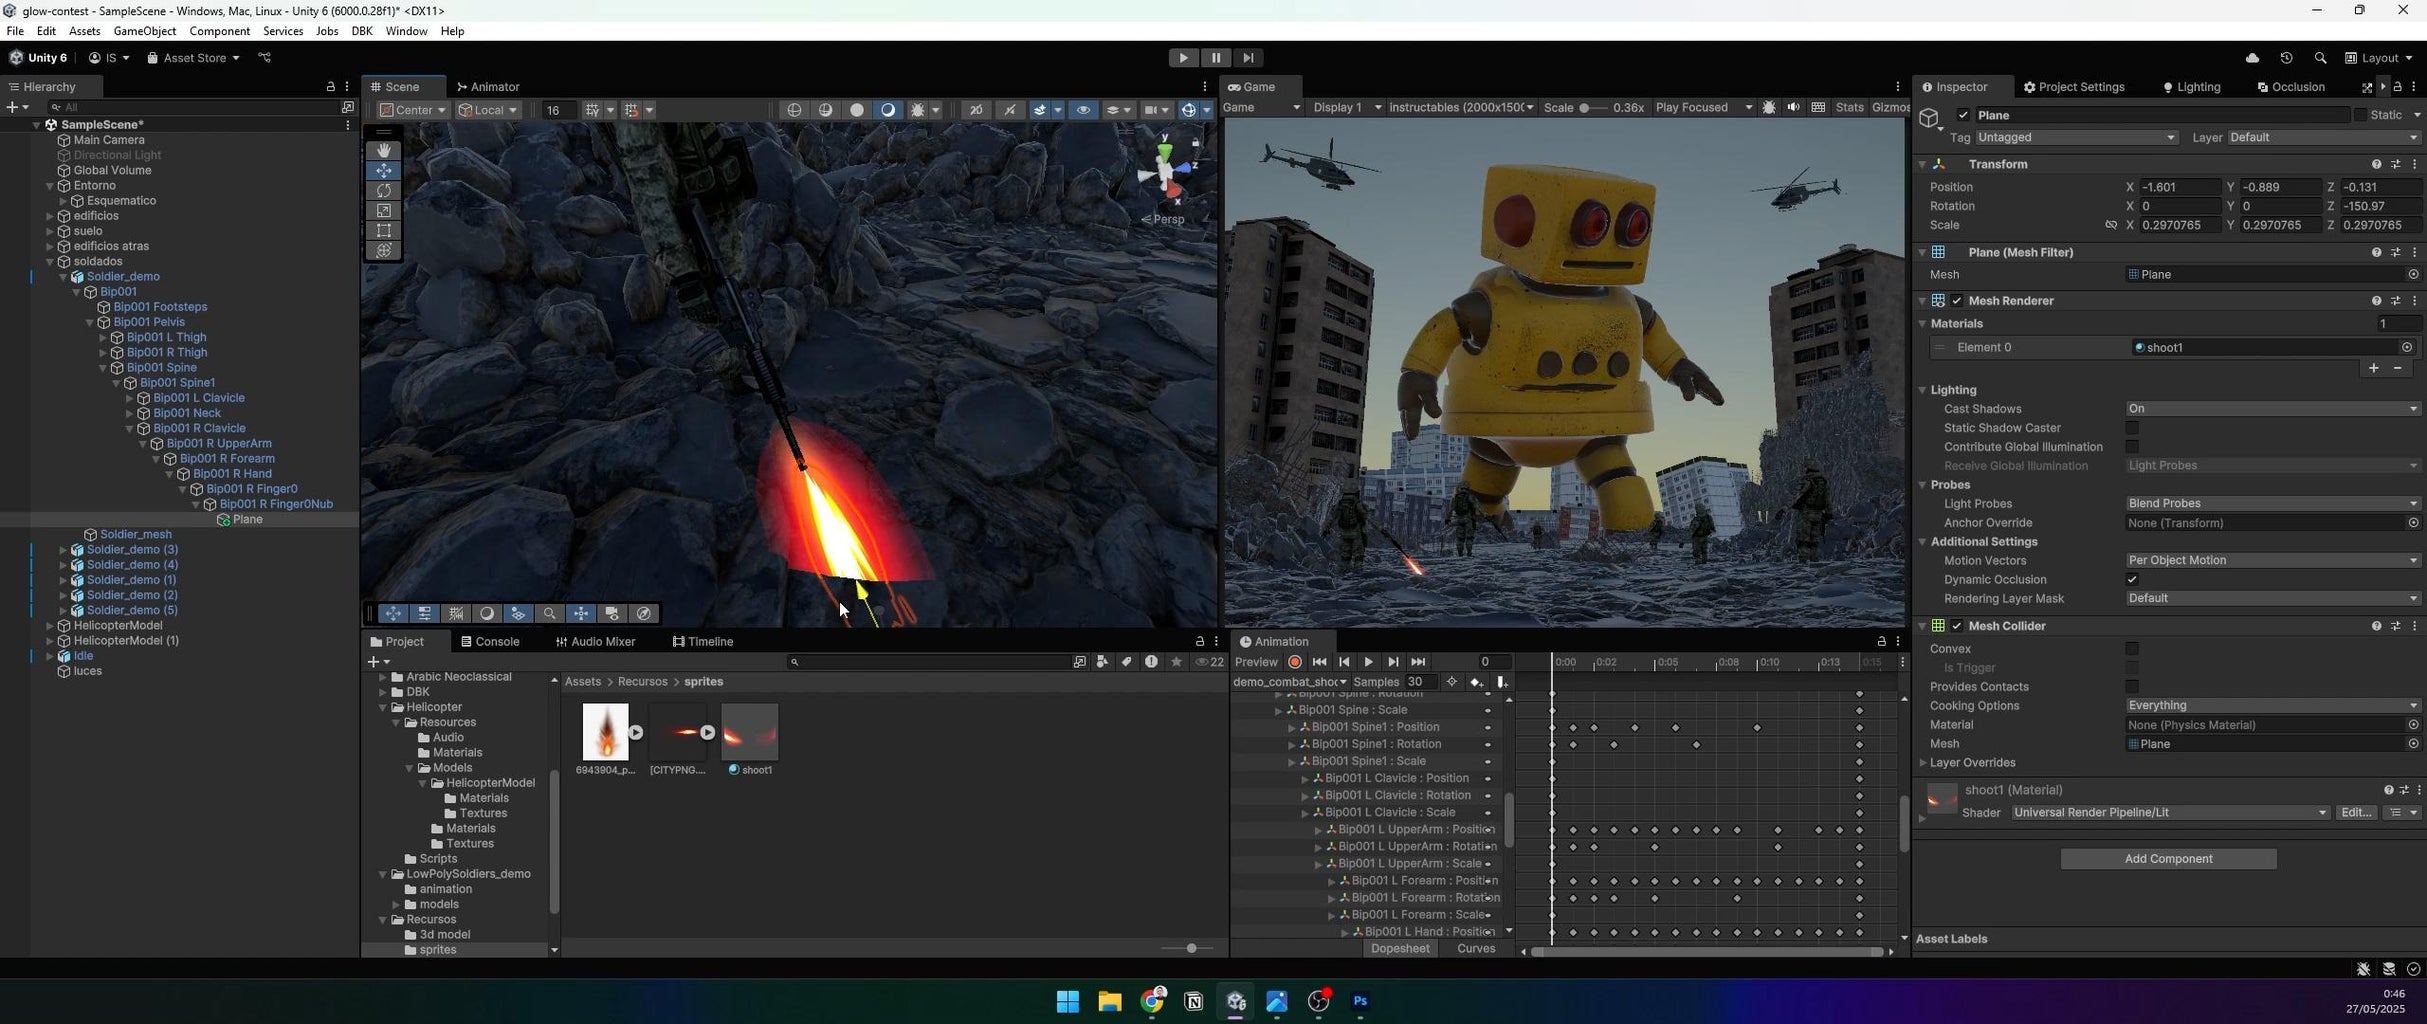
Download a PNG of a muzzle flash. For soldiers and helicopters:
- Create a plane at the weapon’s tip.
- Apply an Emissive Material with the muzzle flash texture.
- For the robot’s eye lasers, use the same technique, applying the emissive material to planes positioned at the eyes for a glowing effect.
Step 18: Add Lightning Effects
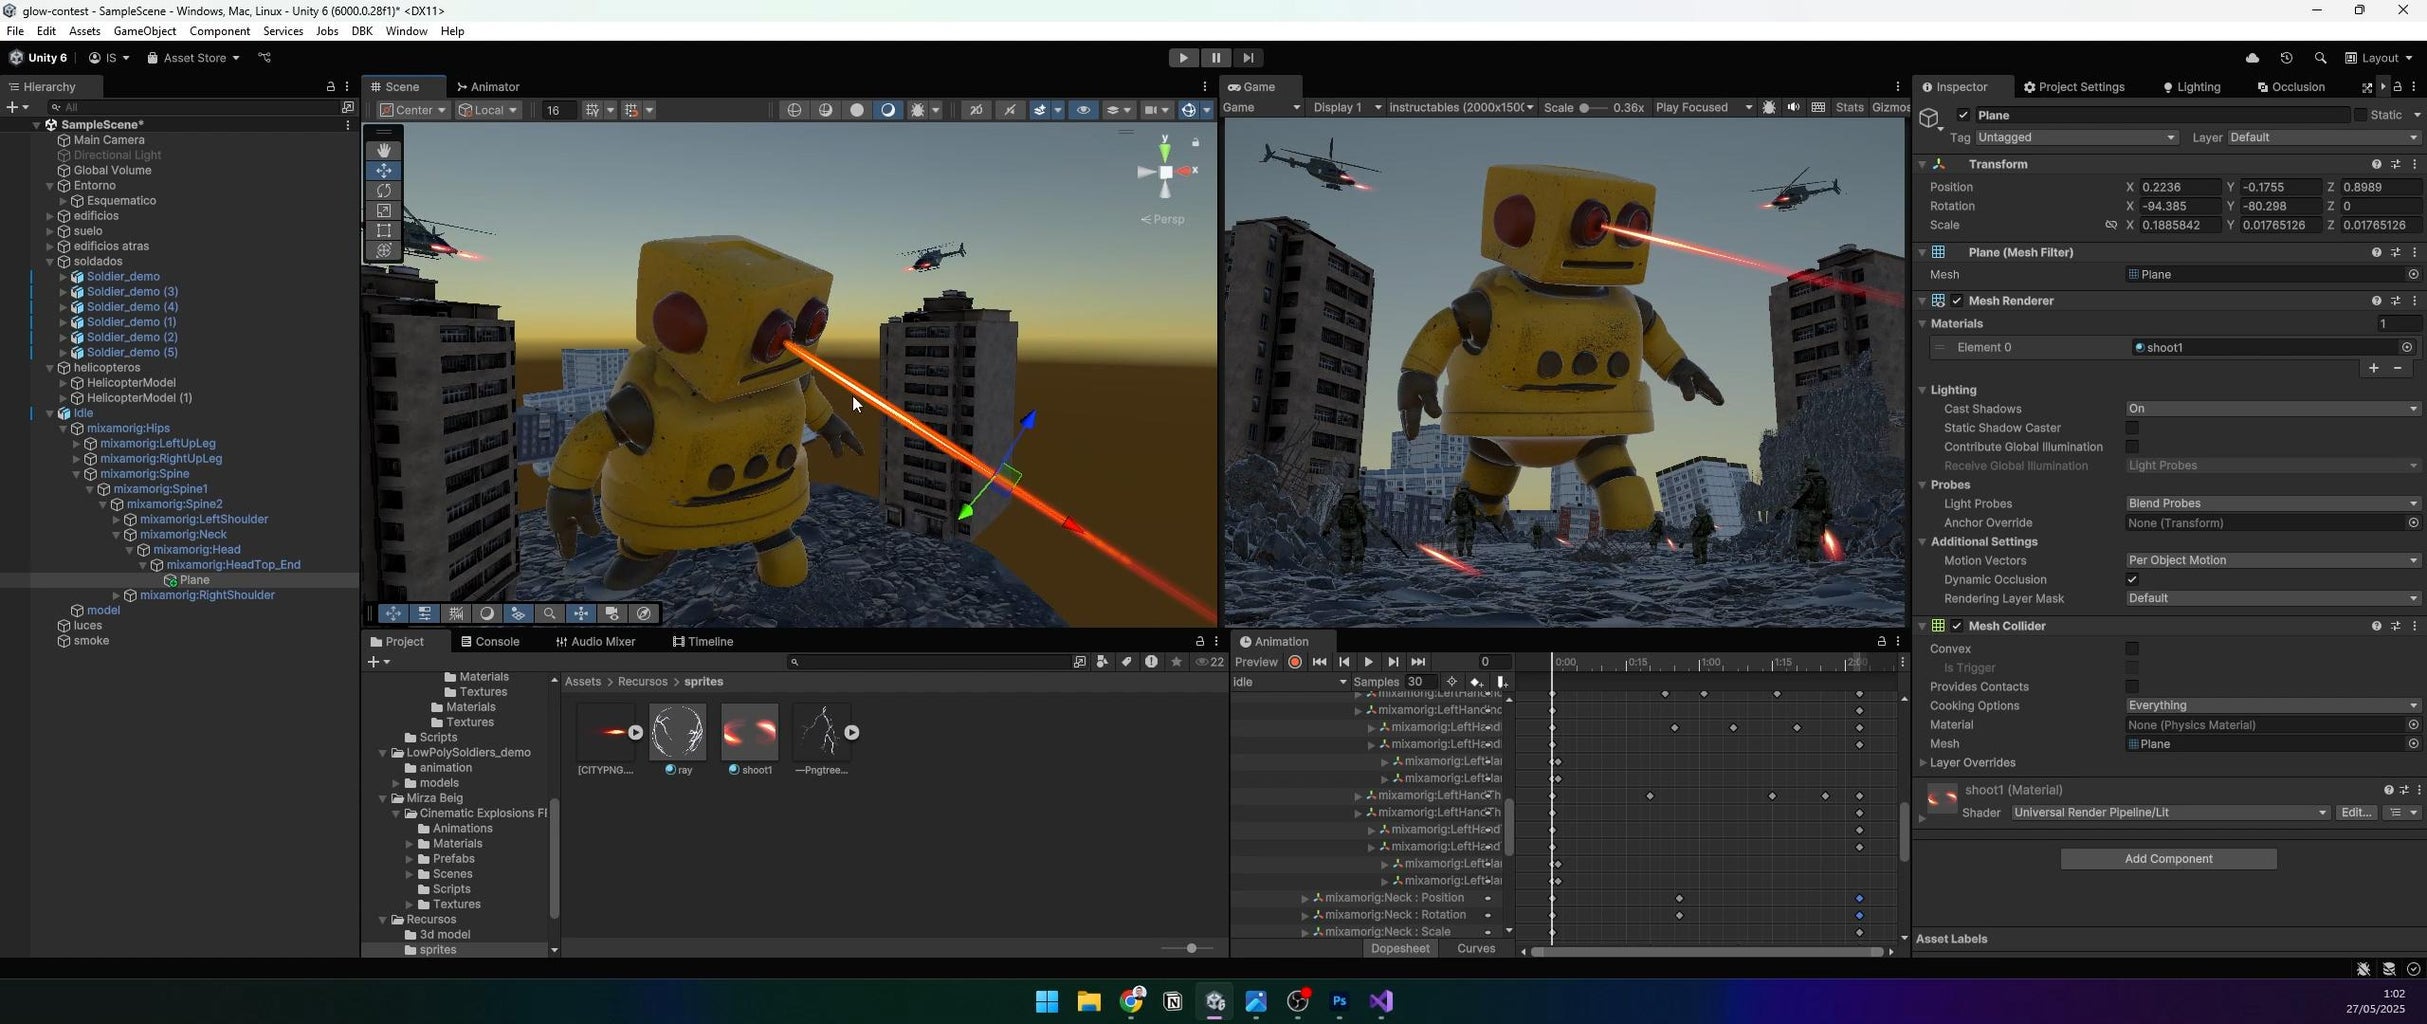
Repeat the process from Step 17 for lightning. Use a lightning PNG texture on planes in the sky, with emissive materials to simulate flashes.
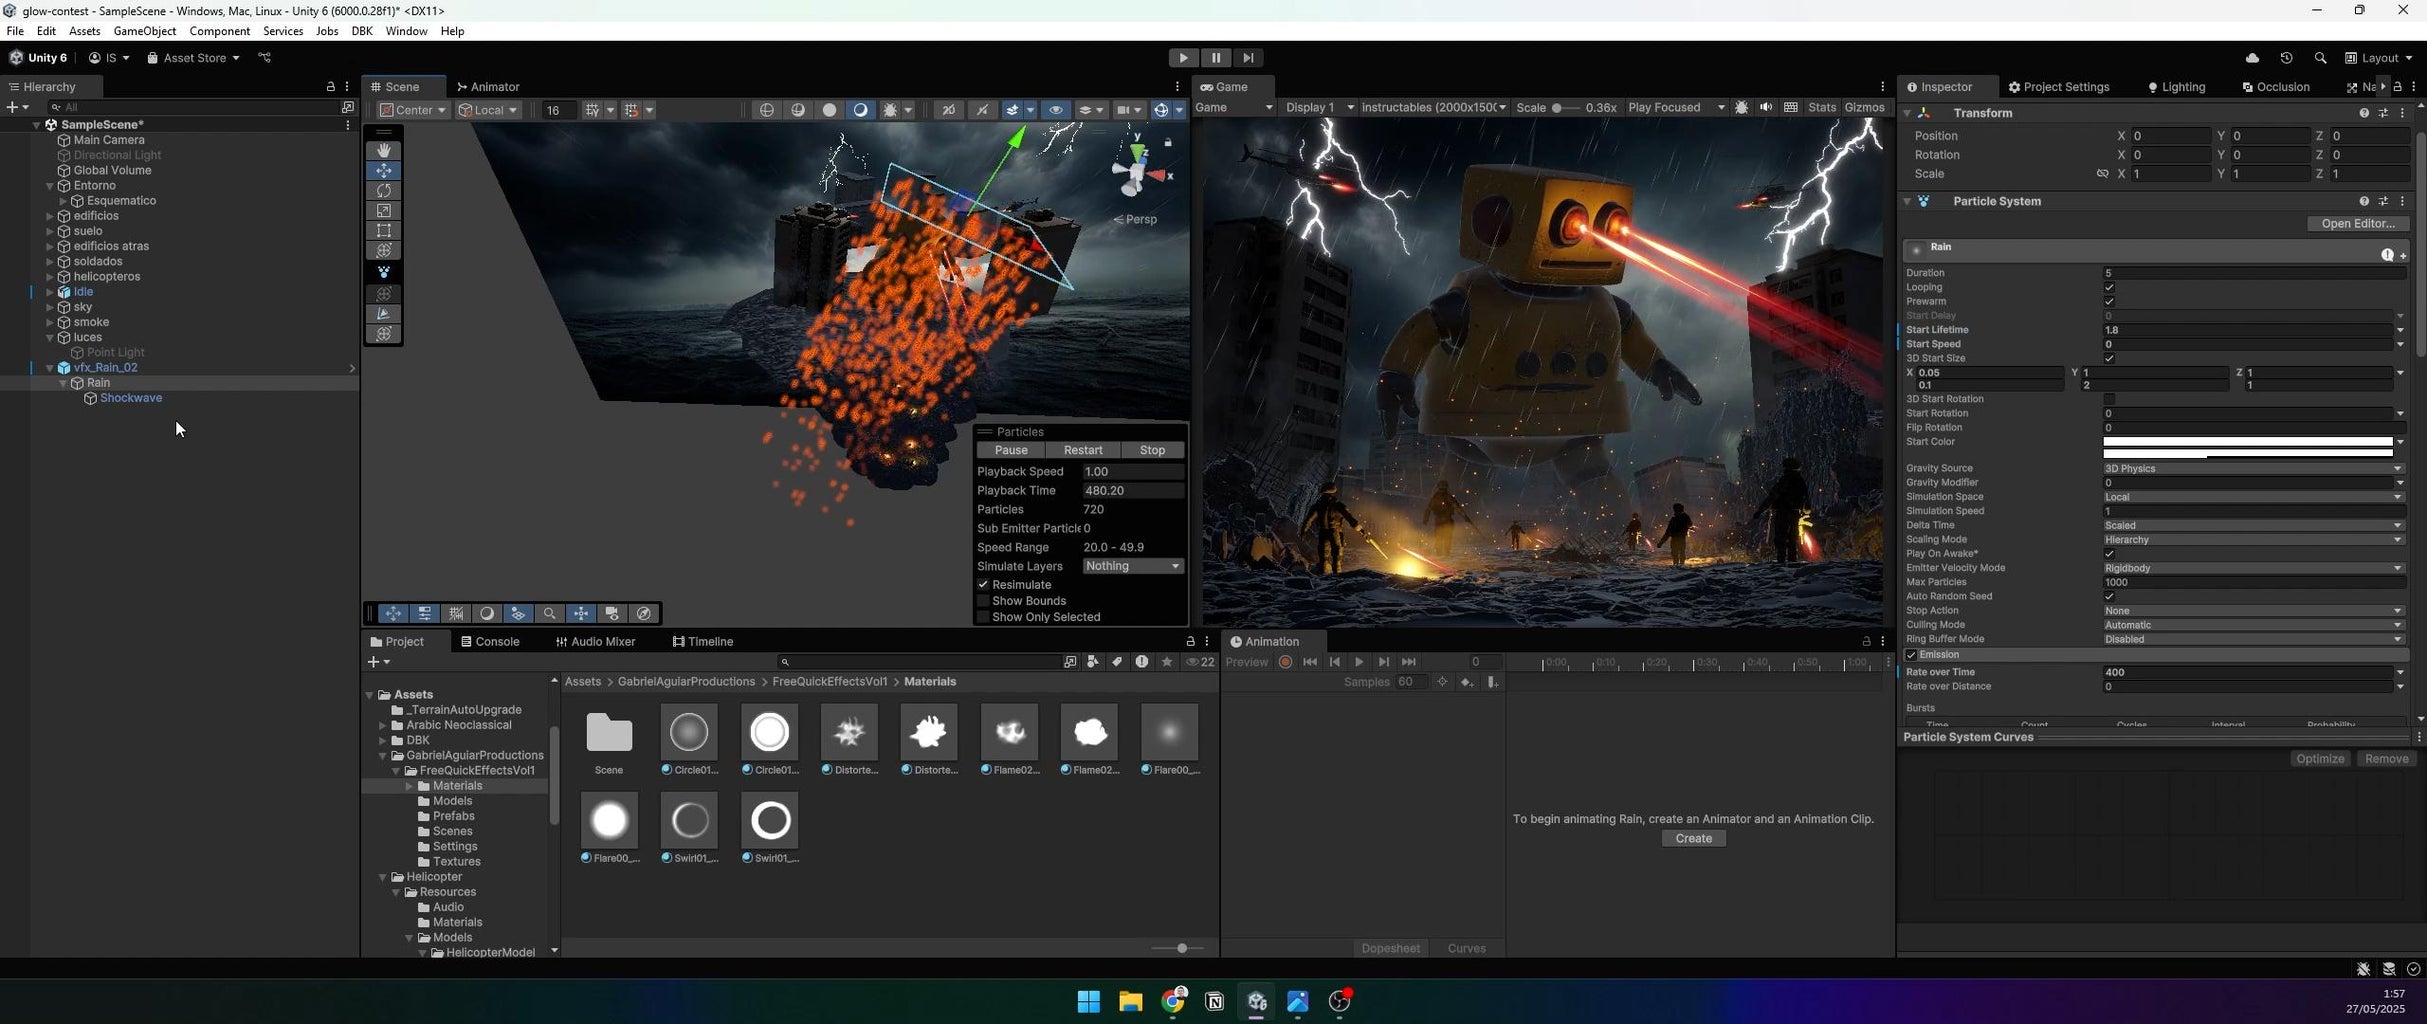
Step 19: Add Dust and Embers


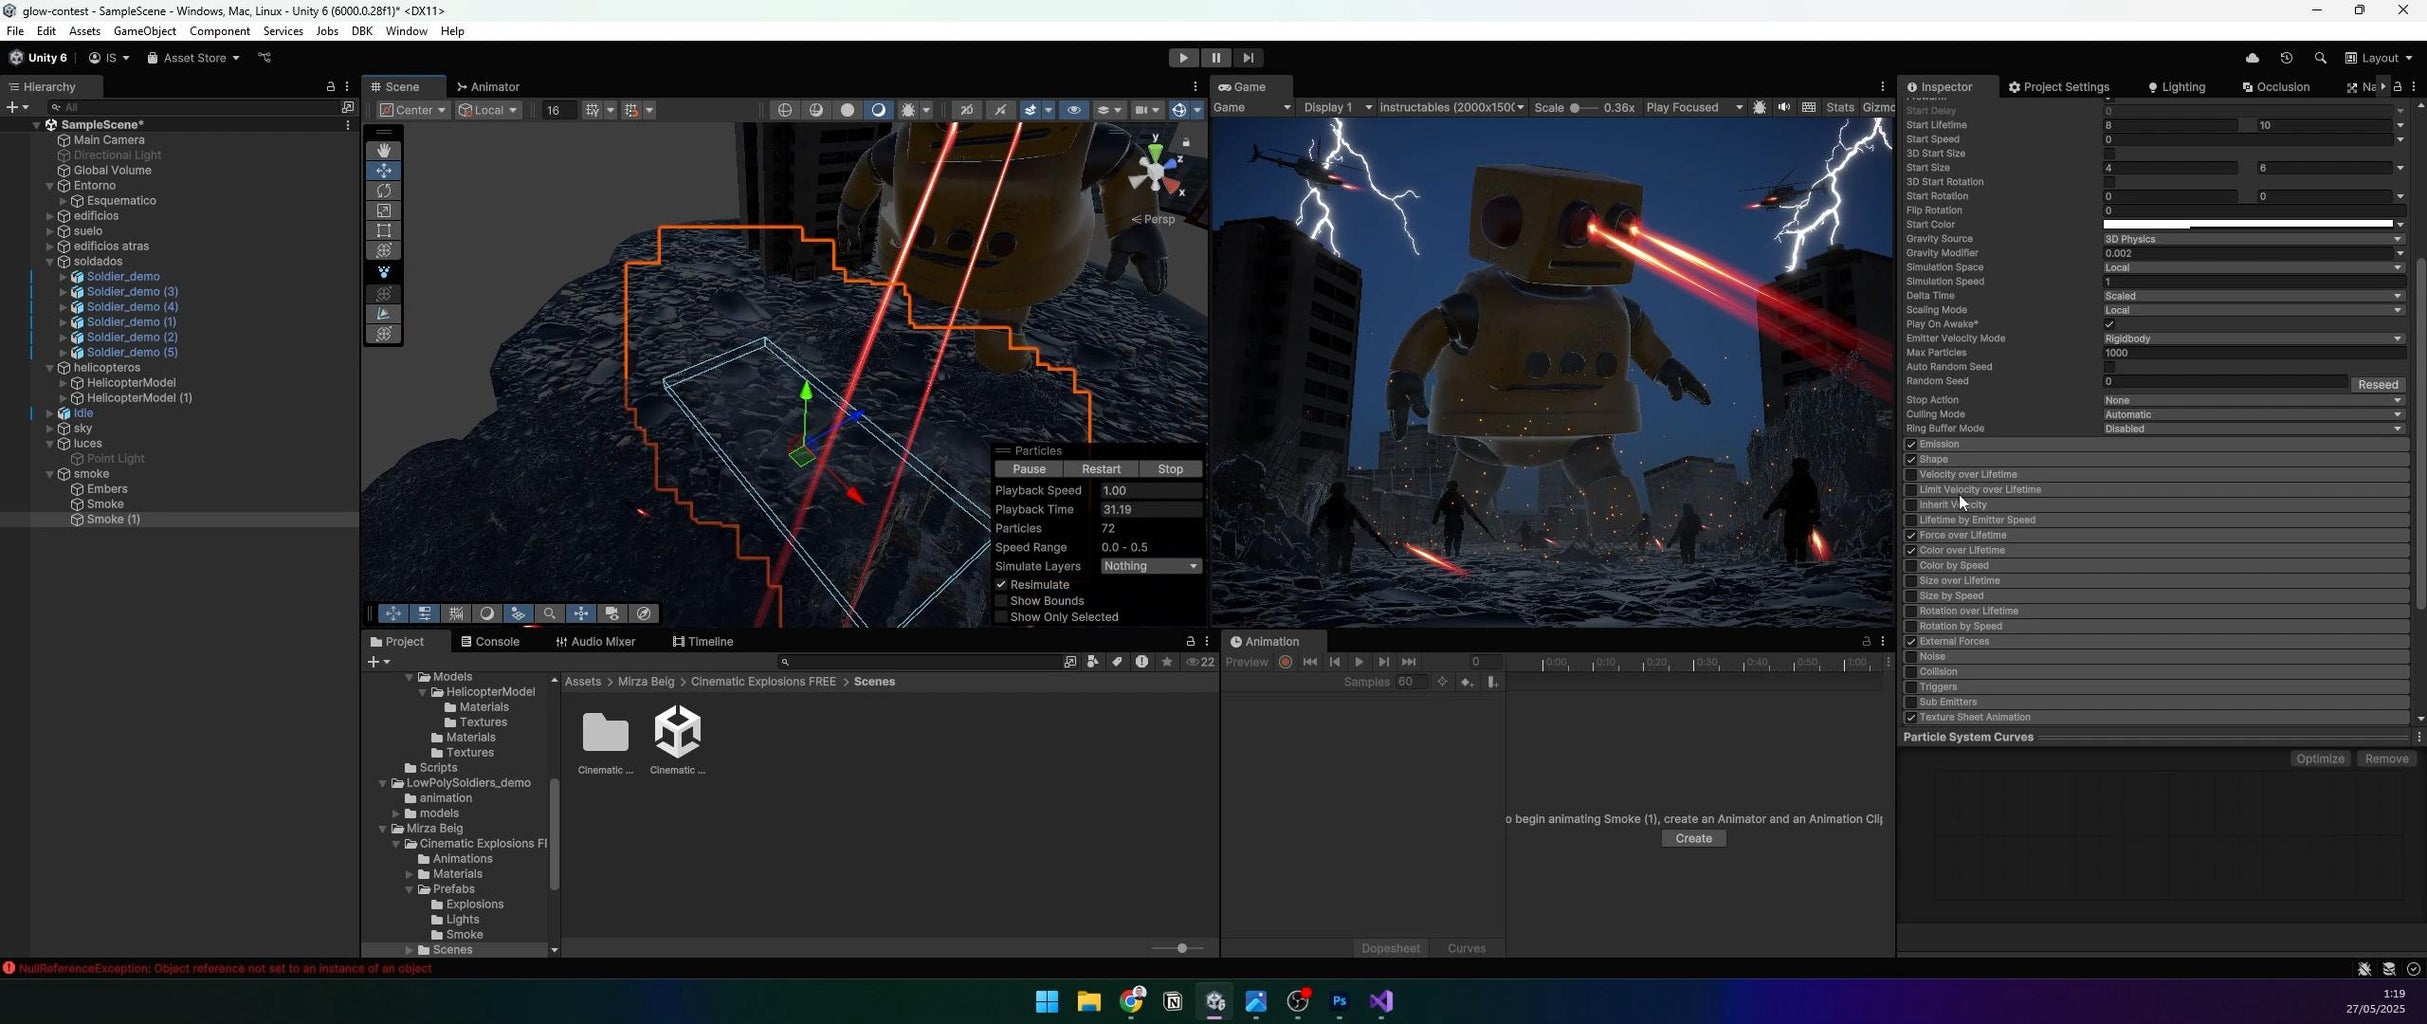
Import a dust and ember particle asset from the Asset Store. Scatter these particles across the scene to enhance the chaotic atmosphere.
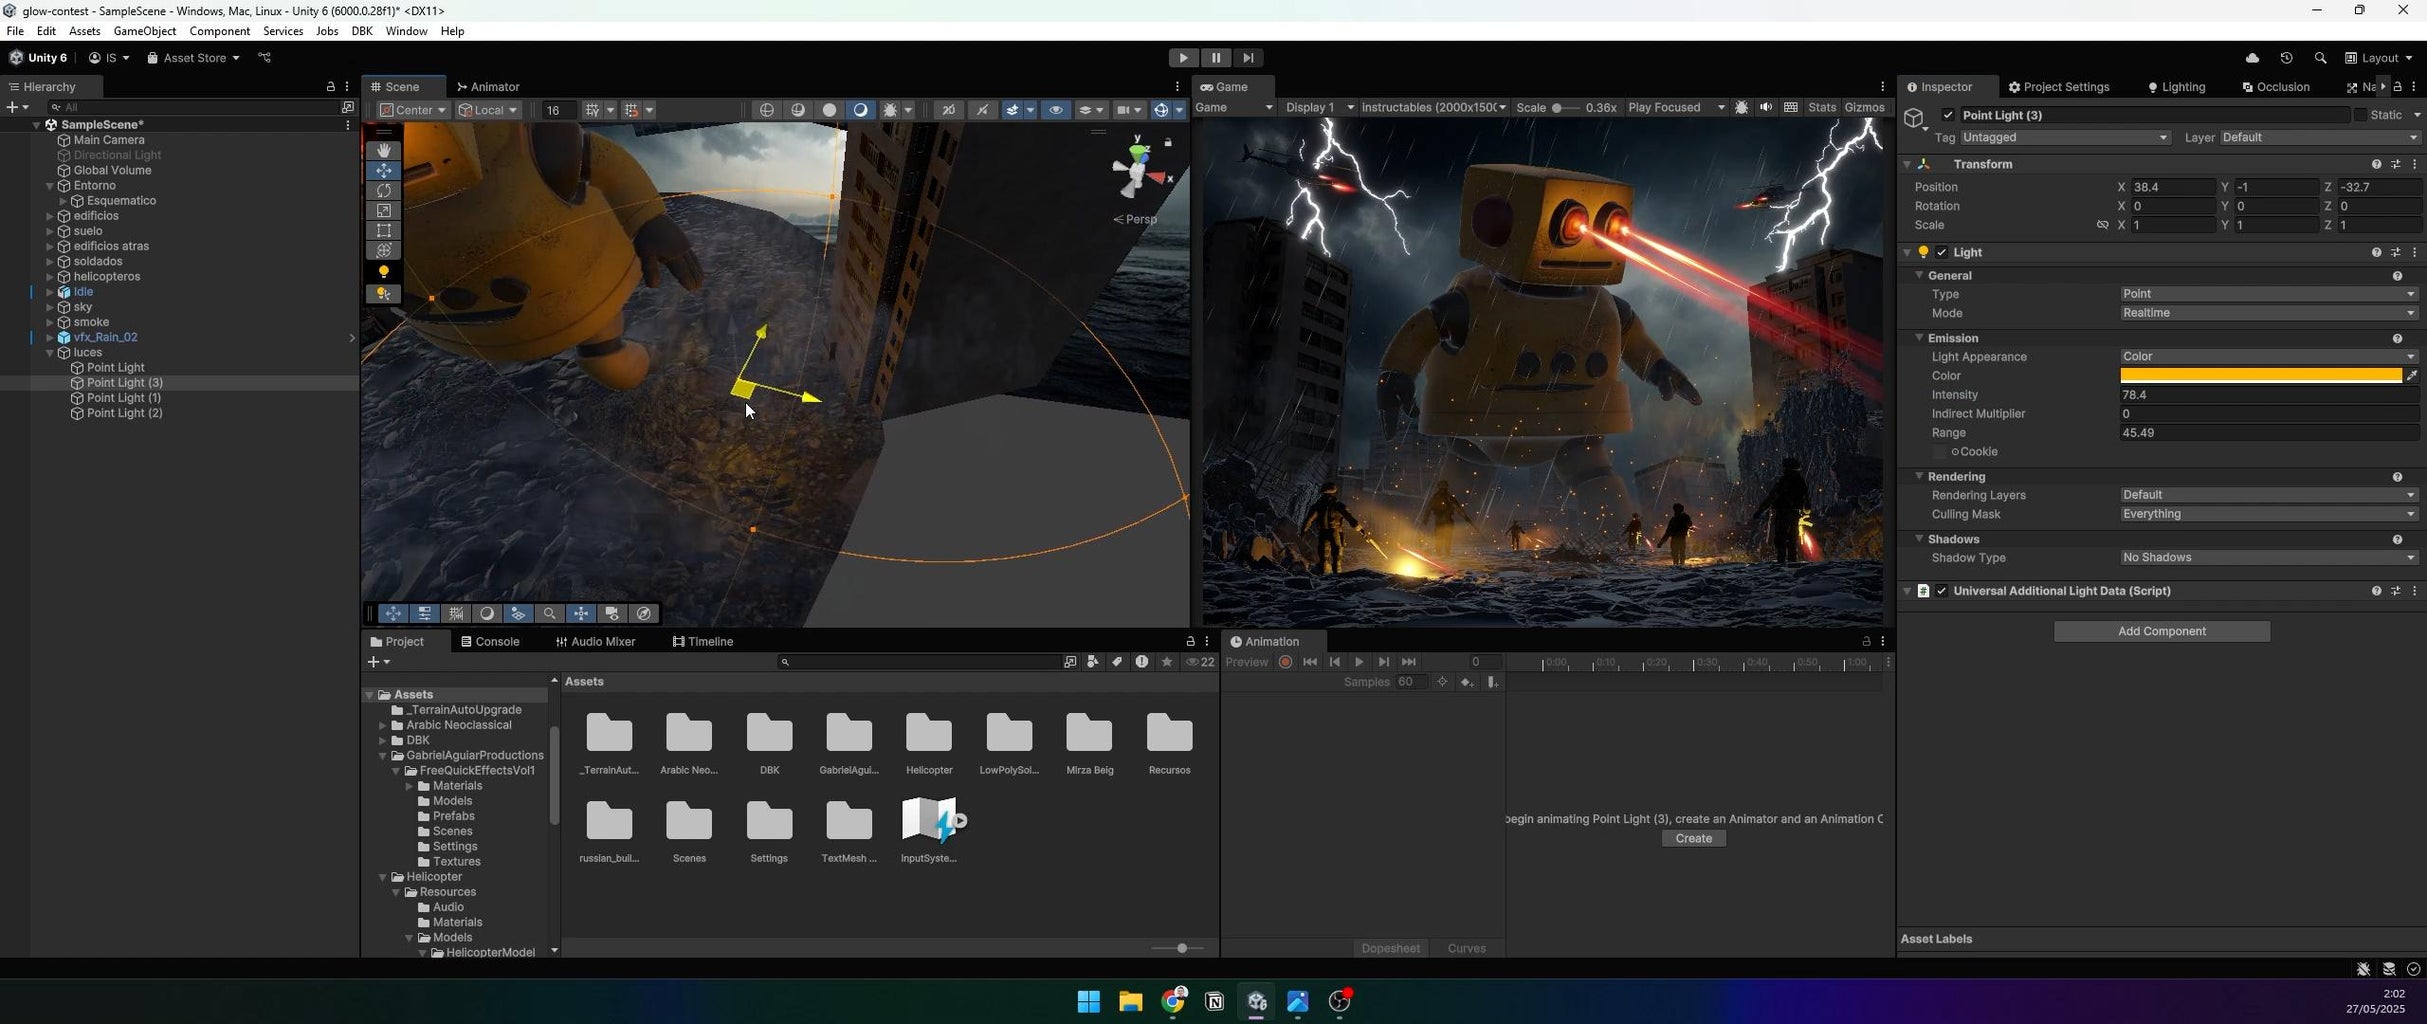
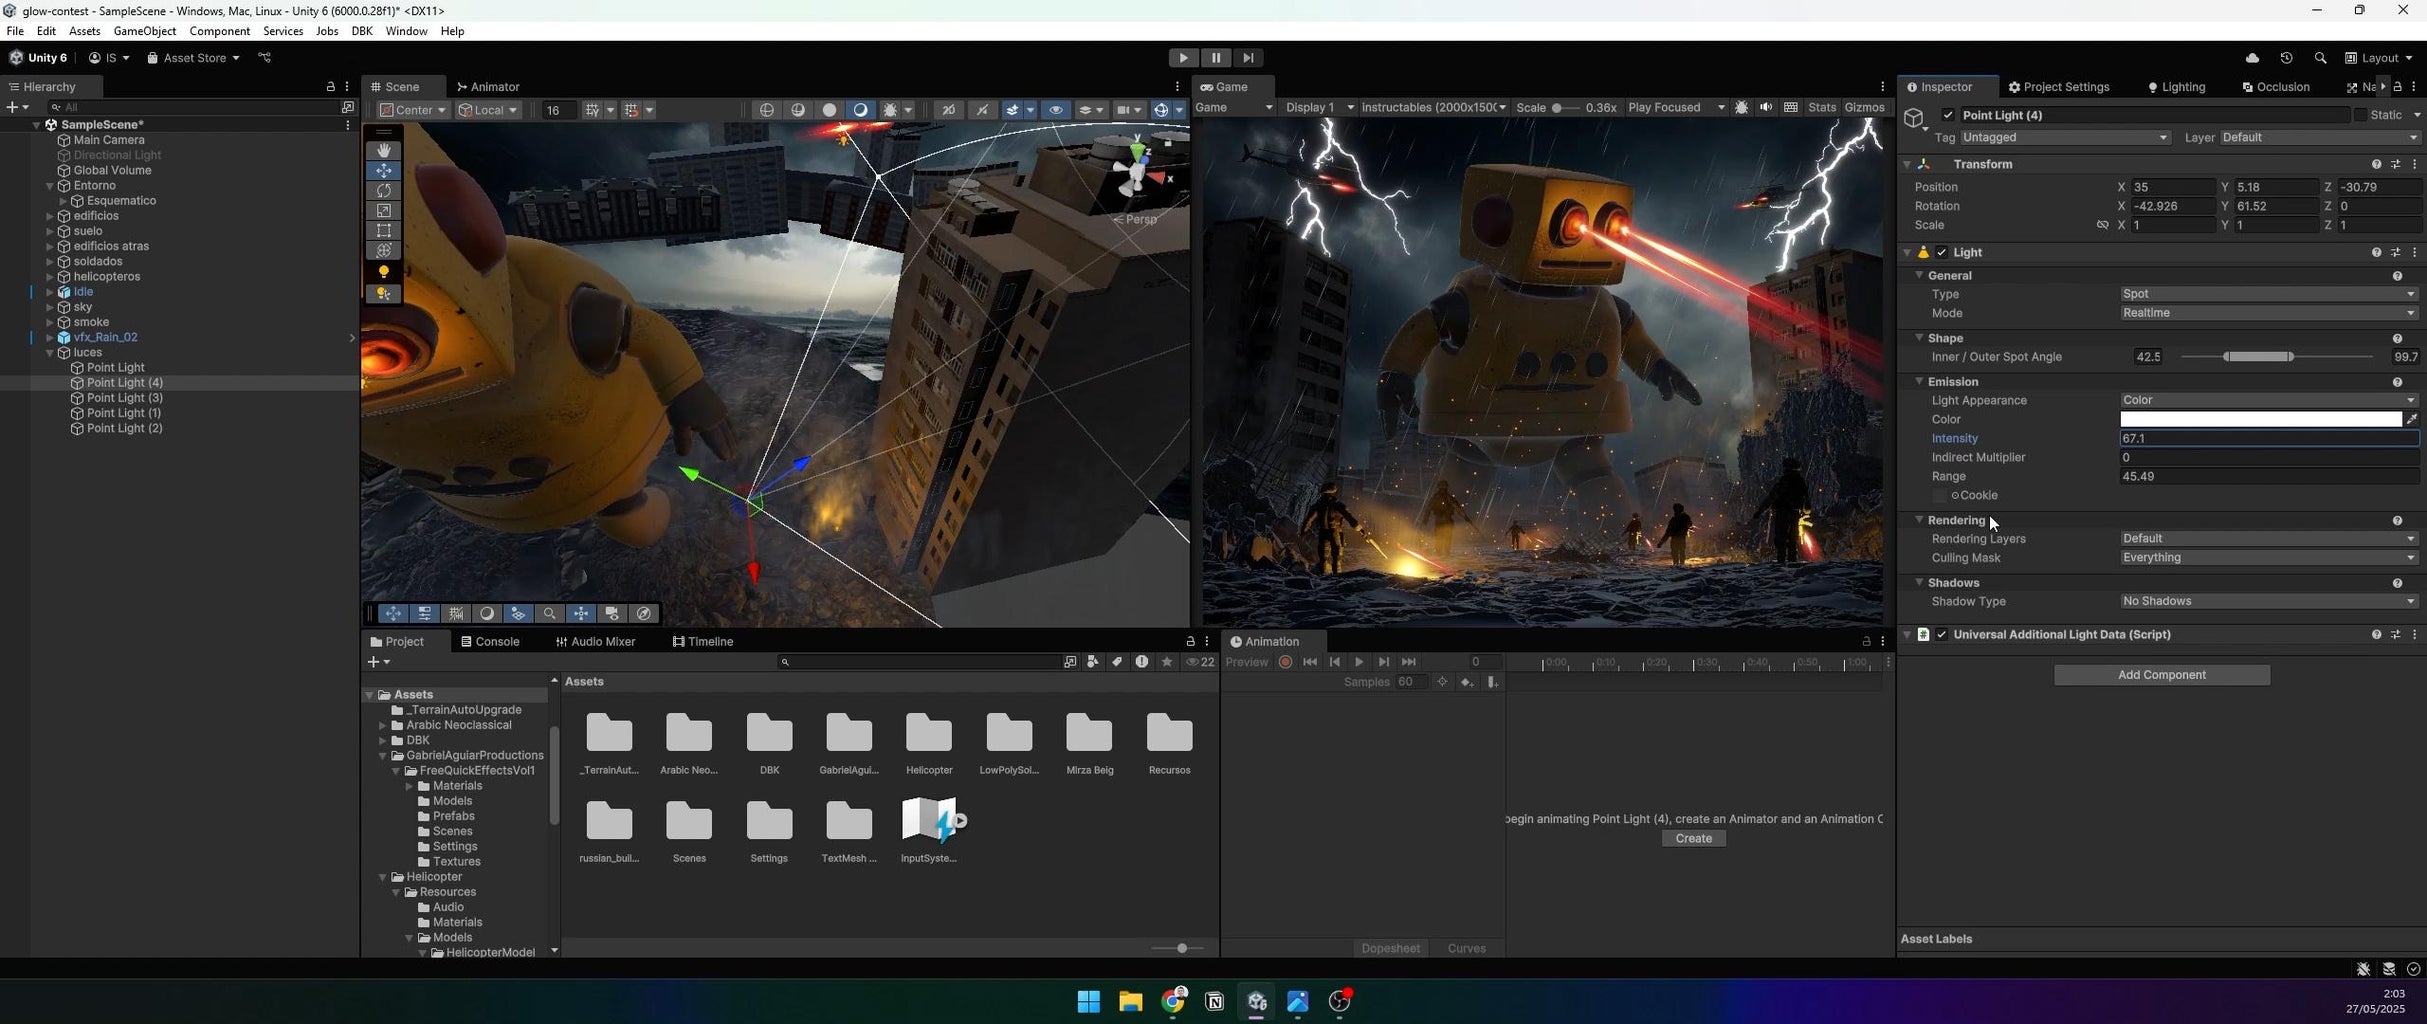
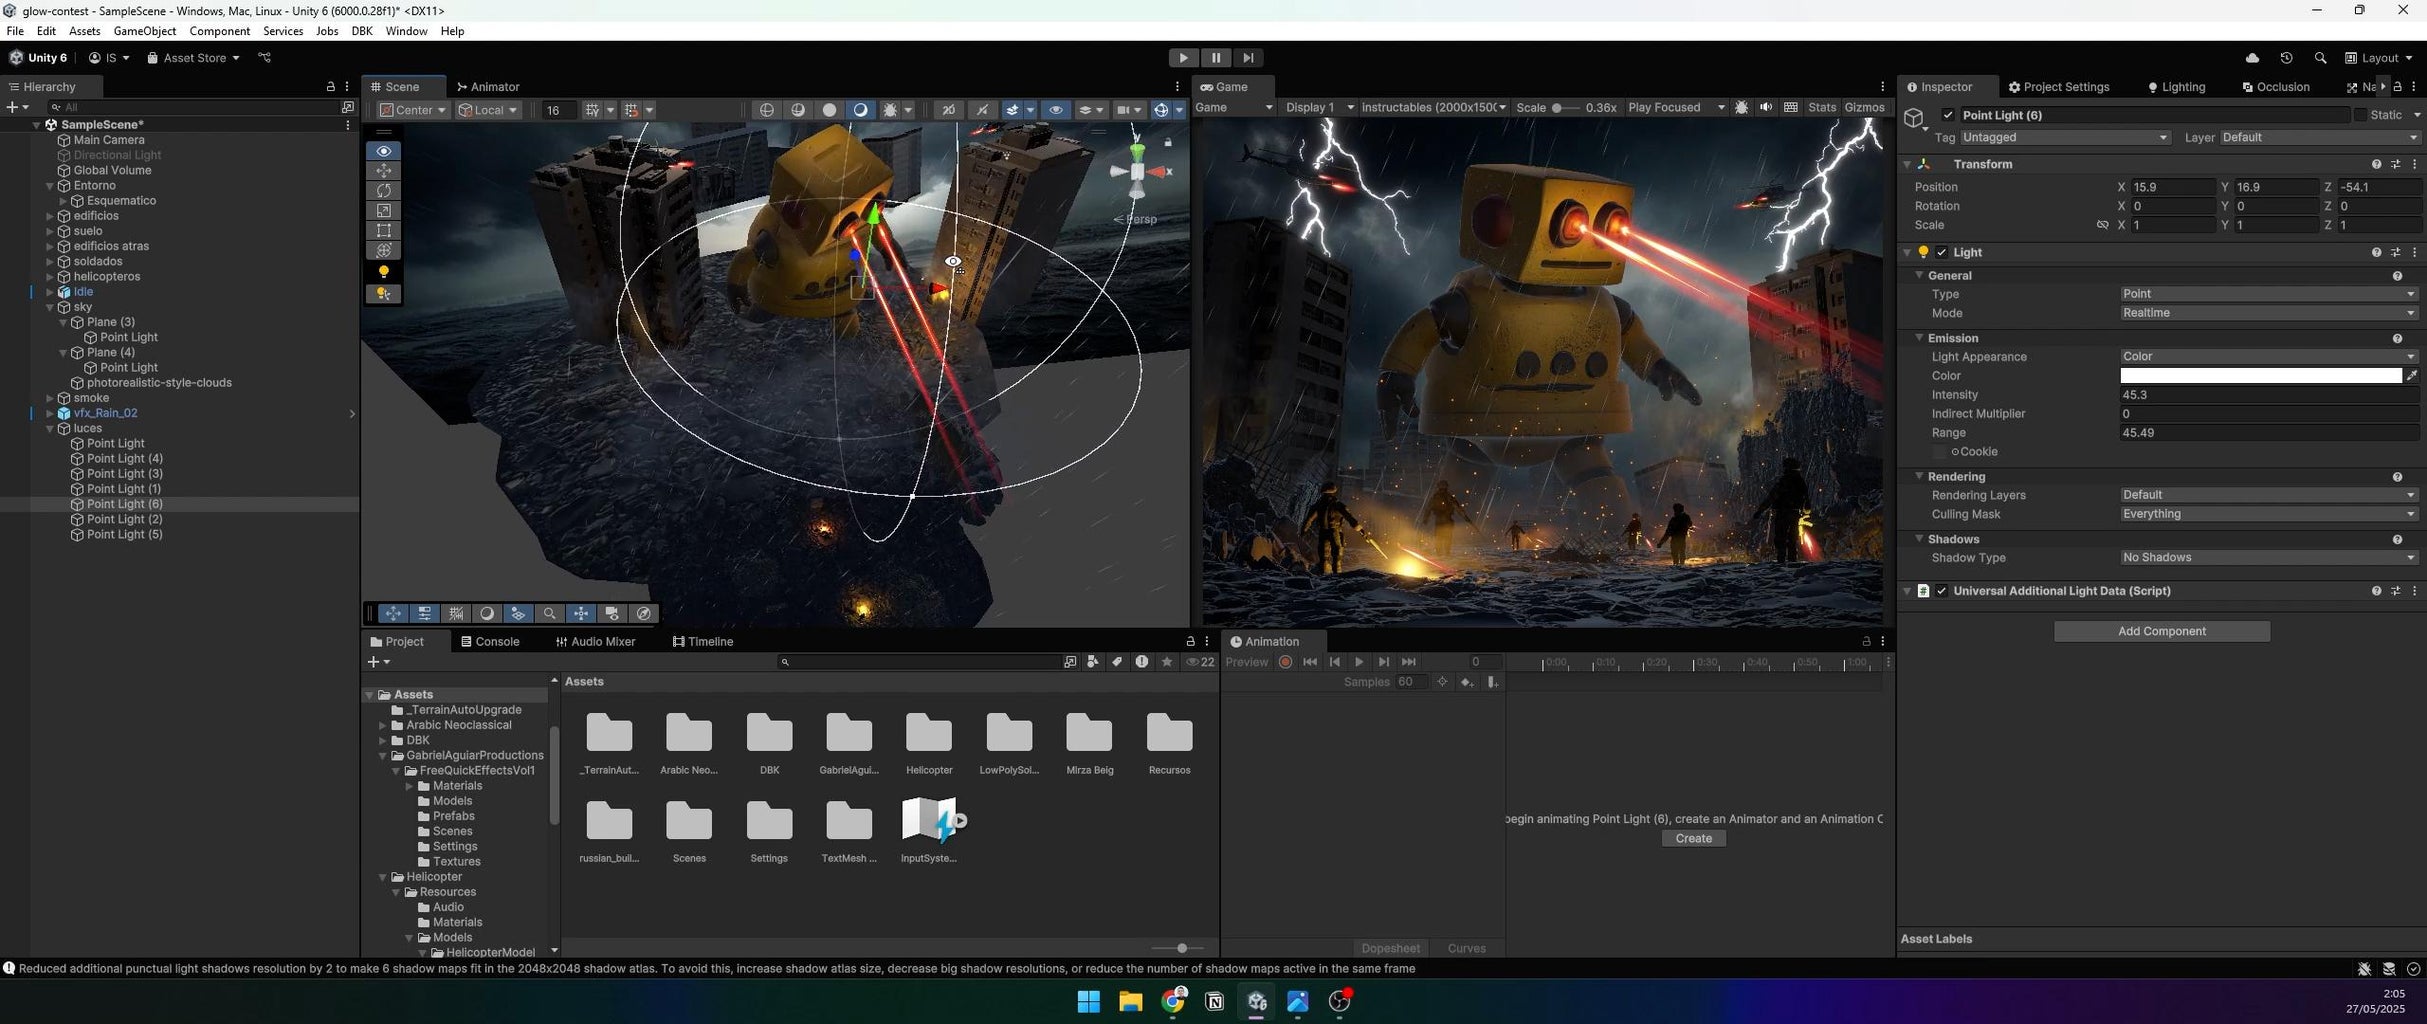
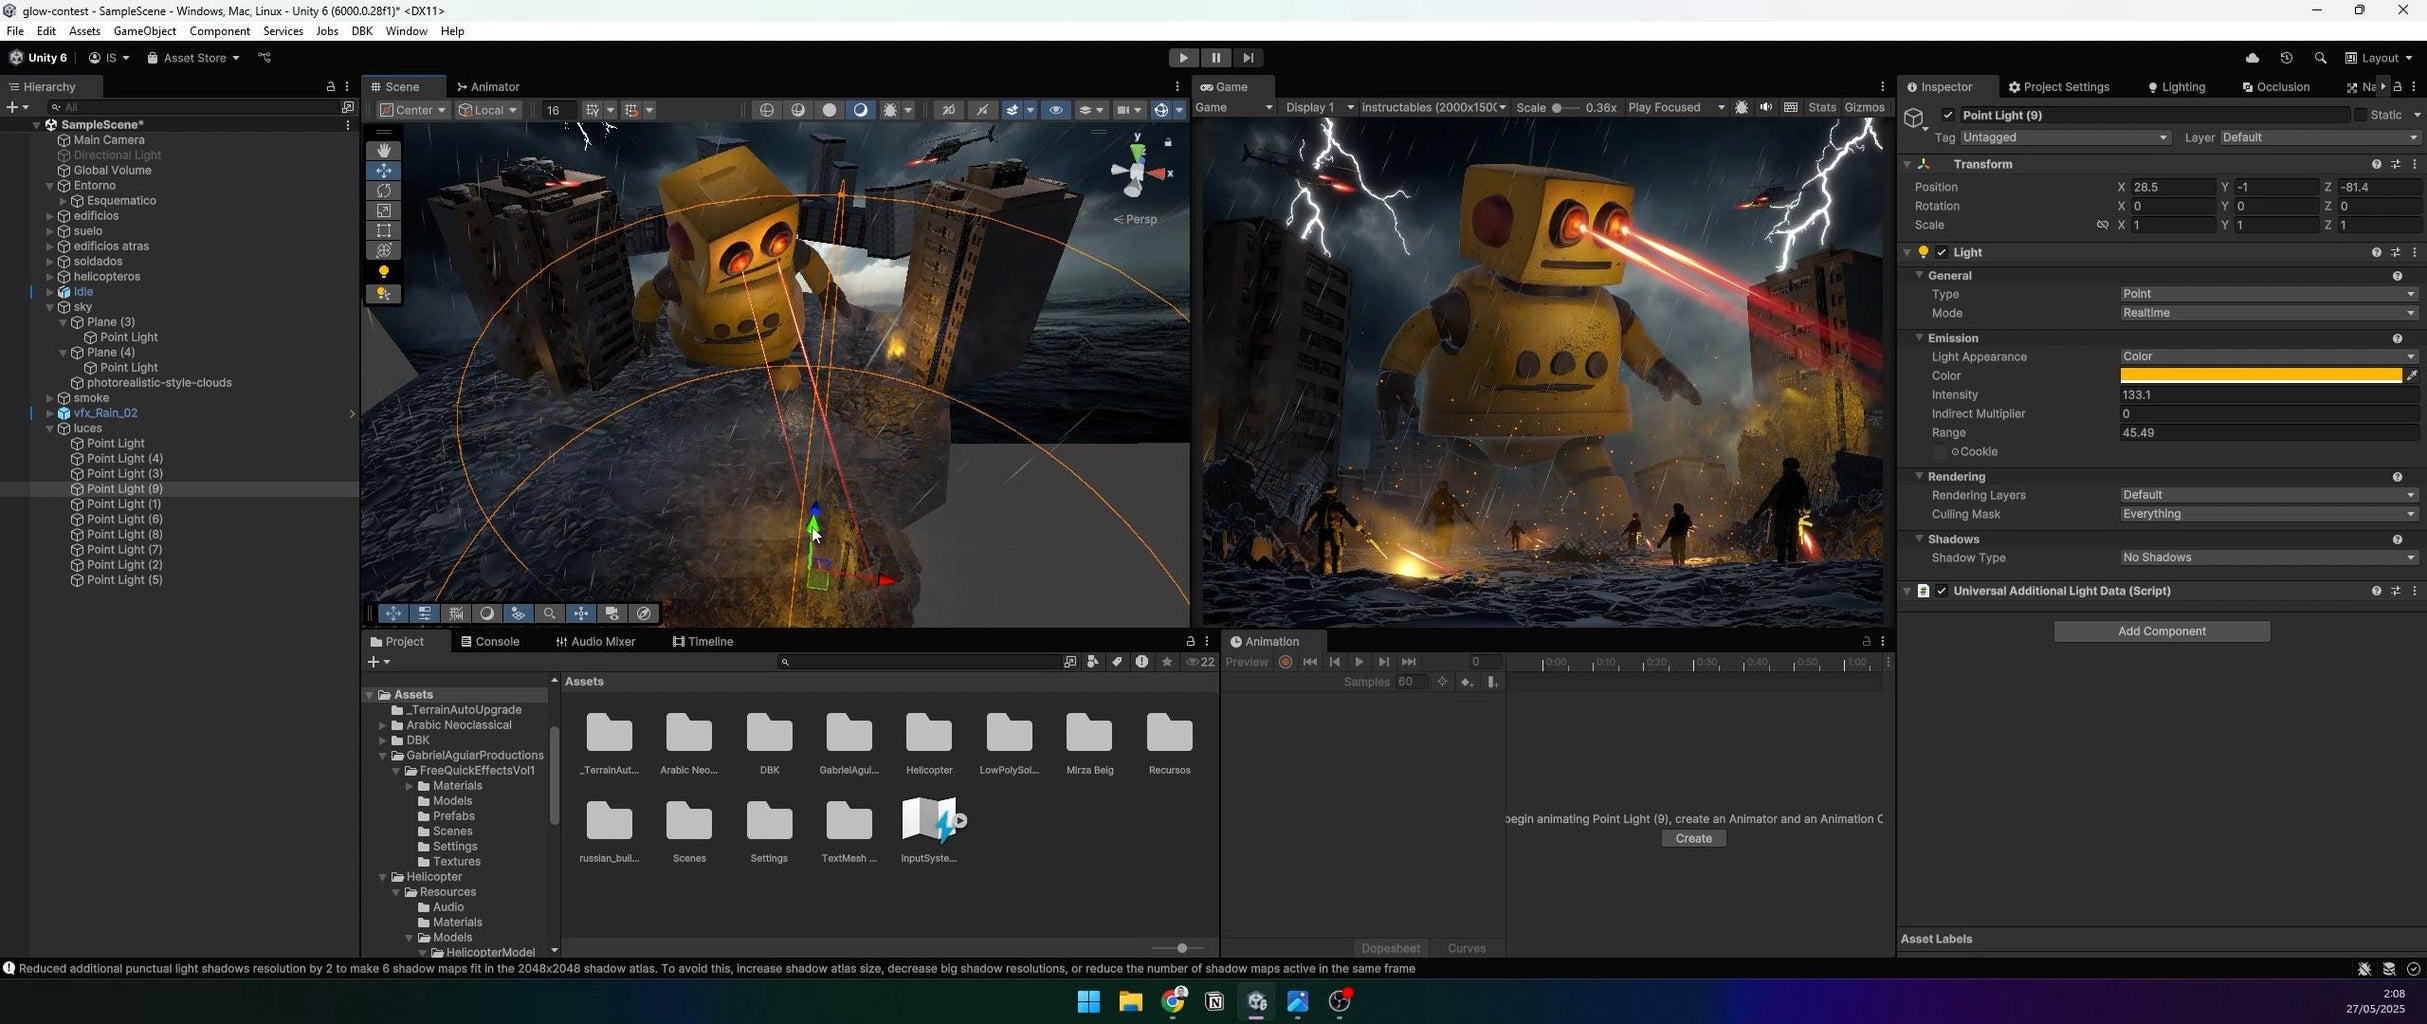
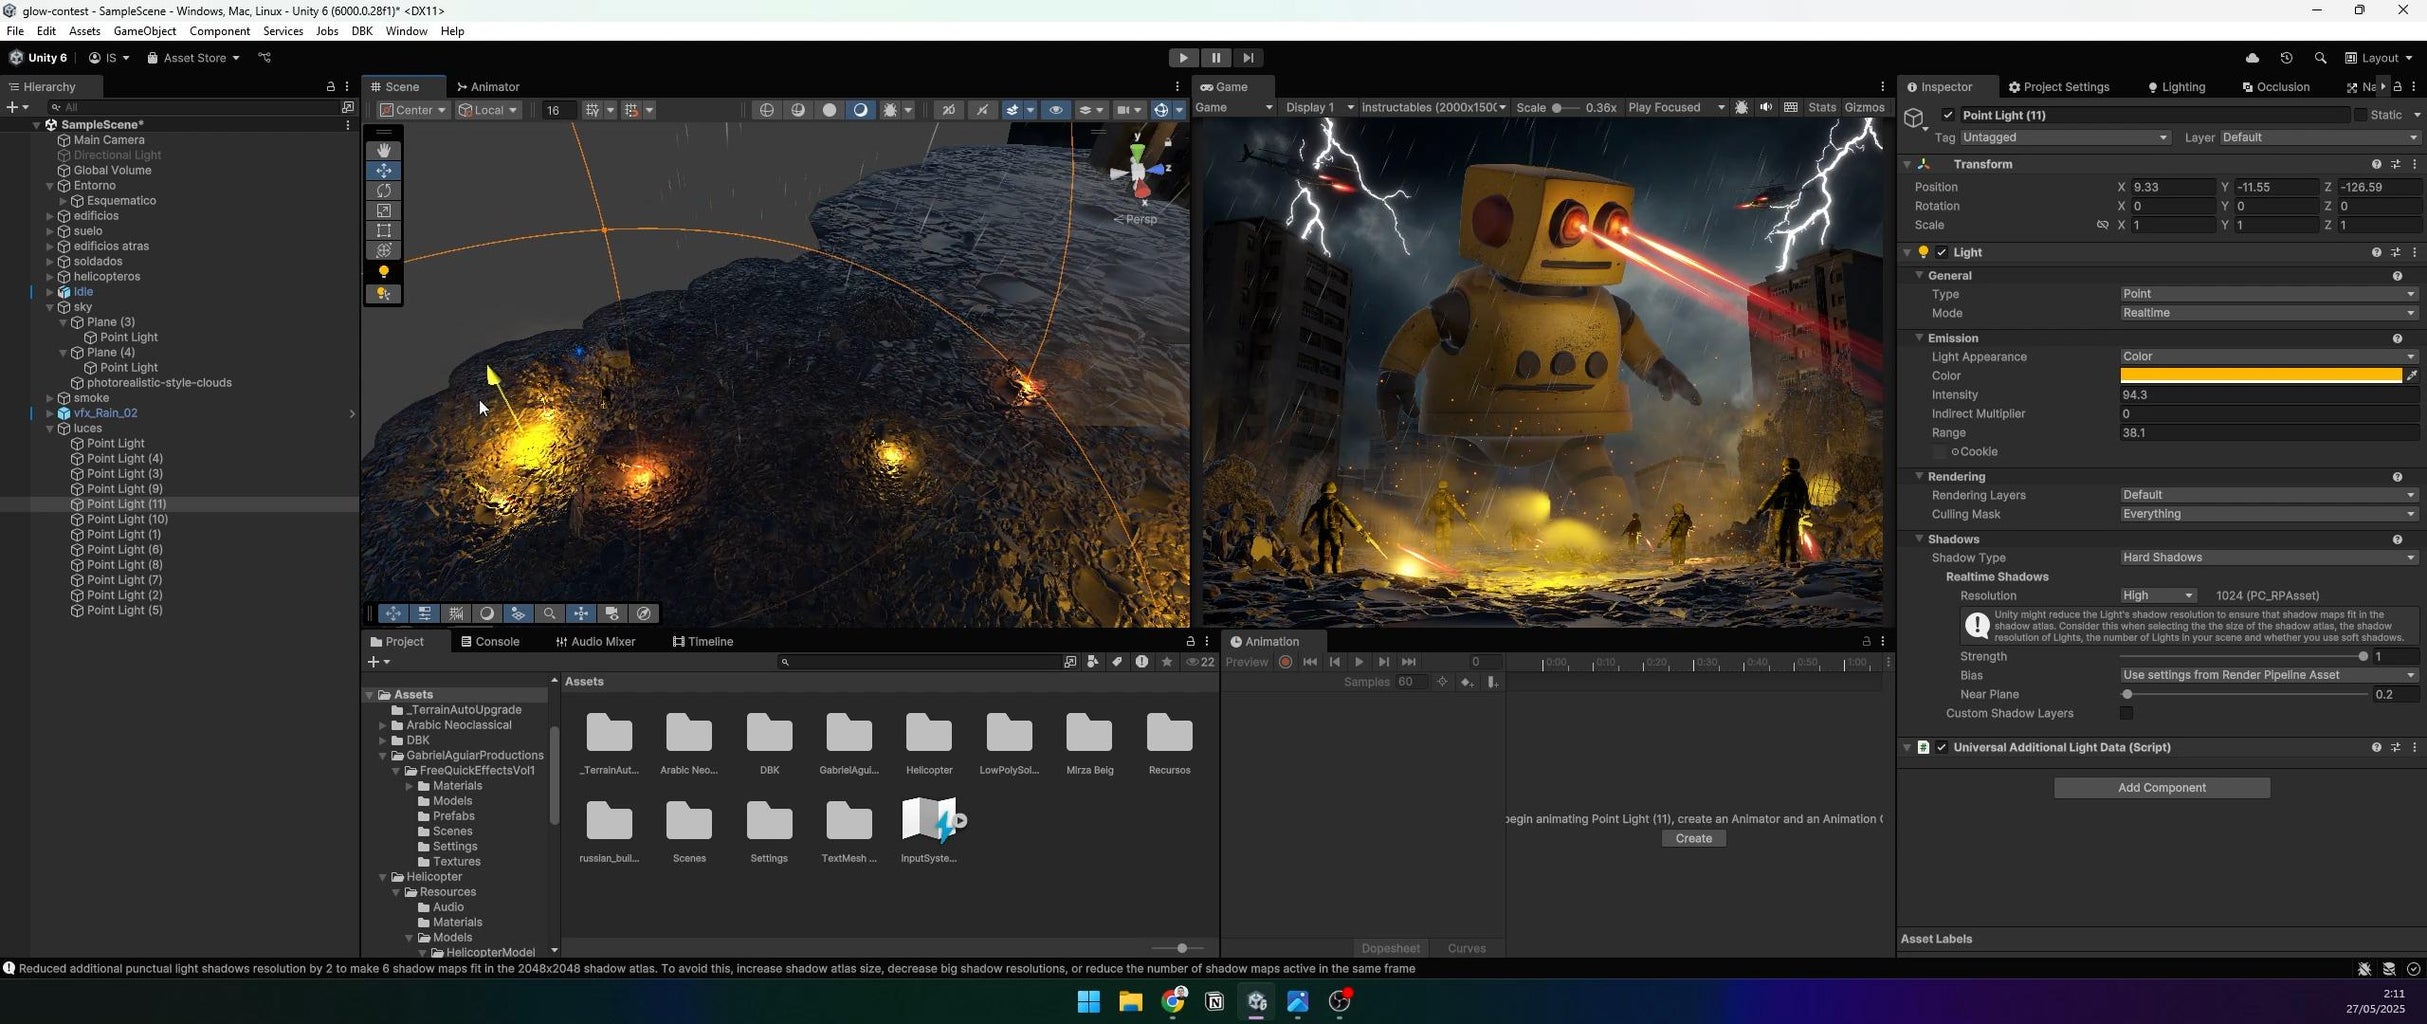
Step 20: Place Point Lights
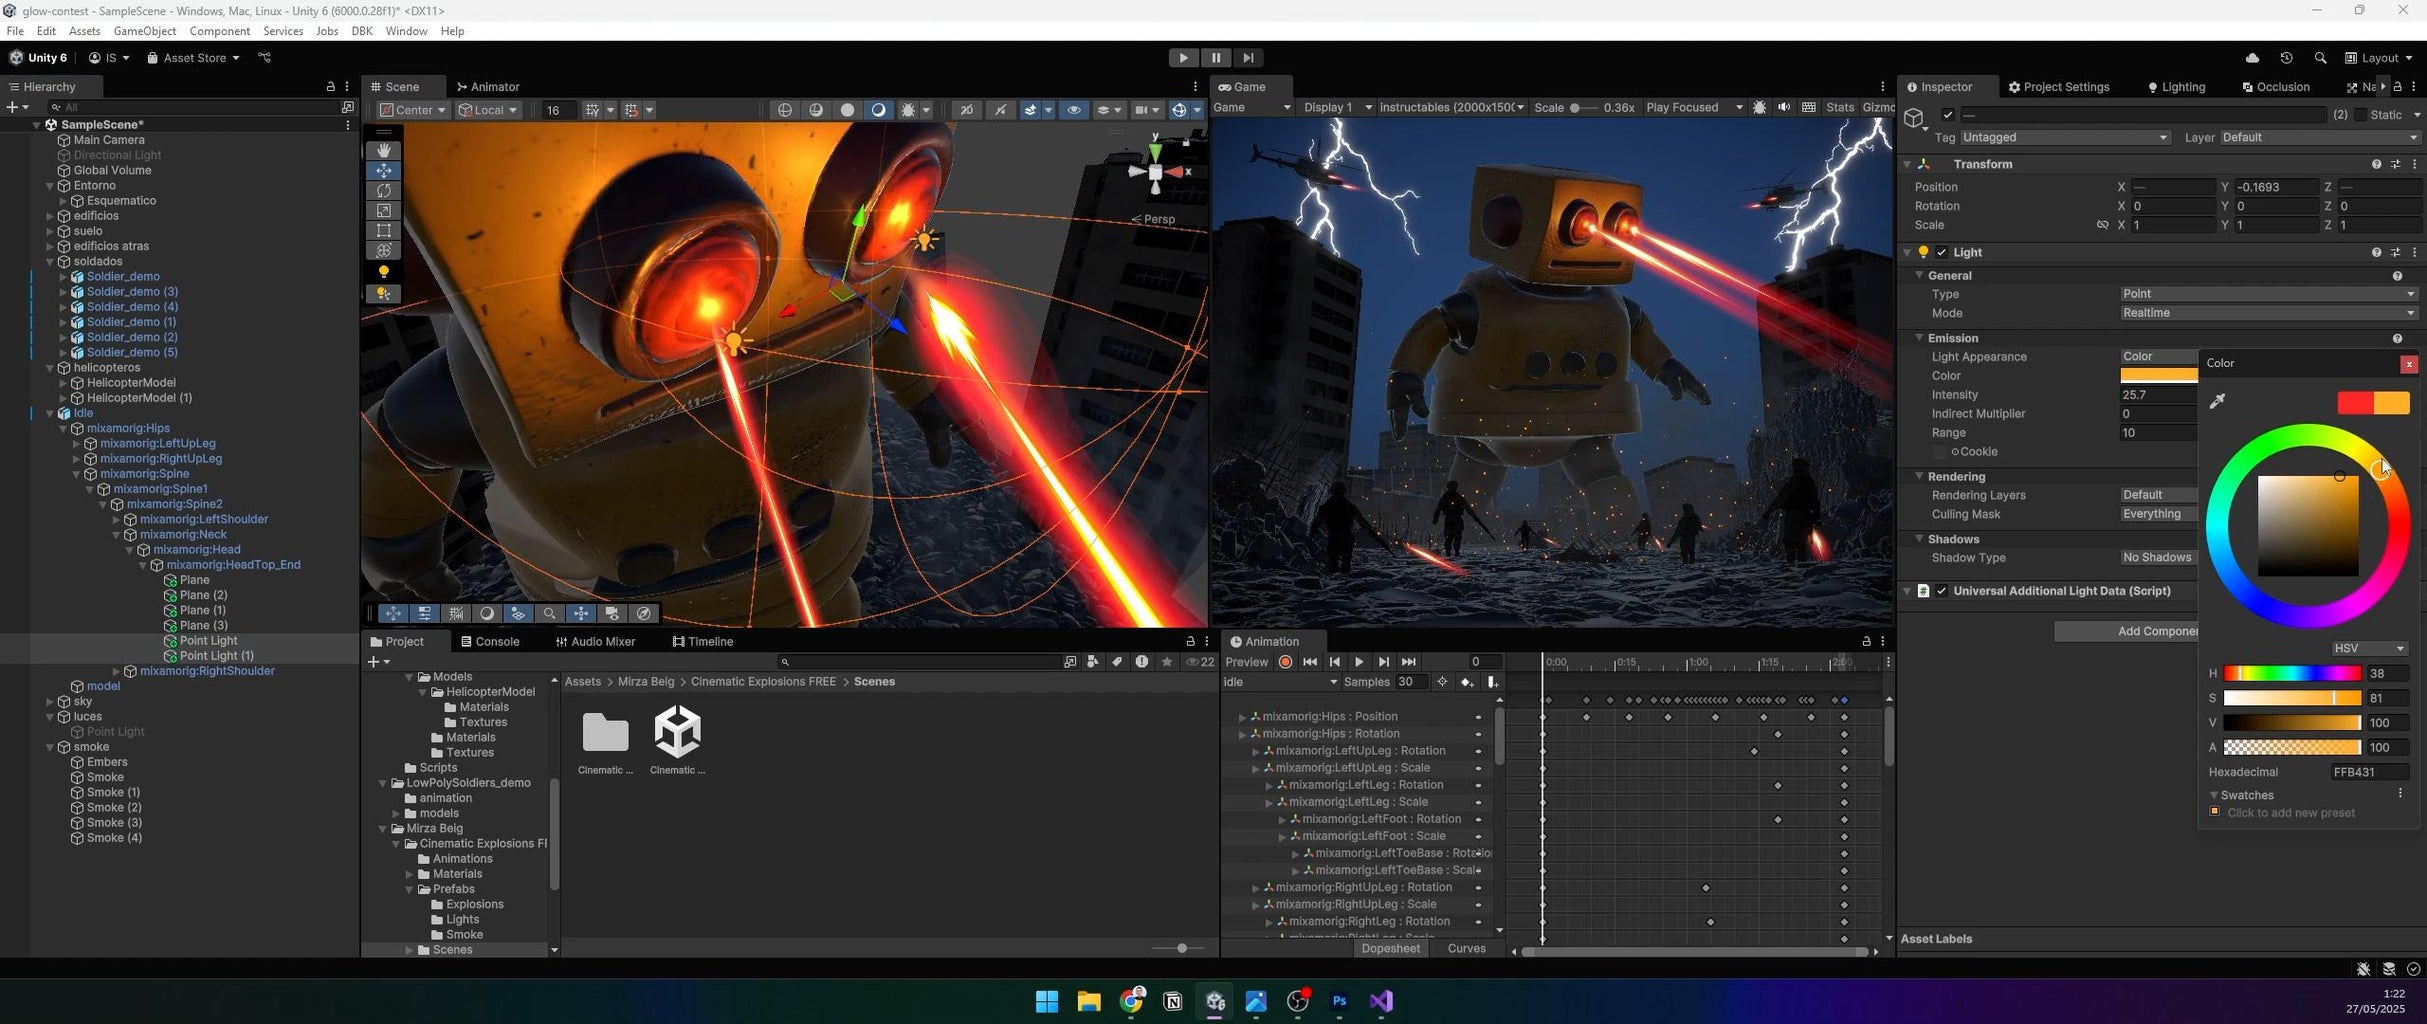
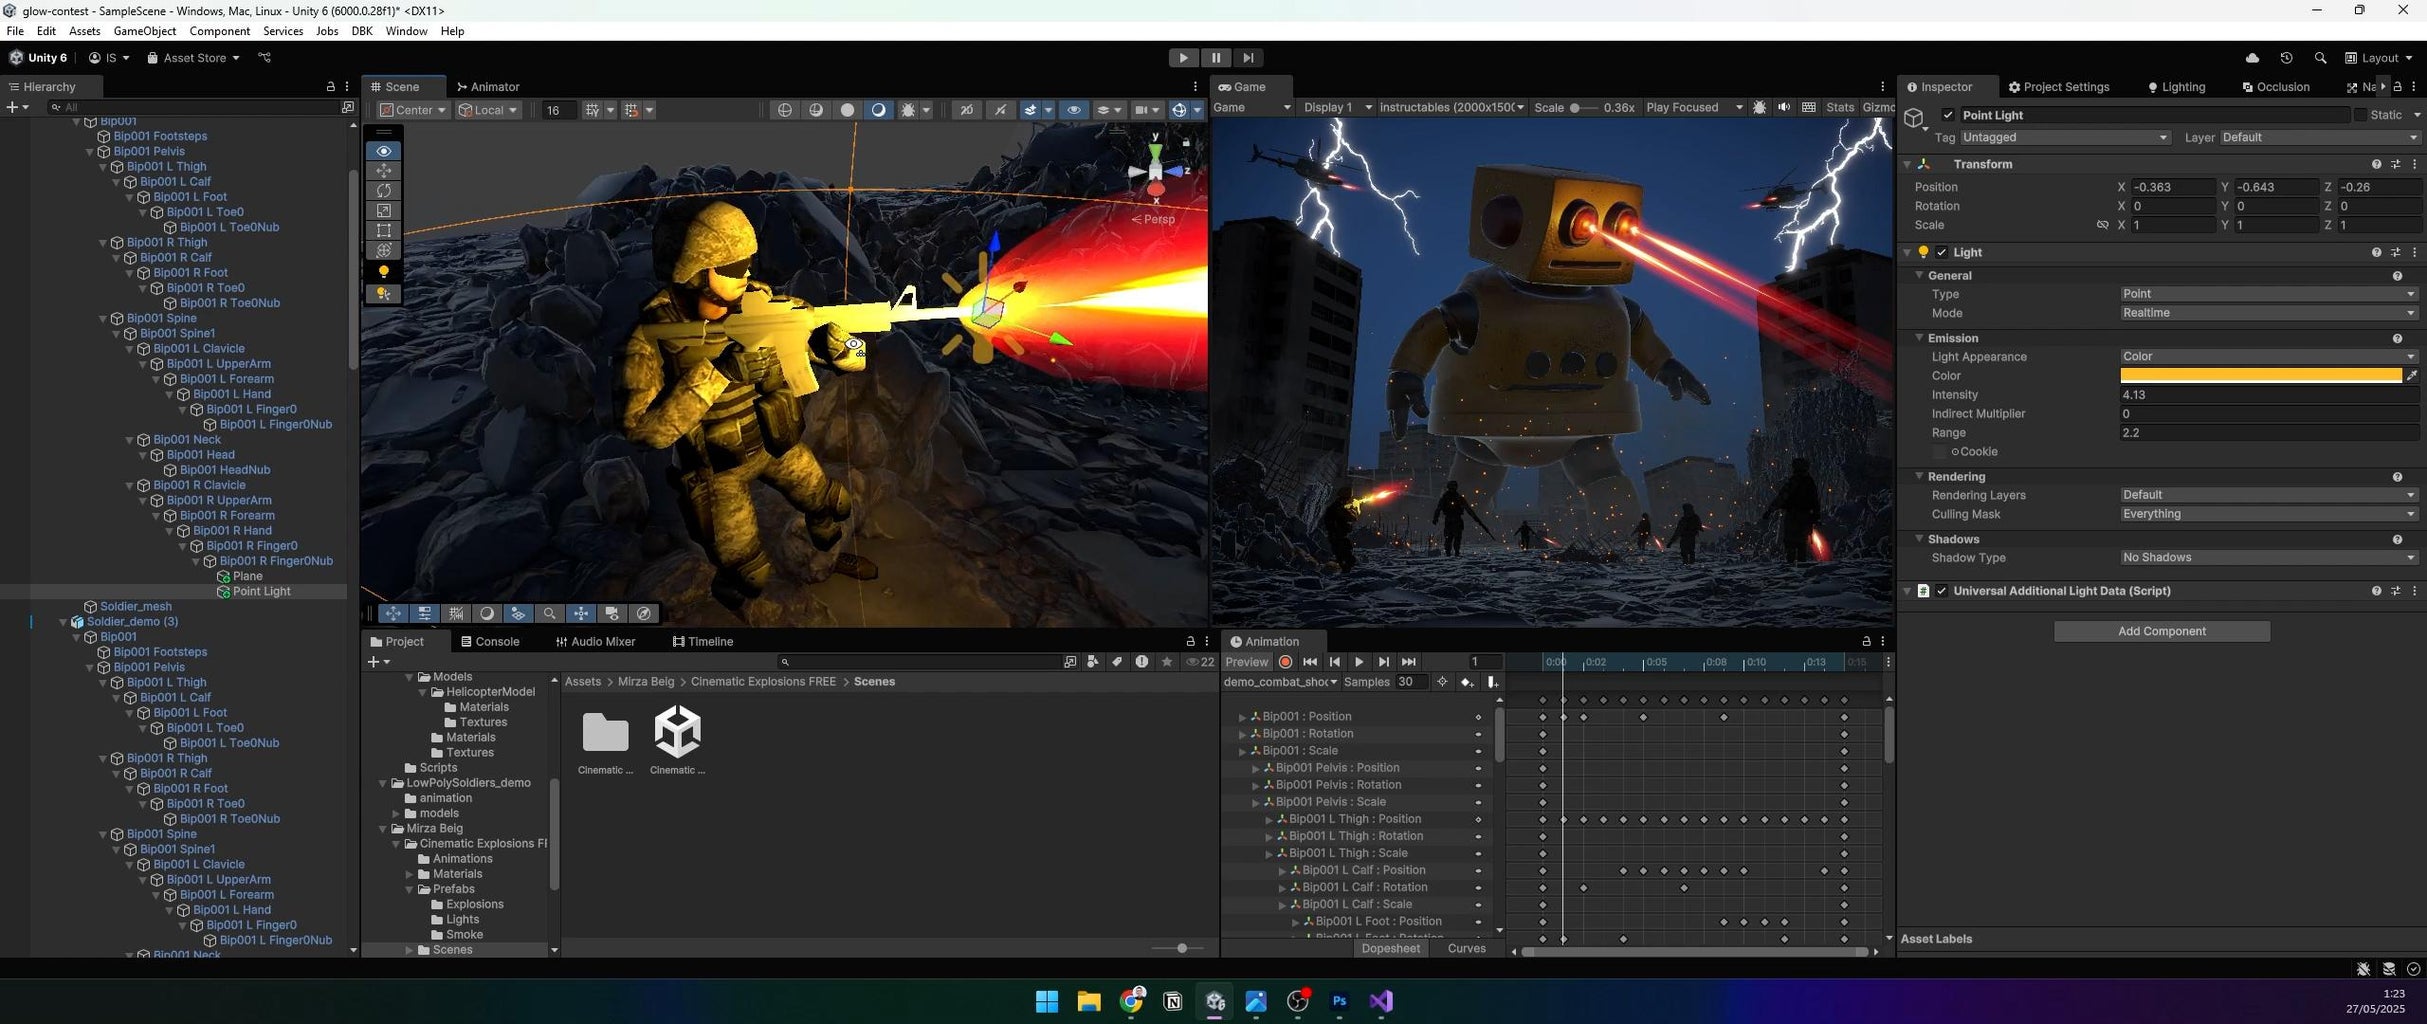
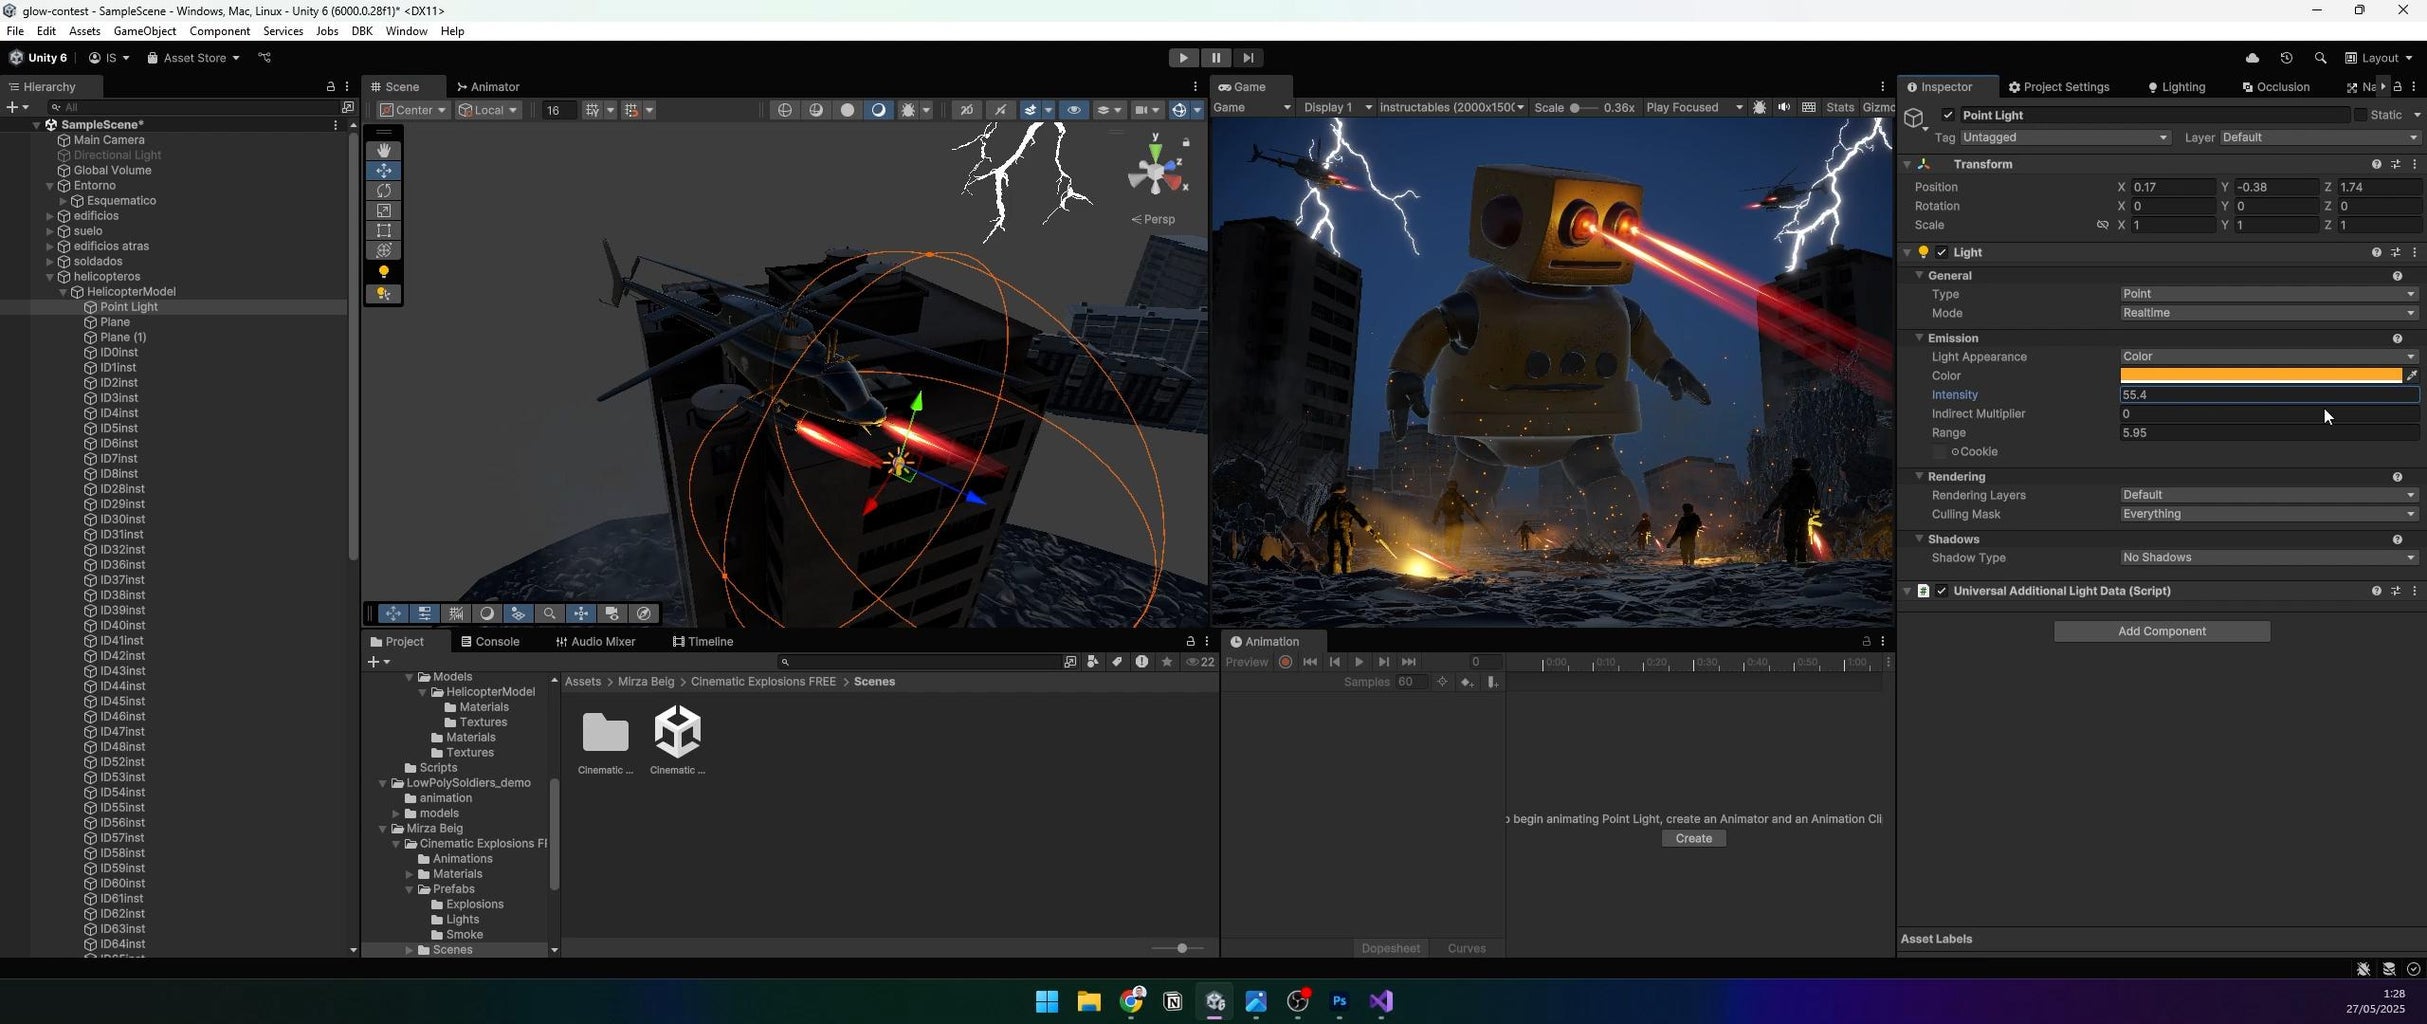
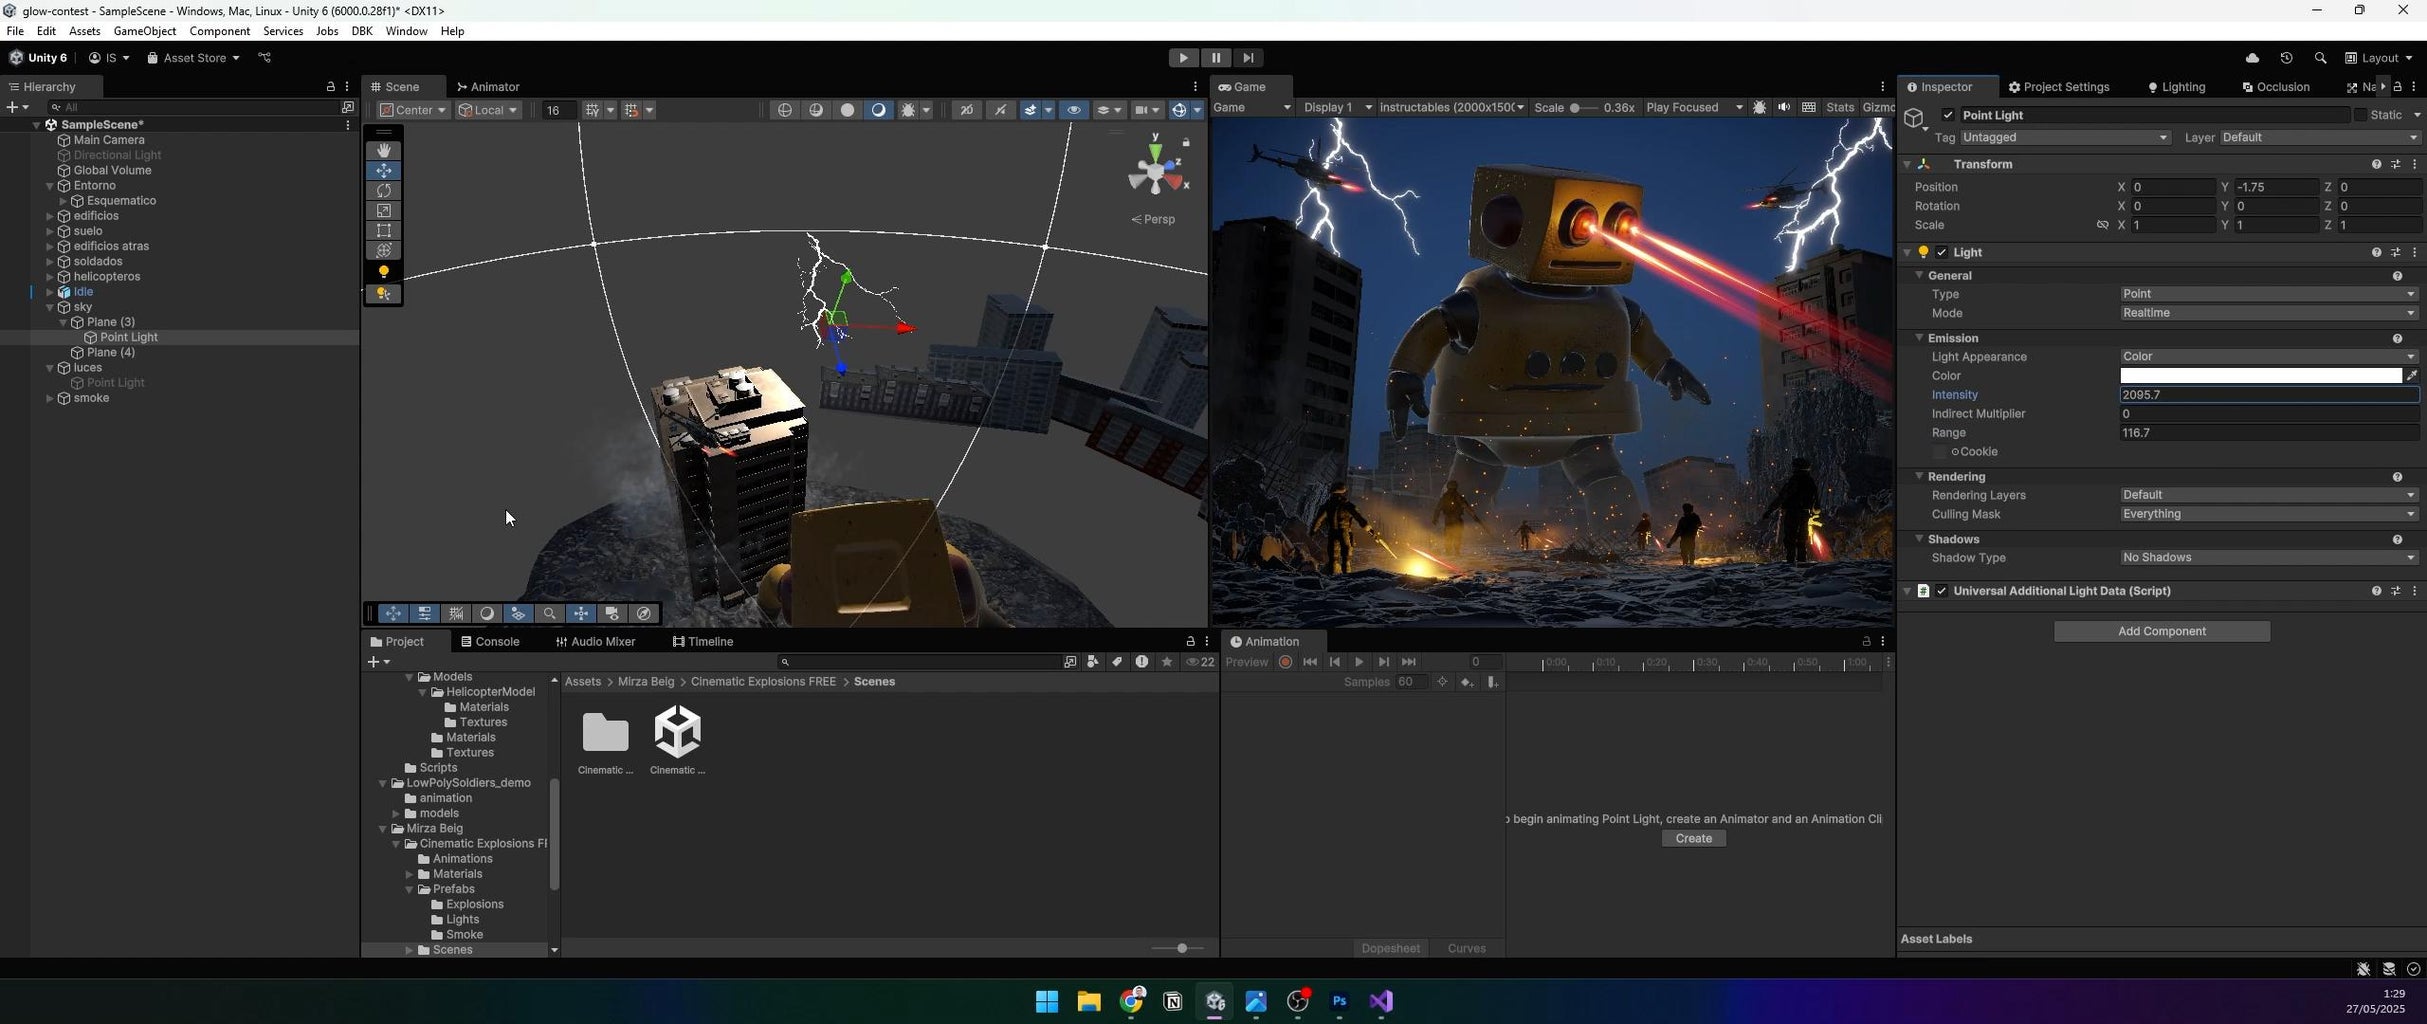
Add Point Lights to emphasize glowing elements:
- Two orange lights in the robot’s eyes.
- Lights for each muzzle flash and laser beam.
- Lights for lightning flashes.
- Backlights to silhouette the robot.
- Ground lights and lights behind rubble for subtle illumination.
- Dim lights on buildings for depth.
- Adjust intensity and range as needed.
Step 21: Set Up Skybox
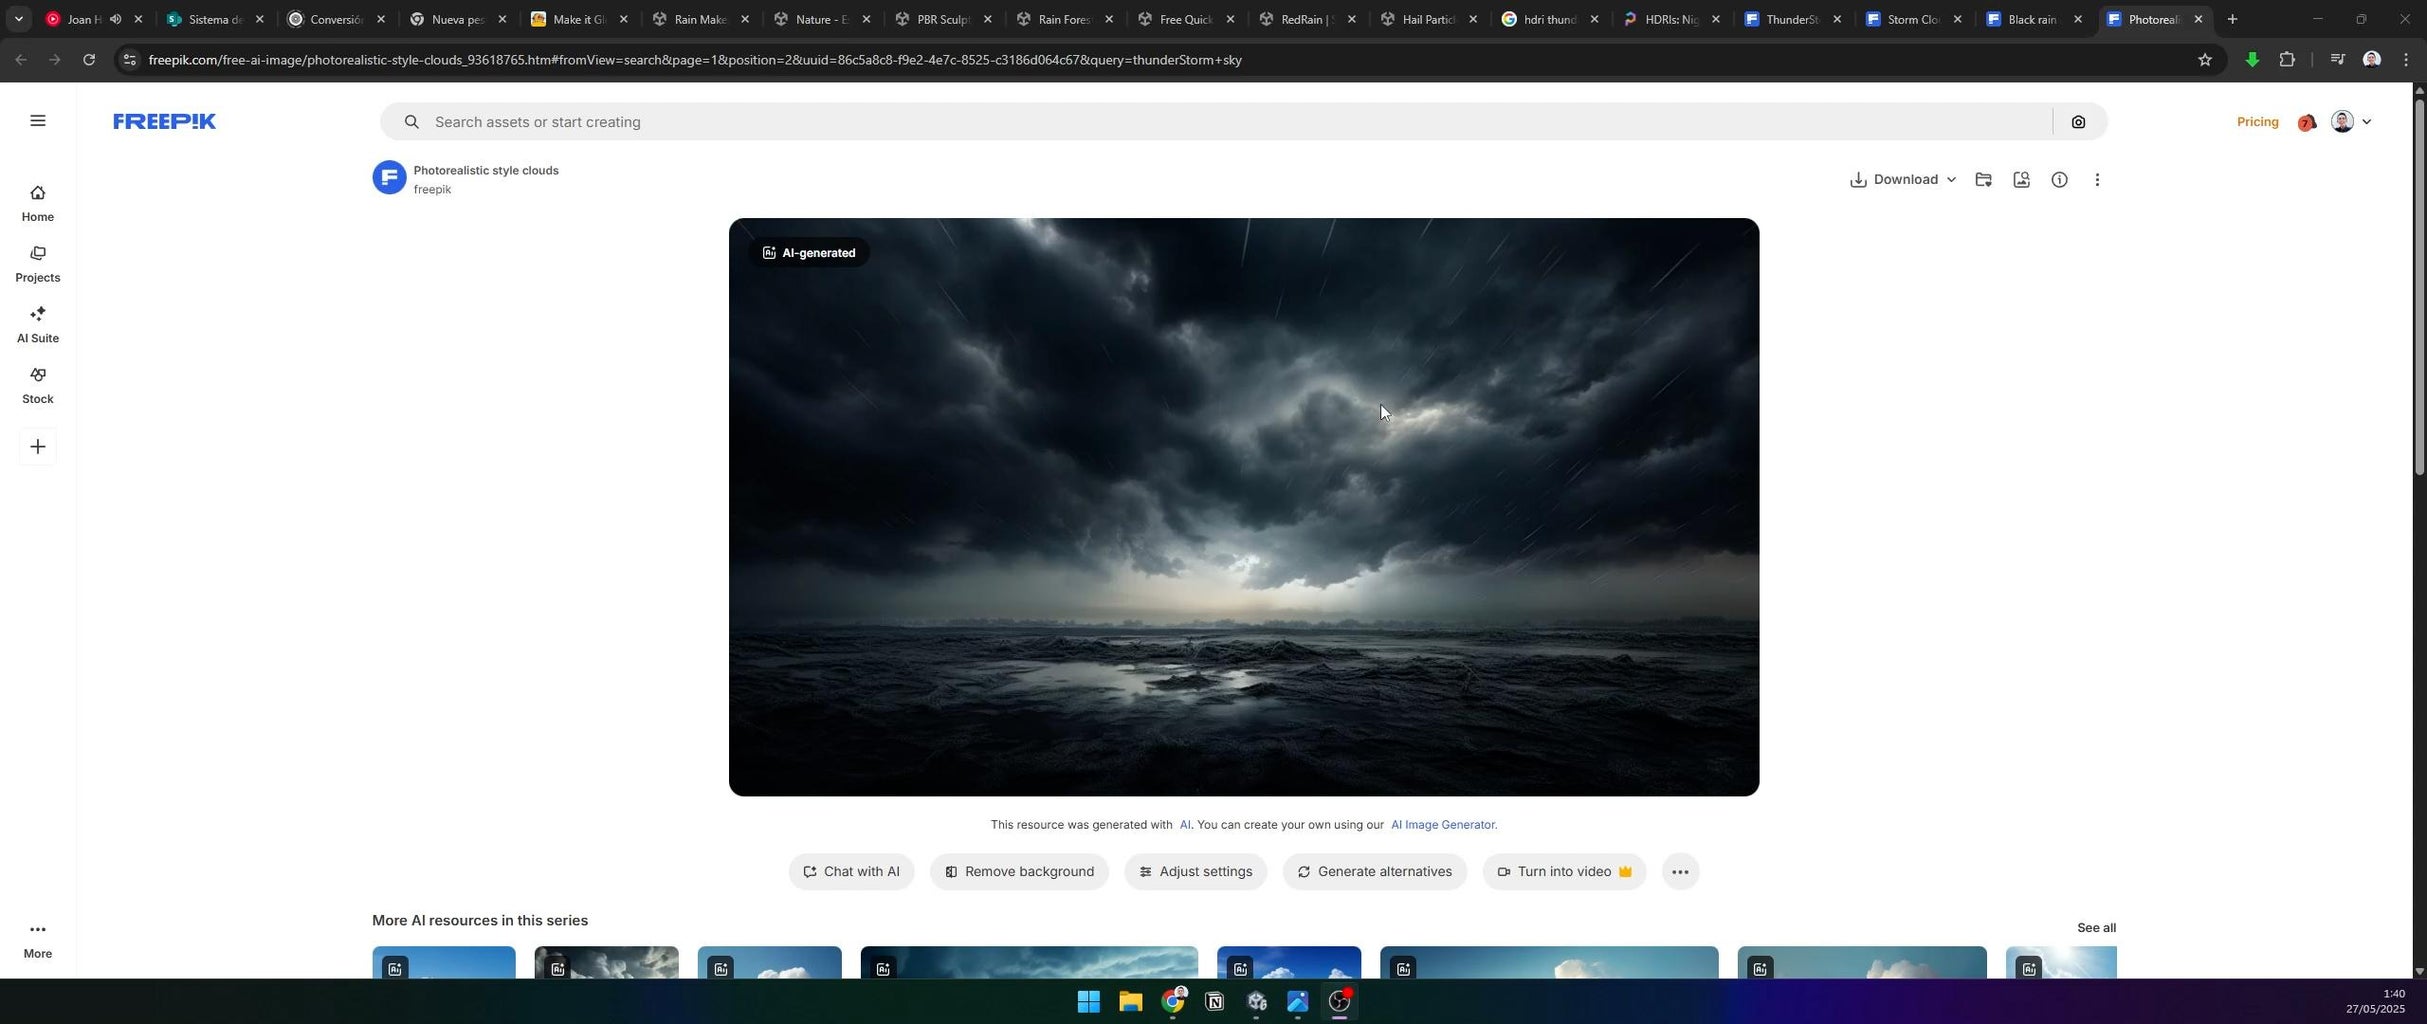
Download a dark, cloudy skybox texture with faint bright patches to highlight silhouettes of distant buildings and helicopters. Apply it via Window > Rendering > Lighting > Environment > Skybox Material.
Step 22: Add Rain
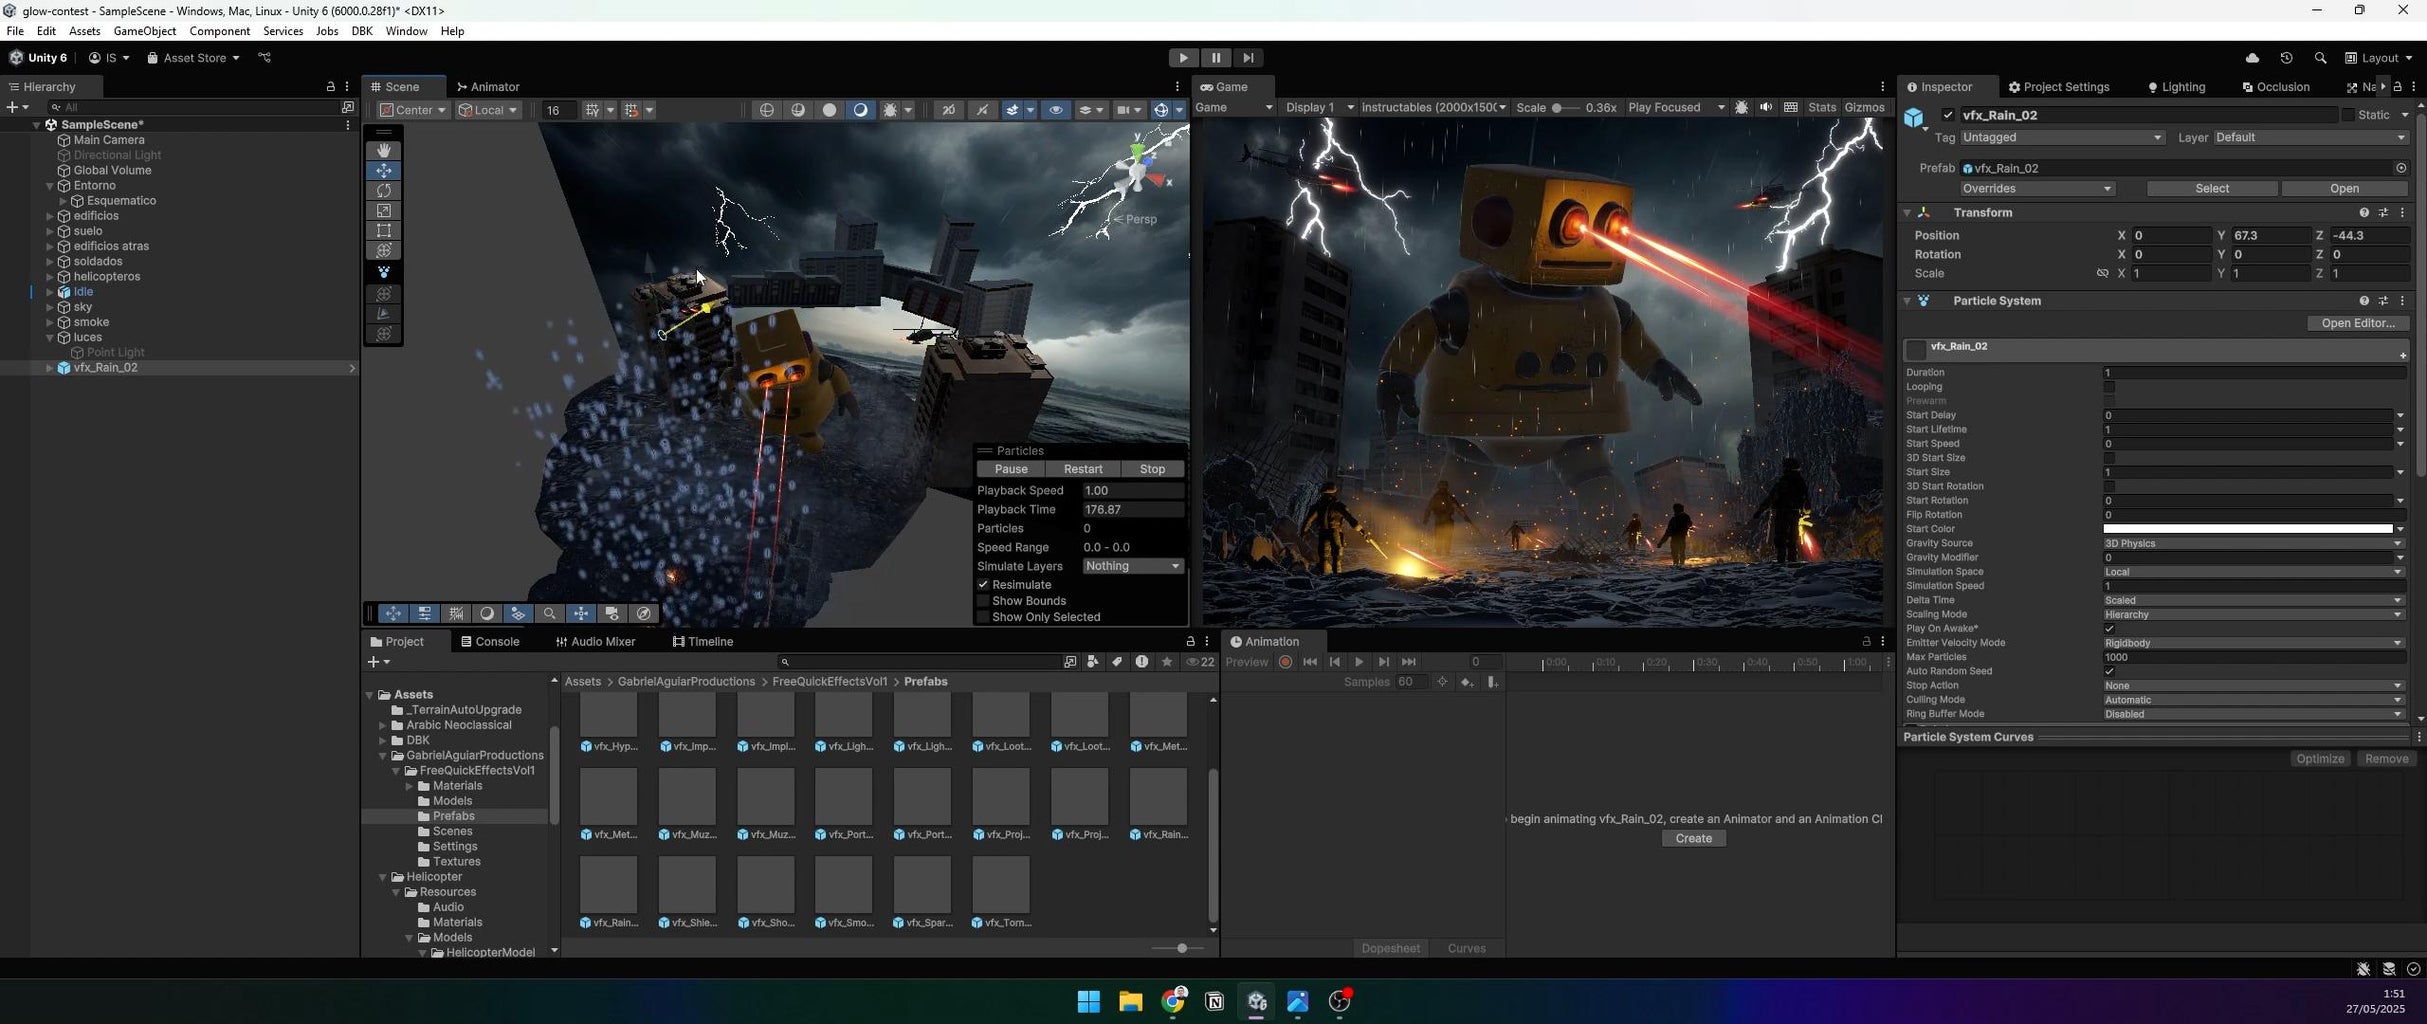
Import a rain particle asset and adjust it to fall diagonally at a fast pace, enhancing the stormy mood.
Step 23: Refine Lighting
As you progress, add more point lights to highlight the robot’s body, buildings, or other elements that need emphasis. Test the scene frequently to balance glow and visibility.
Step 24: Animate Moving Components


Animate dynamic elements:
- Use the Animator for cyclic animations like helicopter rotors or soldier movements.
- Write simple scripts for rapid effects like muzzle flashes or lightning.
Attach the scripts to a GameObject with a light component and adjust variables in the Inspector.
Step 25: Apply Post-Processing
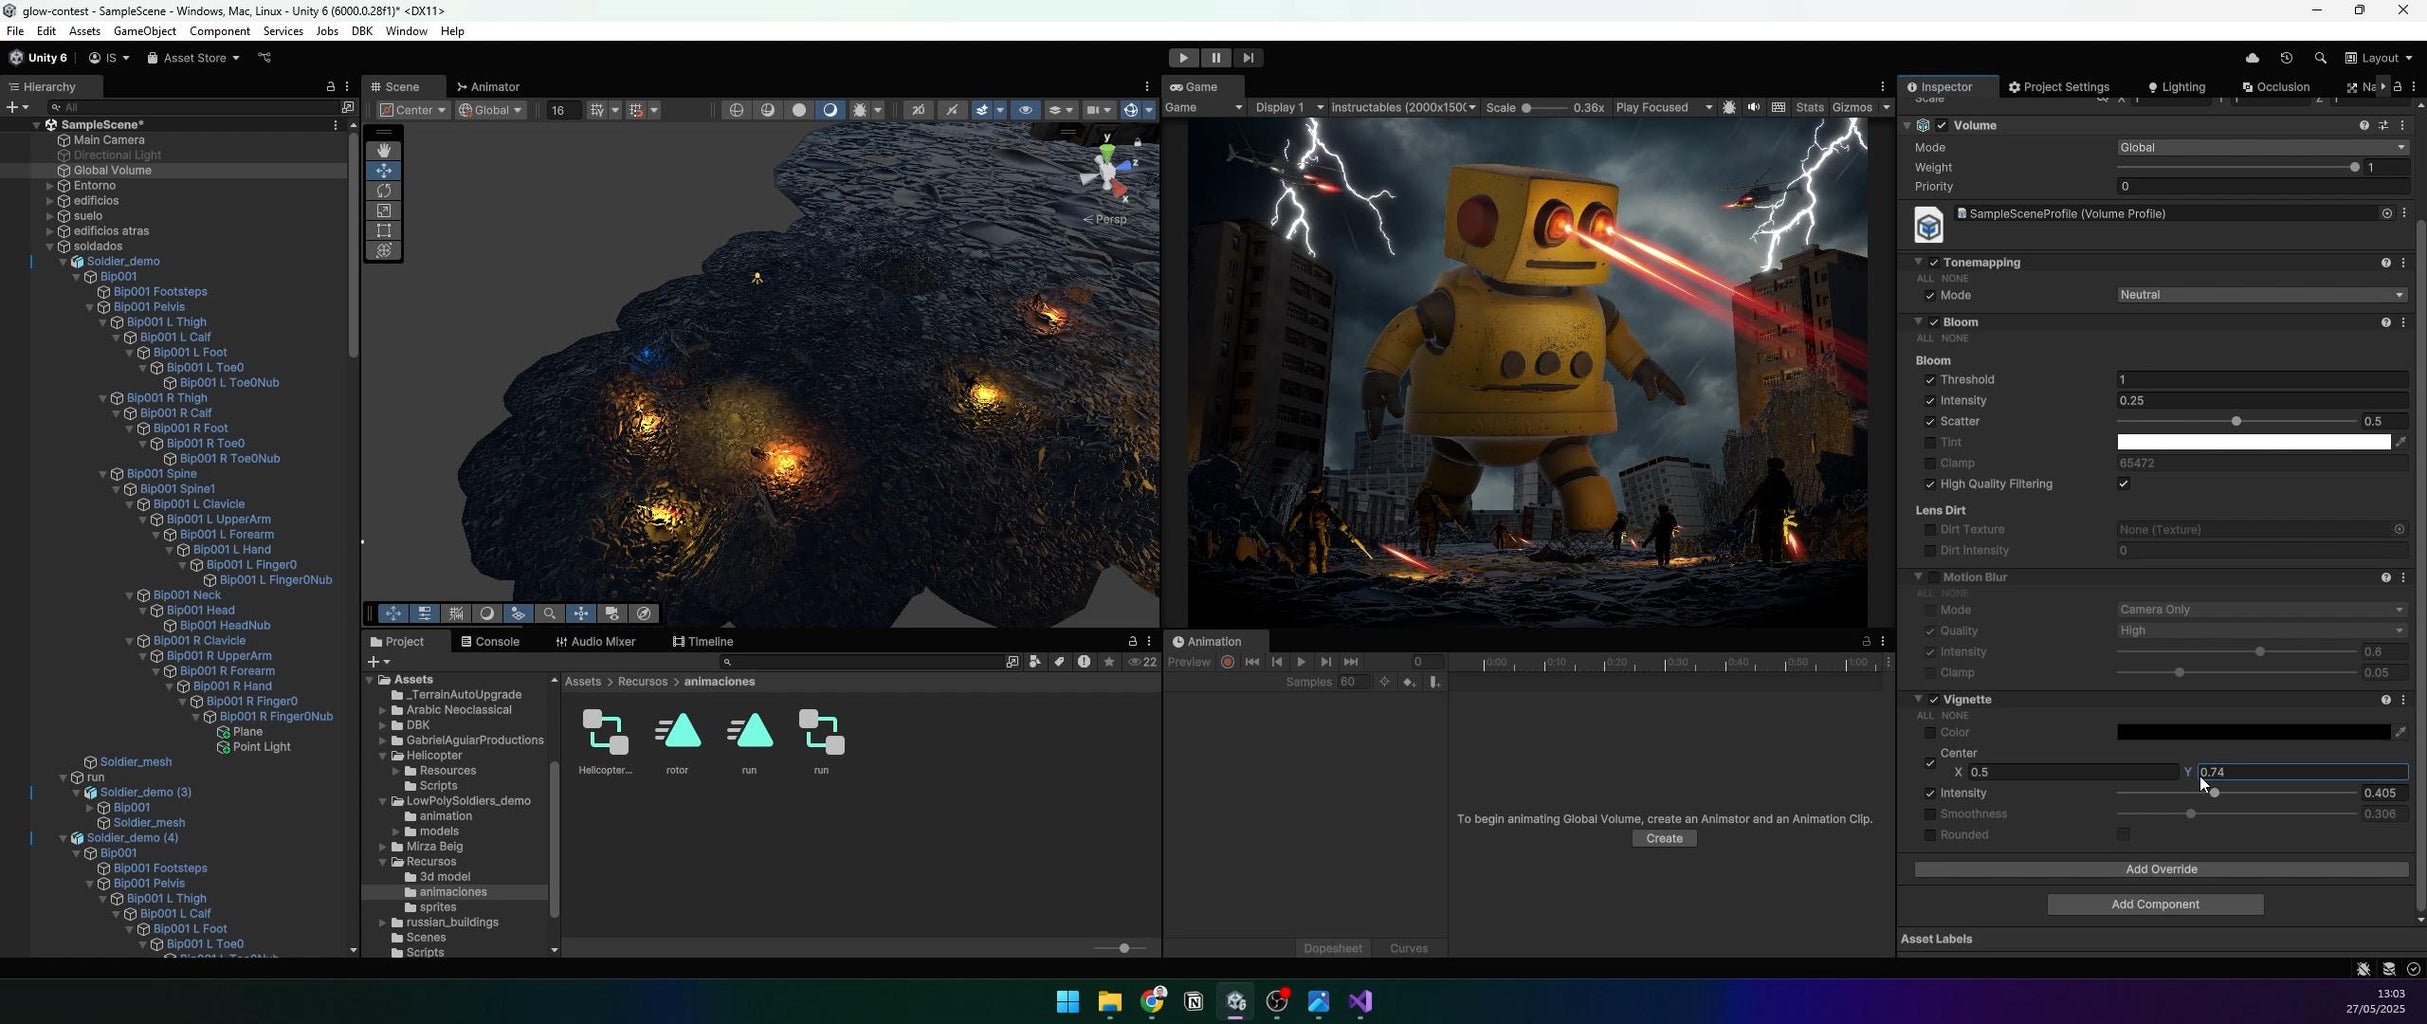
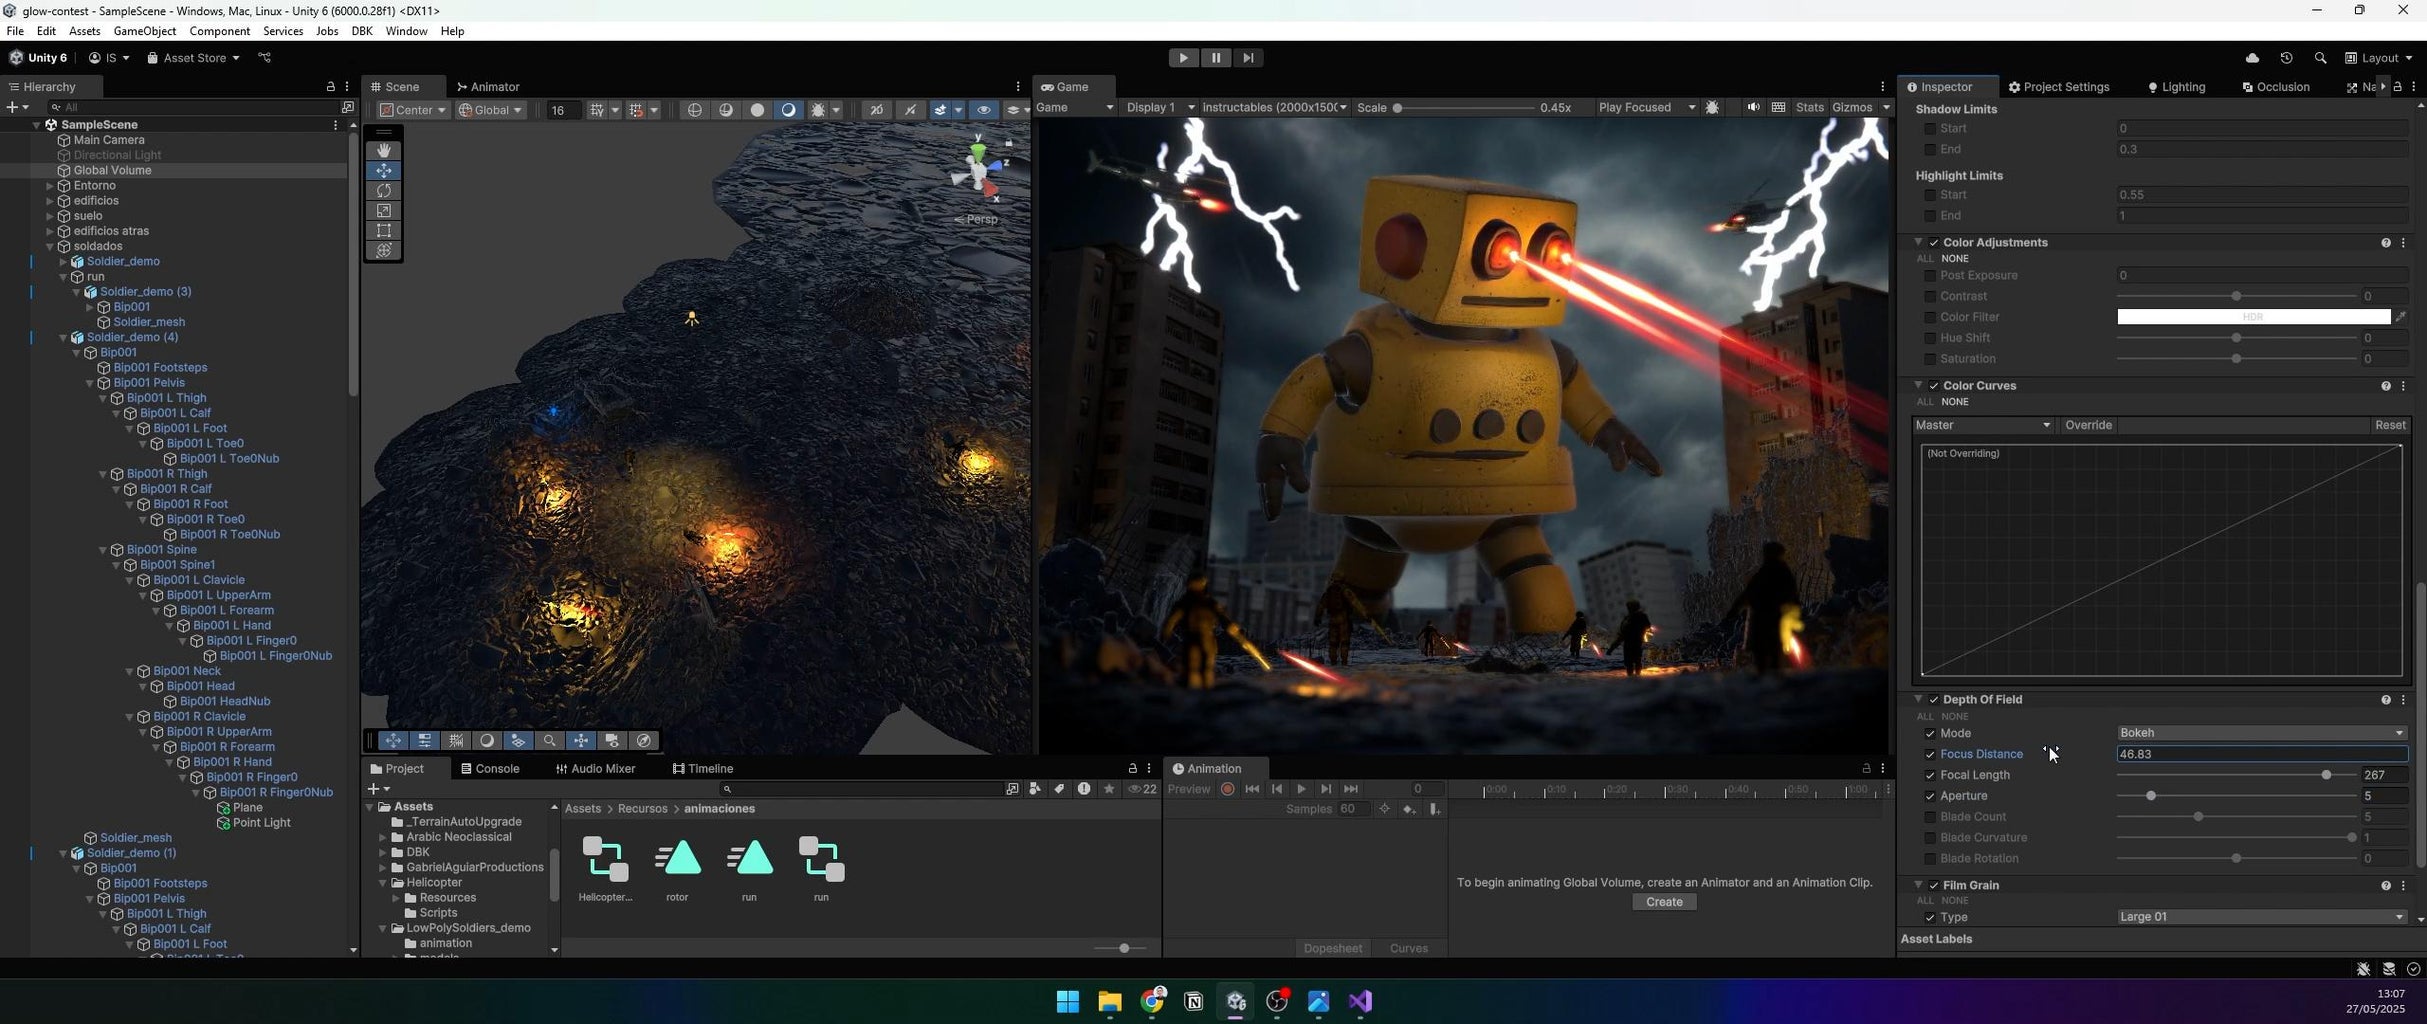
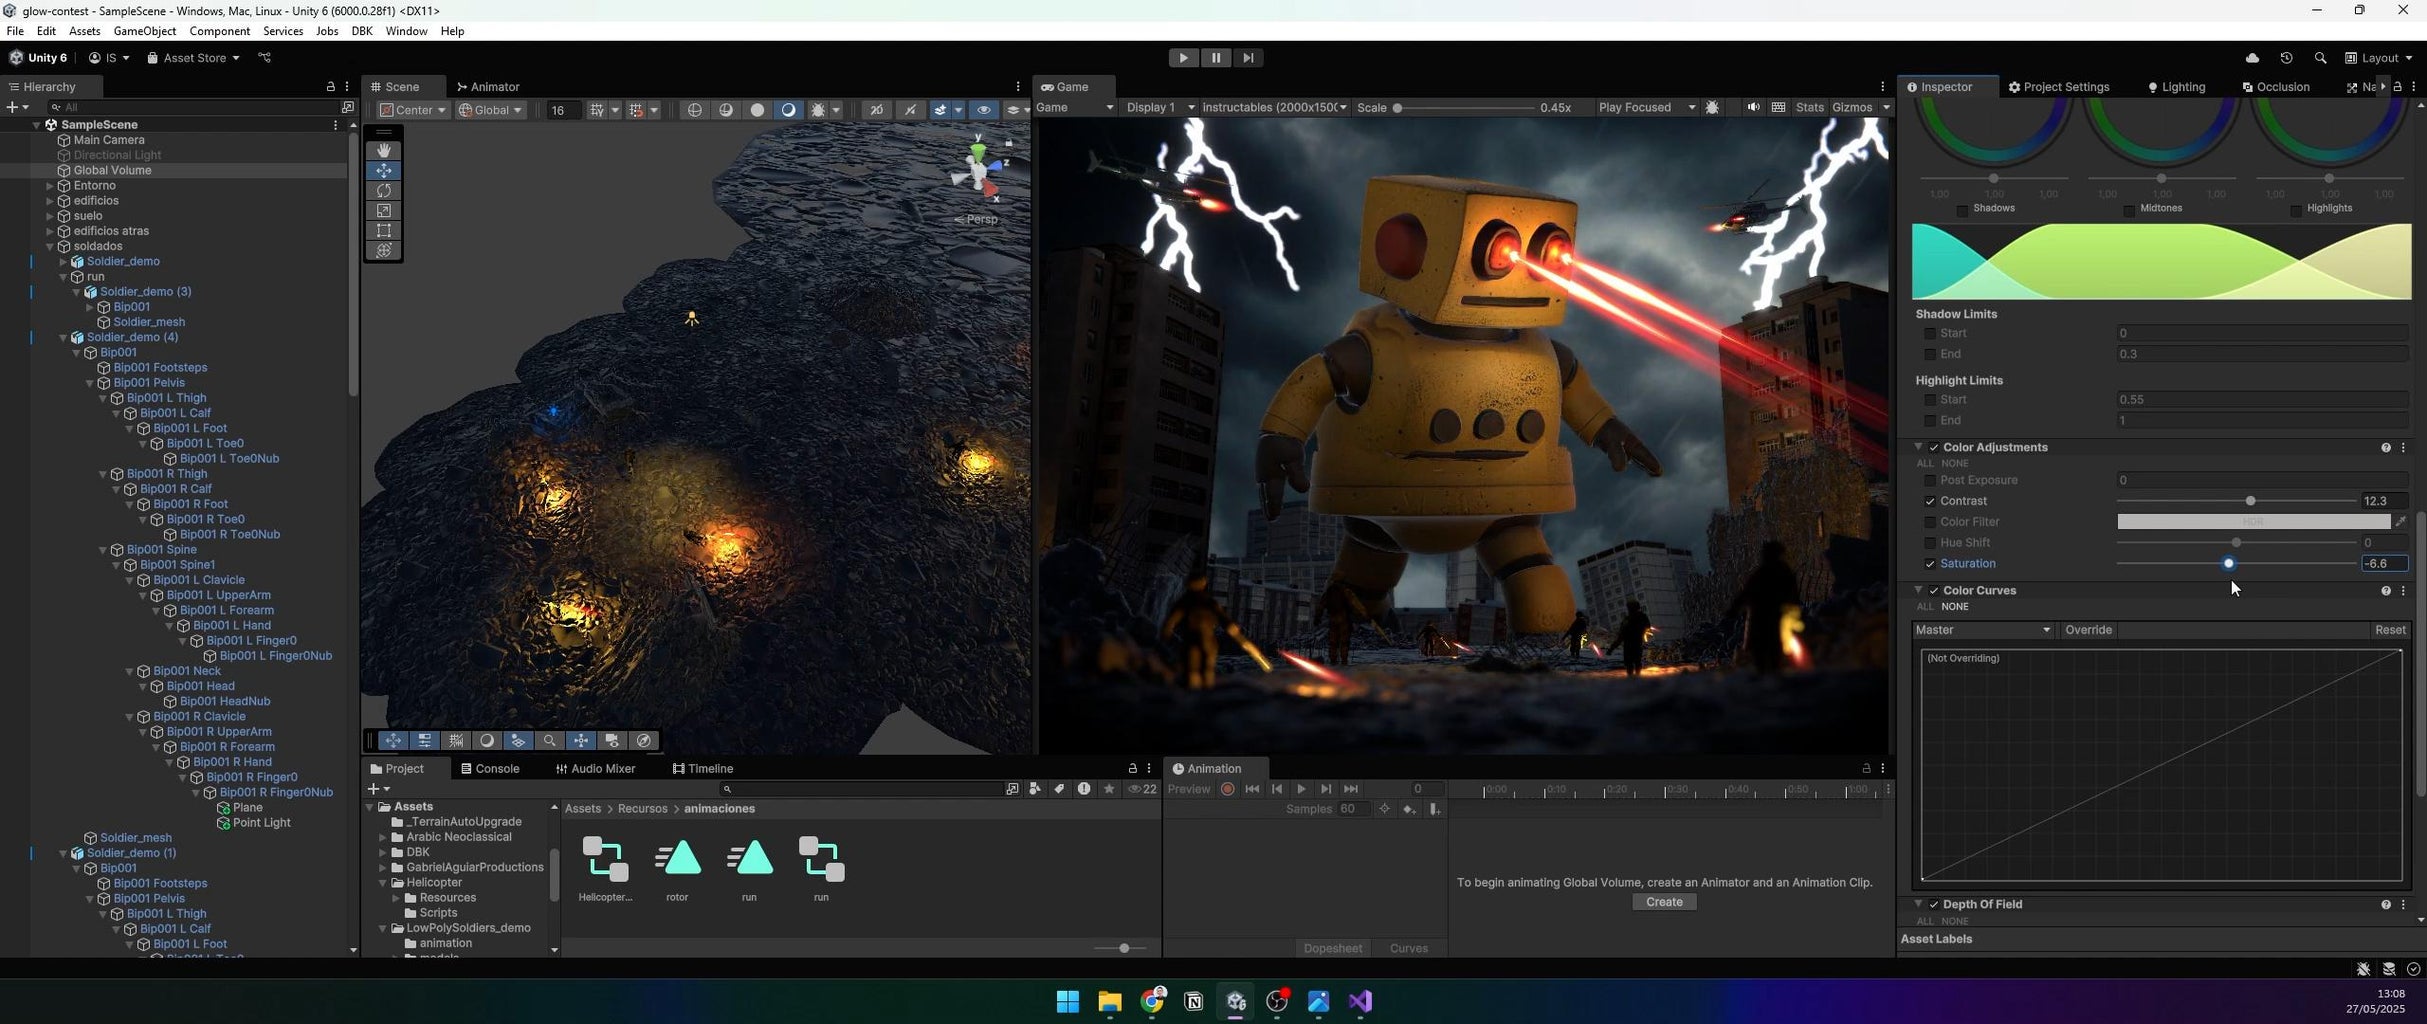
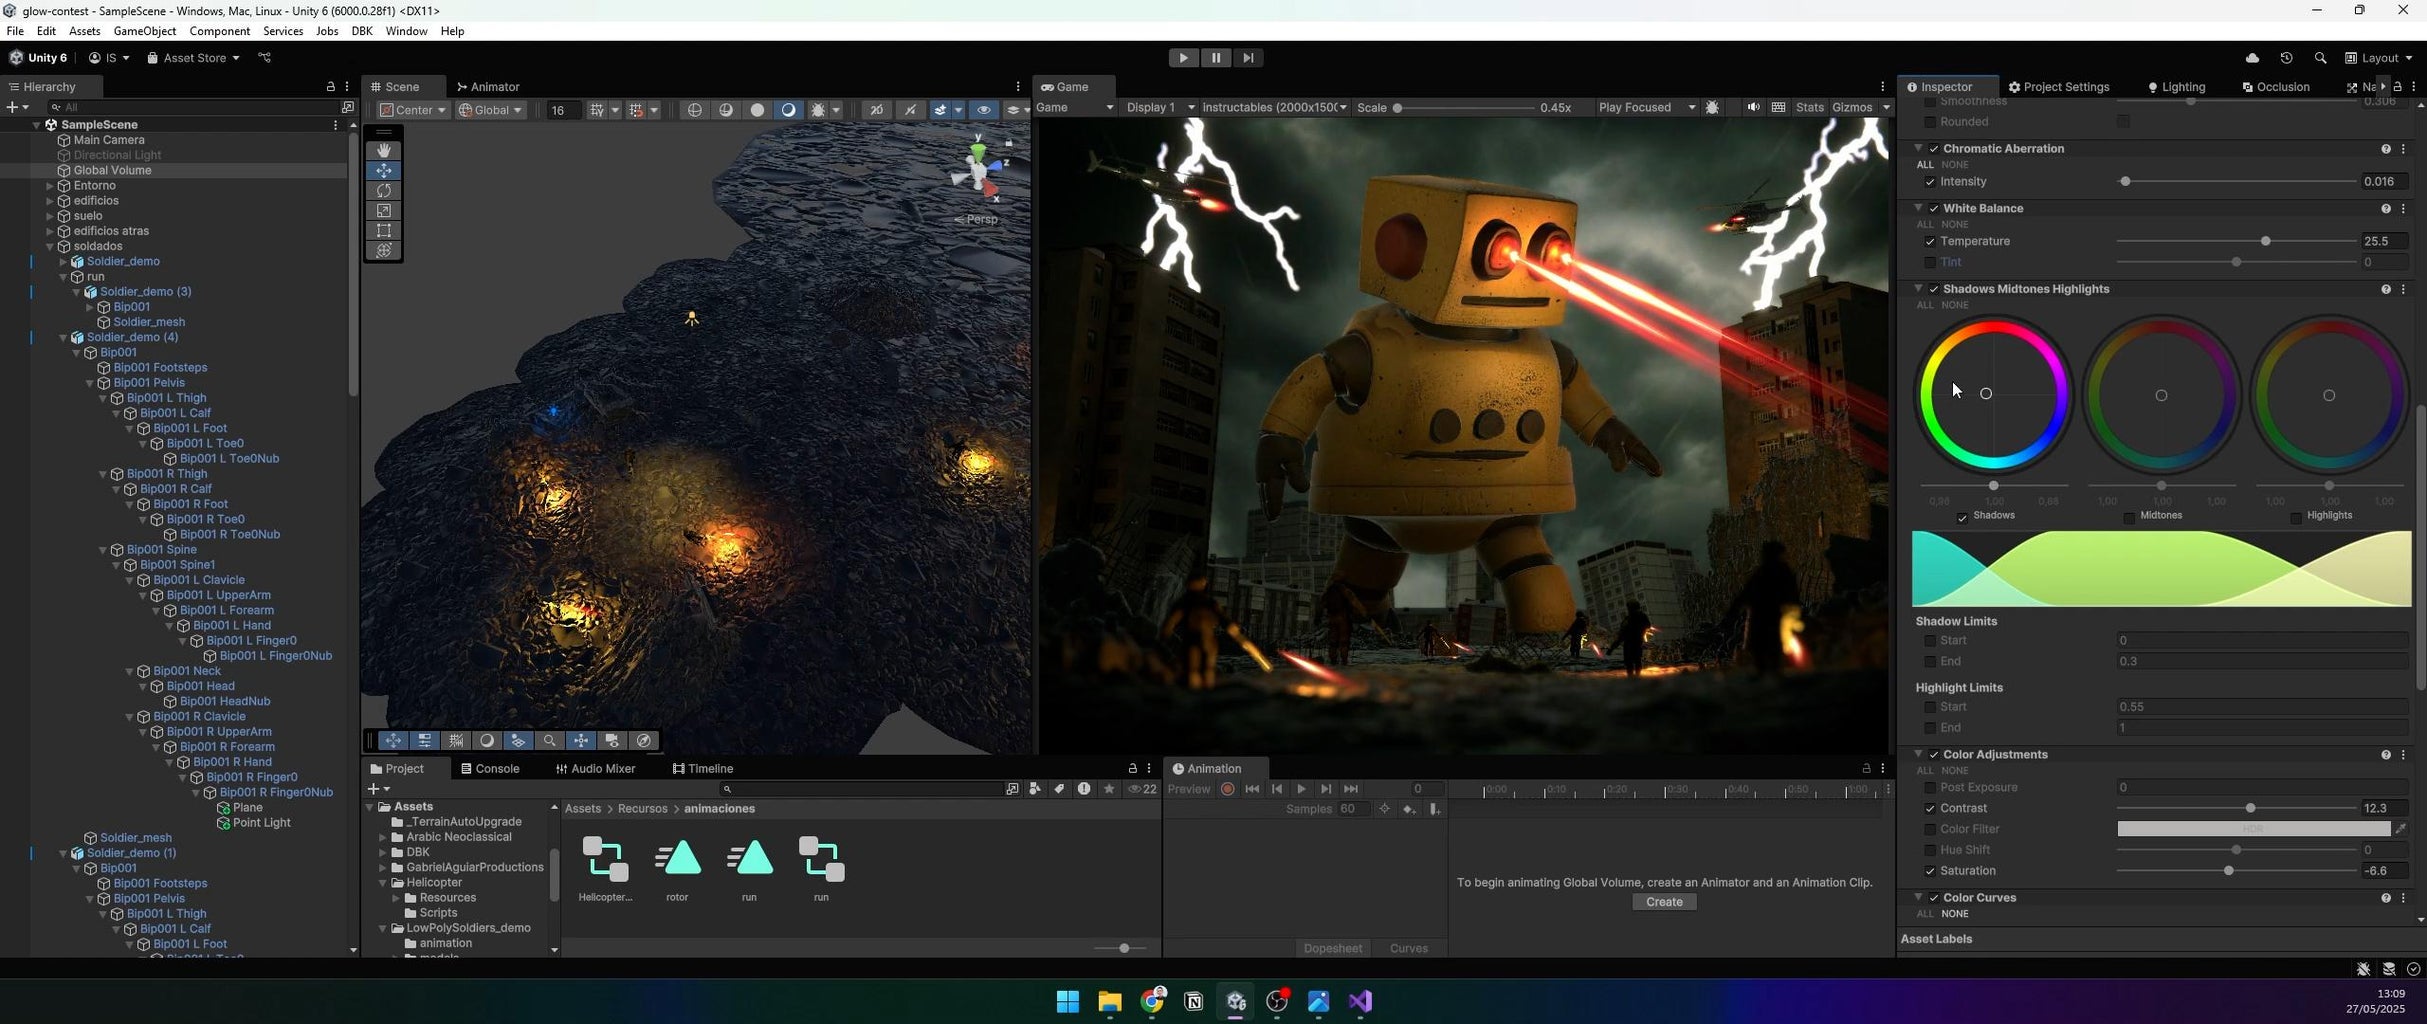
Add a Global Volume GameObject and attach a Volume component. Configure post-processing:
- Vignette: Increase intensity for darker edges, adding drama.
- Chromatic Aberration: Add a subtle effect for a cinematic look.
- White Balance: Warm up the scene with an orange tint.
- Shadows: Apply a light orange tint.
- Contrast: Boost slightly for sharper visuals.
- Depth of Field: Add background blur for focus on the robot.
- Film Grain: Add subtle noise for texture.
- These effects make the scene pop!
Step 26: Add Final Touches

Import a fire particle asset and place it strategically (e.g., on rubble or near the robot). Adjust any overlooked details, like texture alignment or light intensity.
Step 27: Animate the Camera

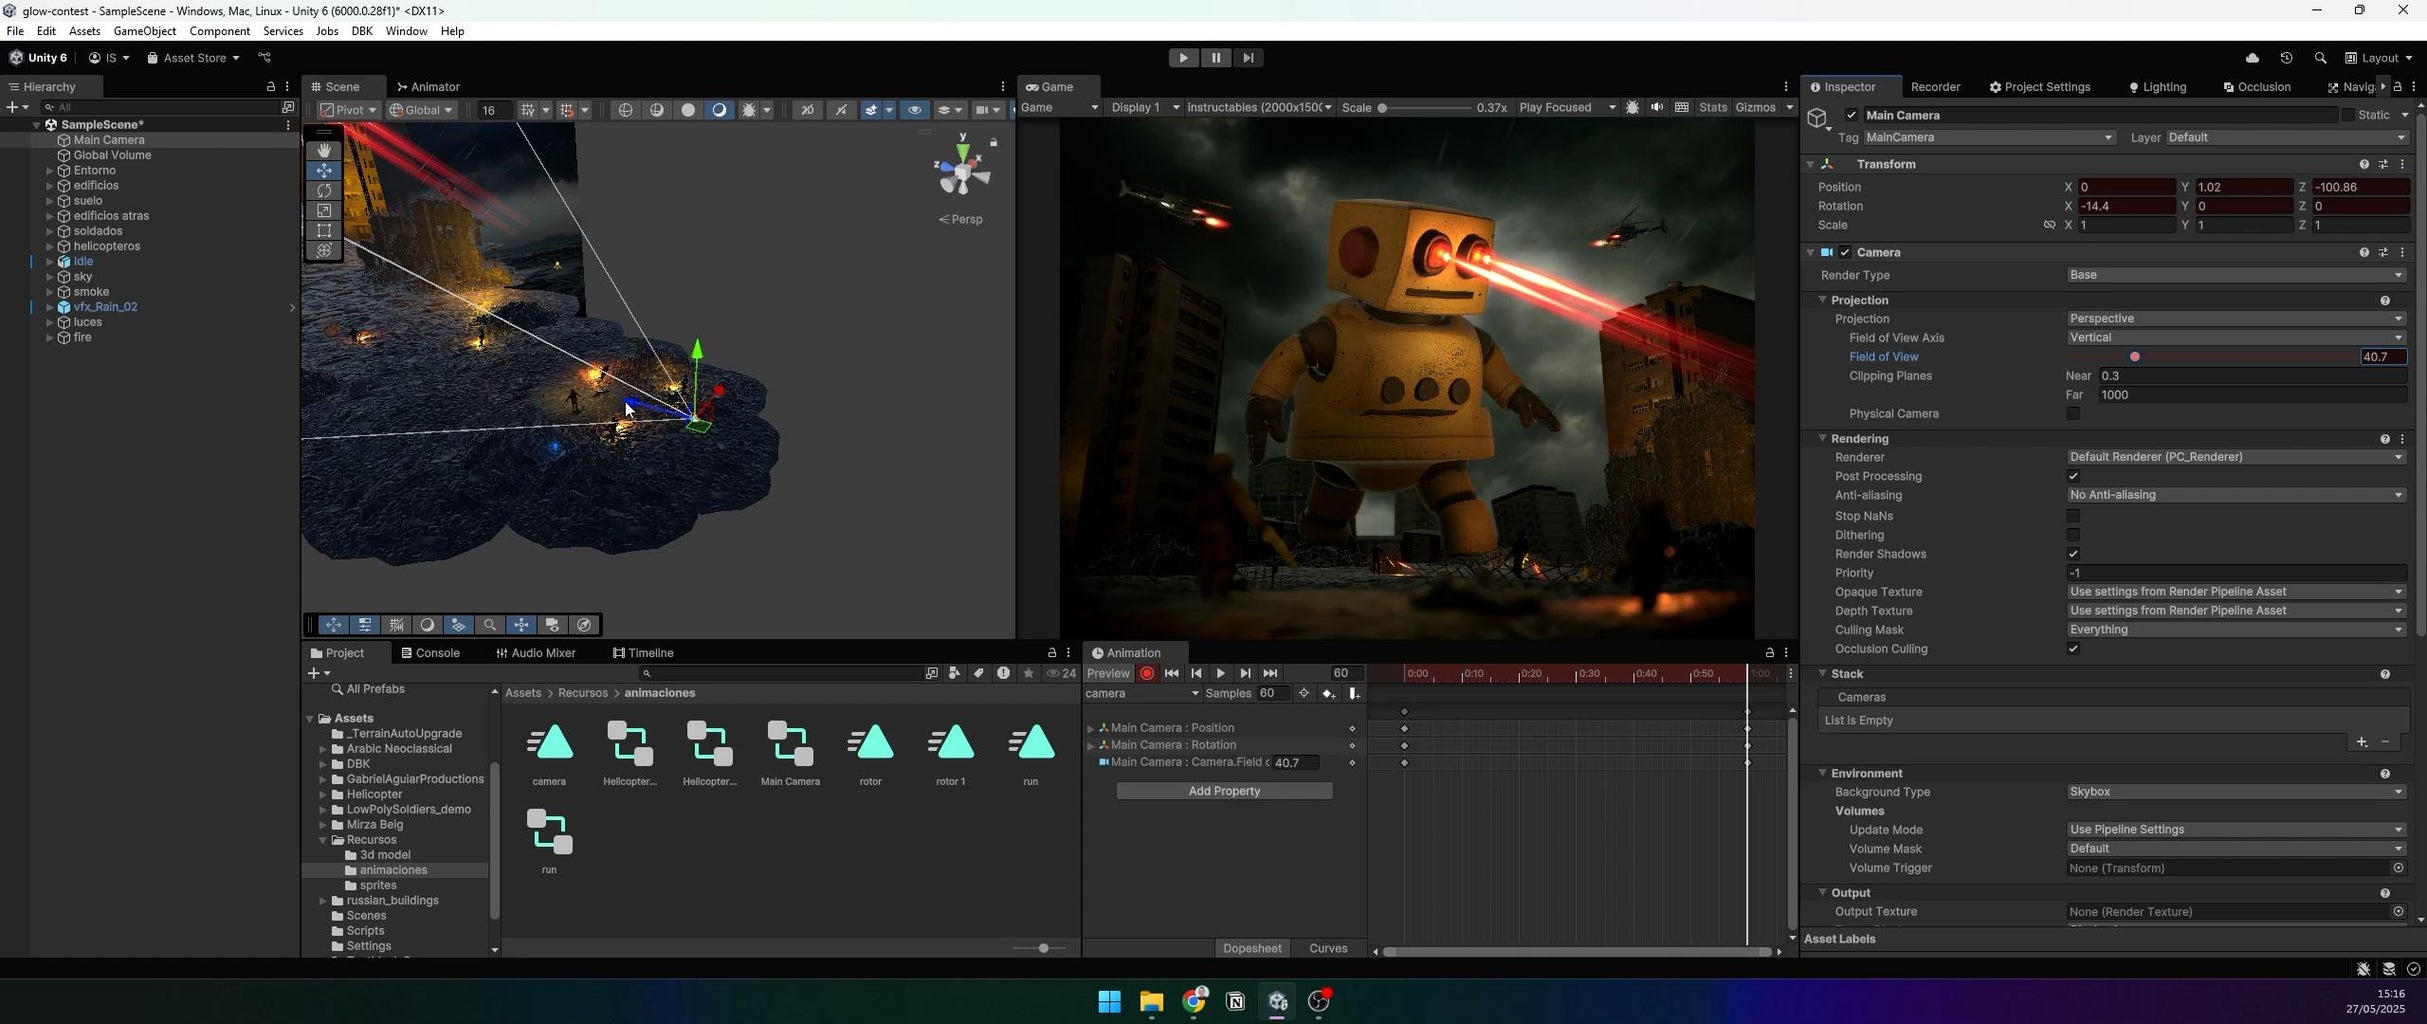
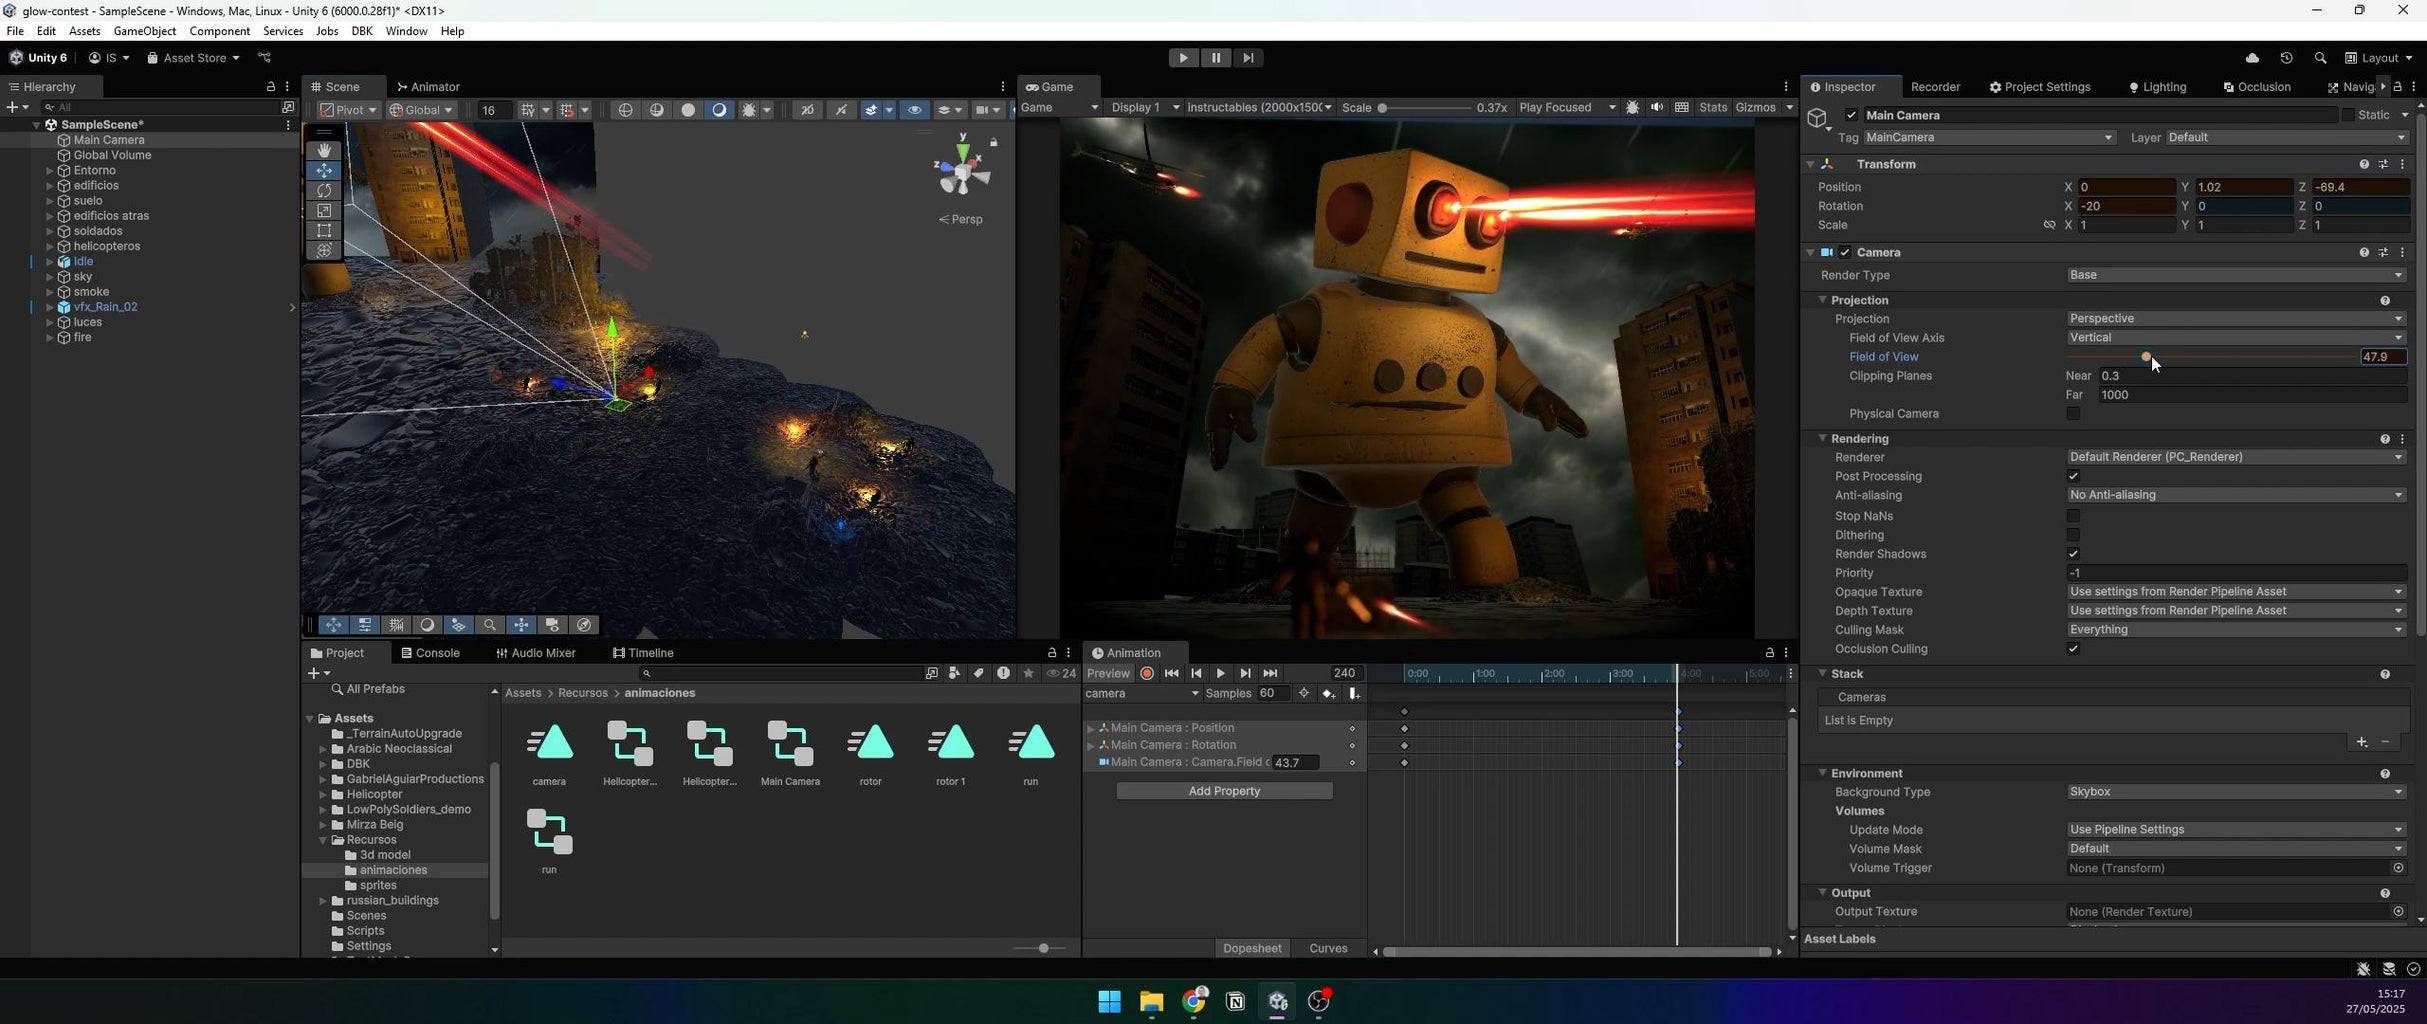
Create a simple camera animation using Unity’s Timeline. Set a path for the camera to move forward, focusing on the robot and key action areas.
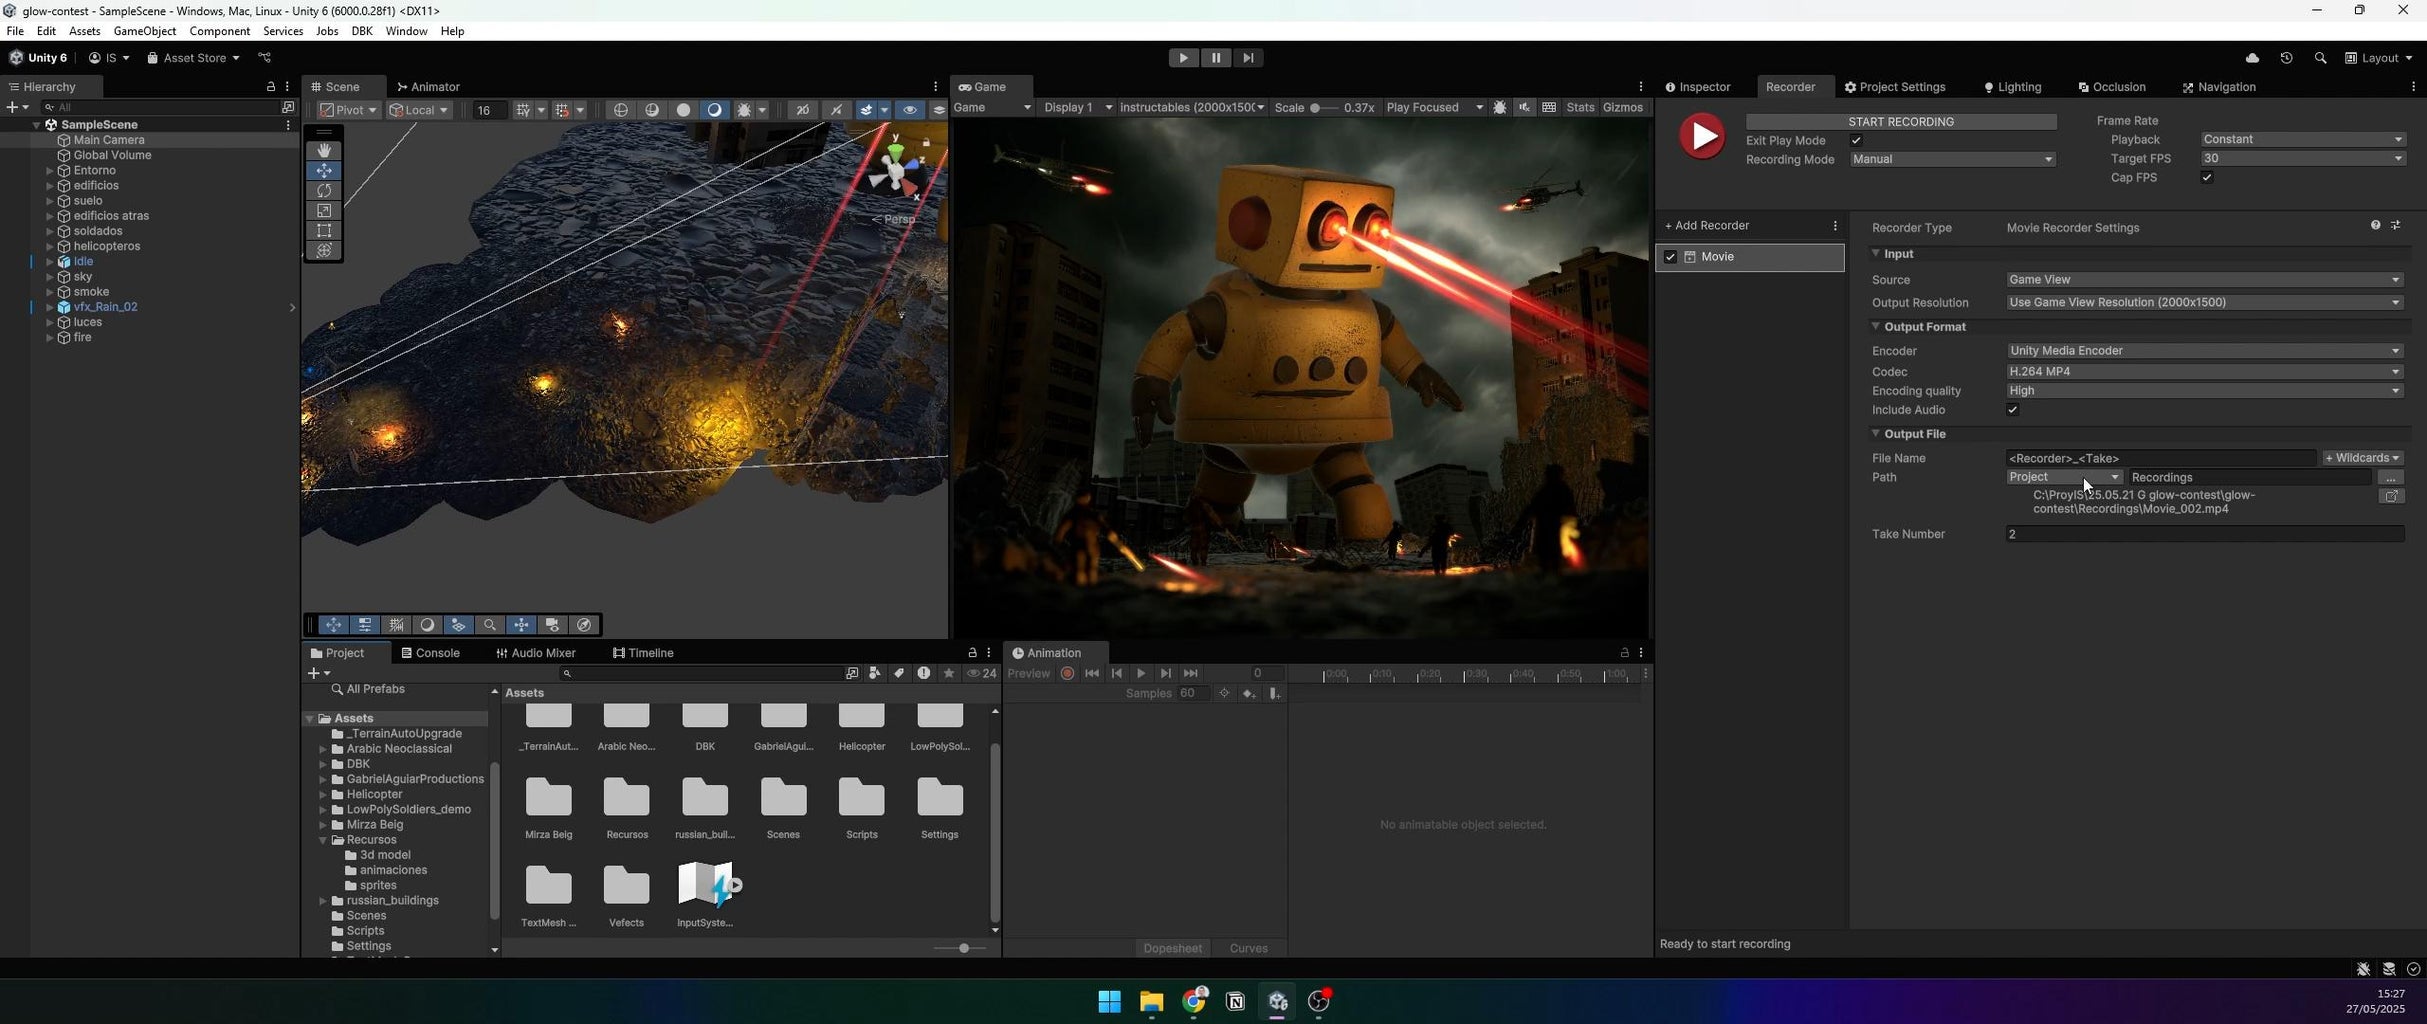
Step 28: Export the Video
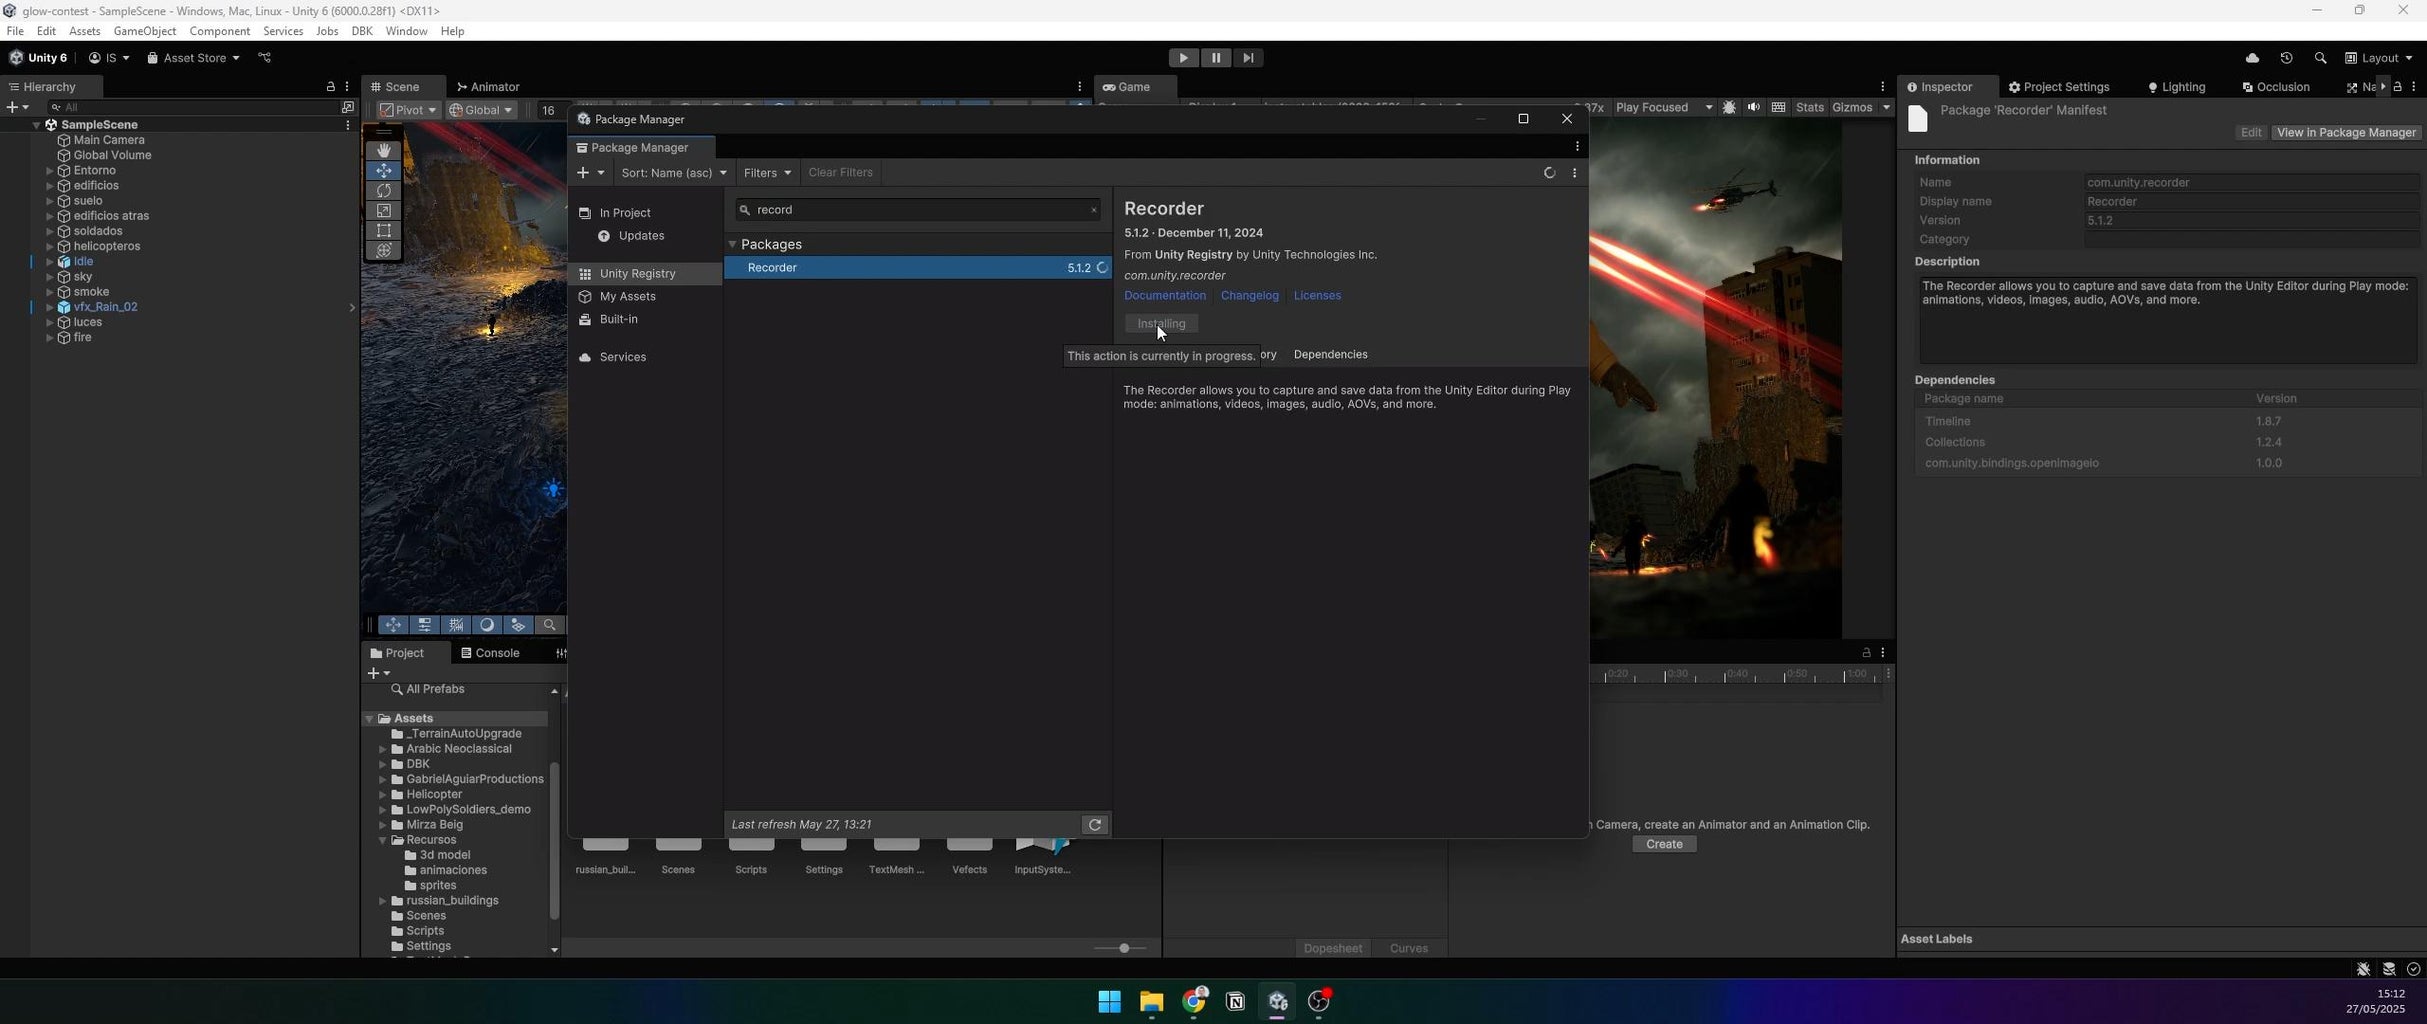
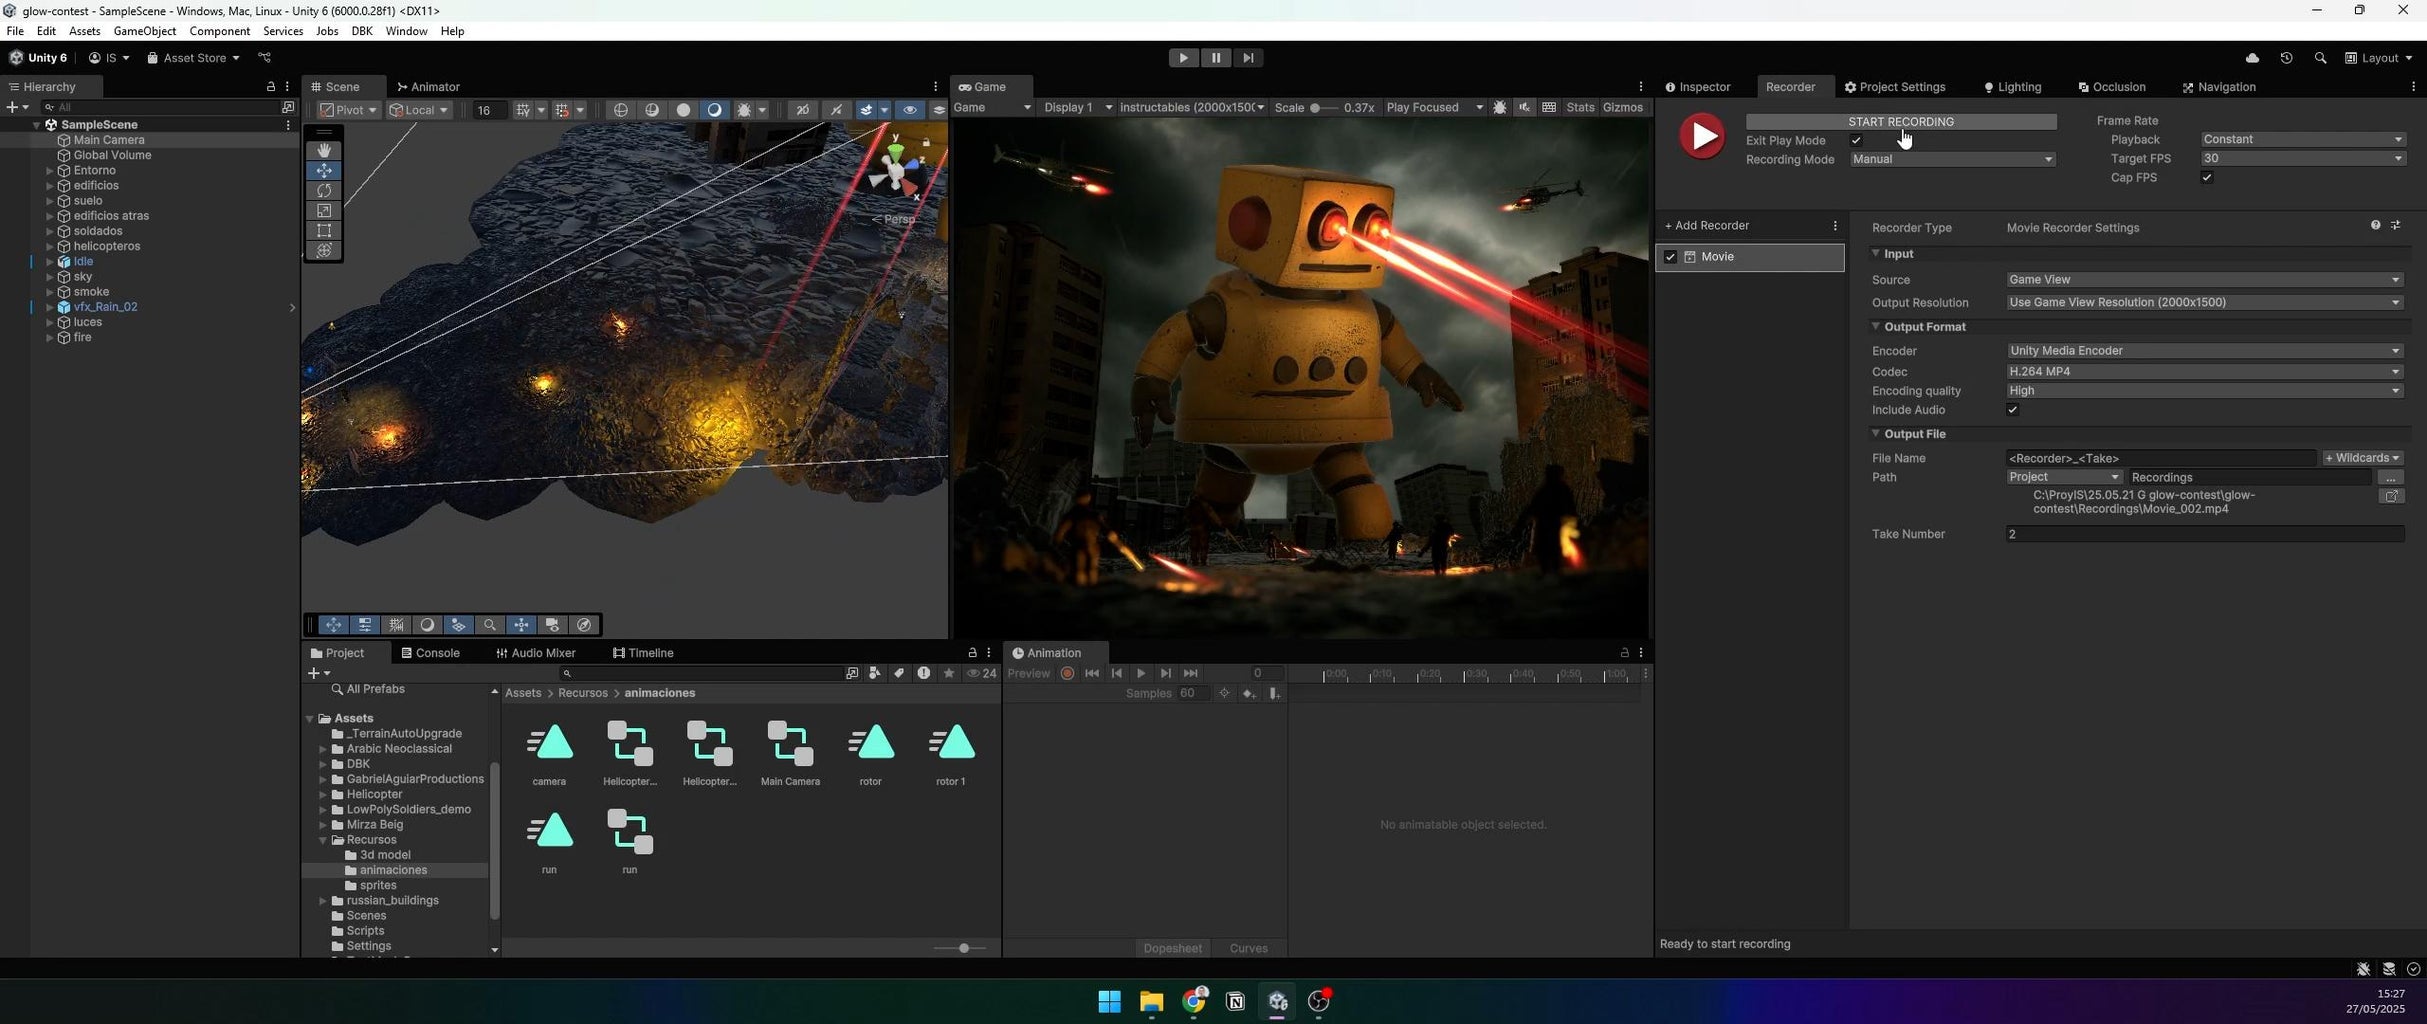
Use Unity Recorder (available in the Package Manager) to capture the scene. Click Start Recording, set the output path, and export the video.
Step 29: Add Audio
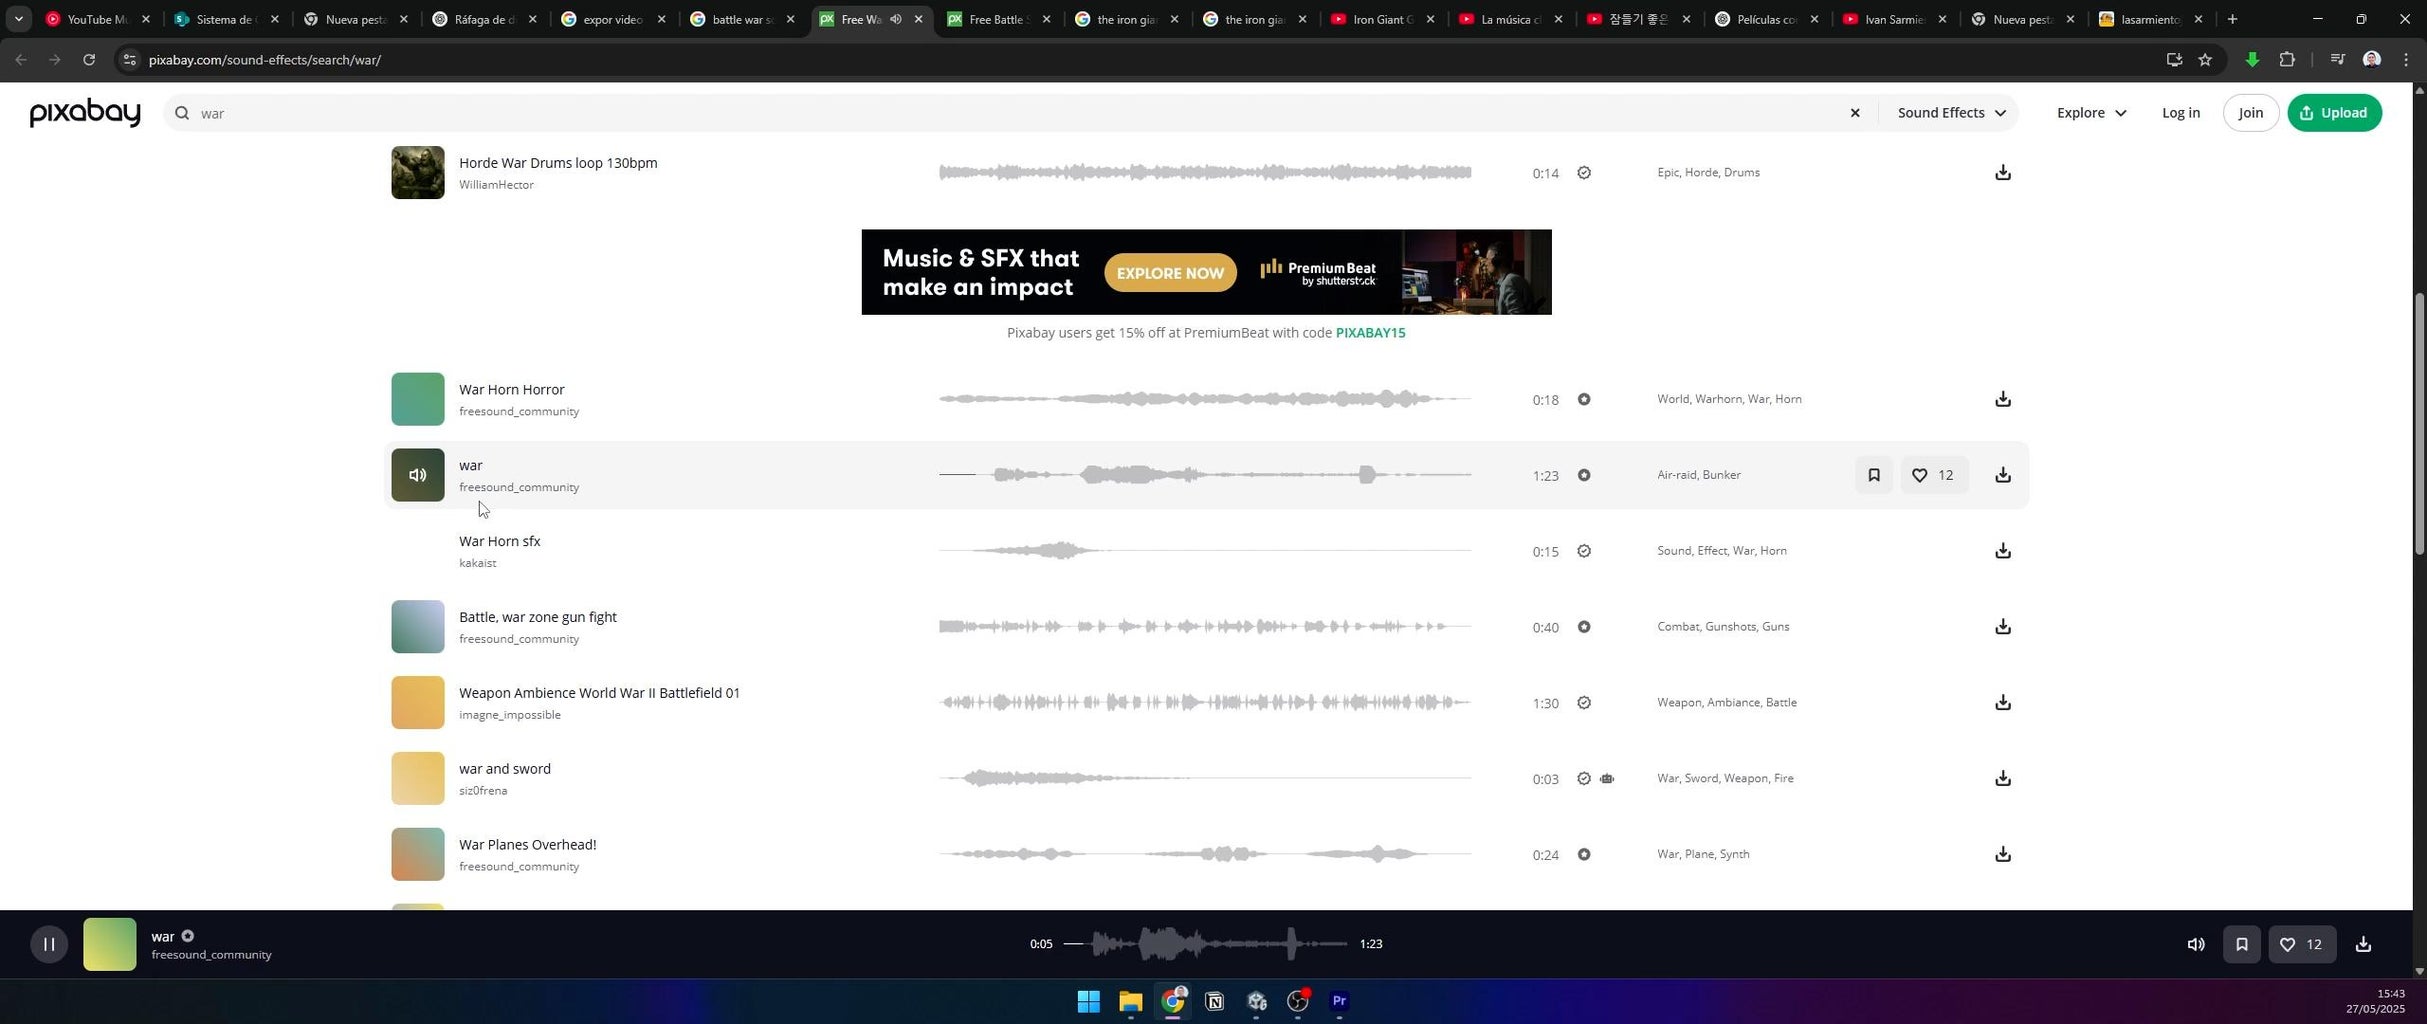
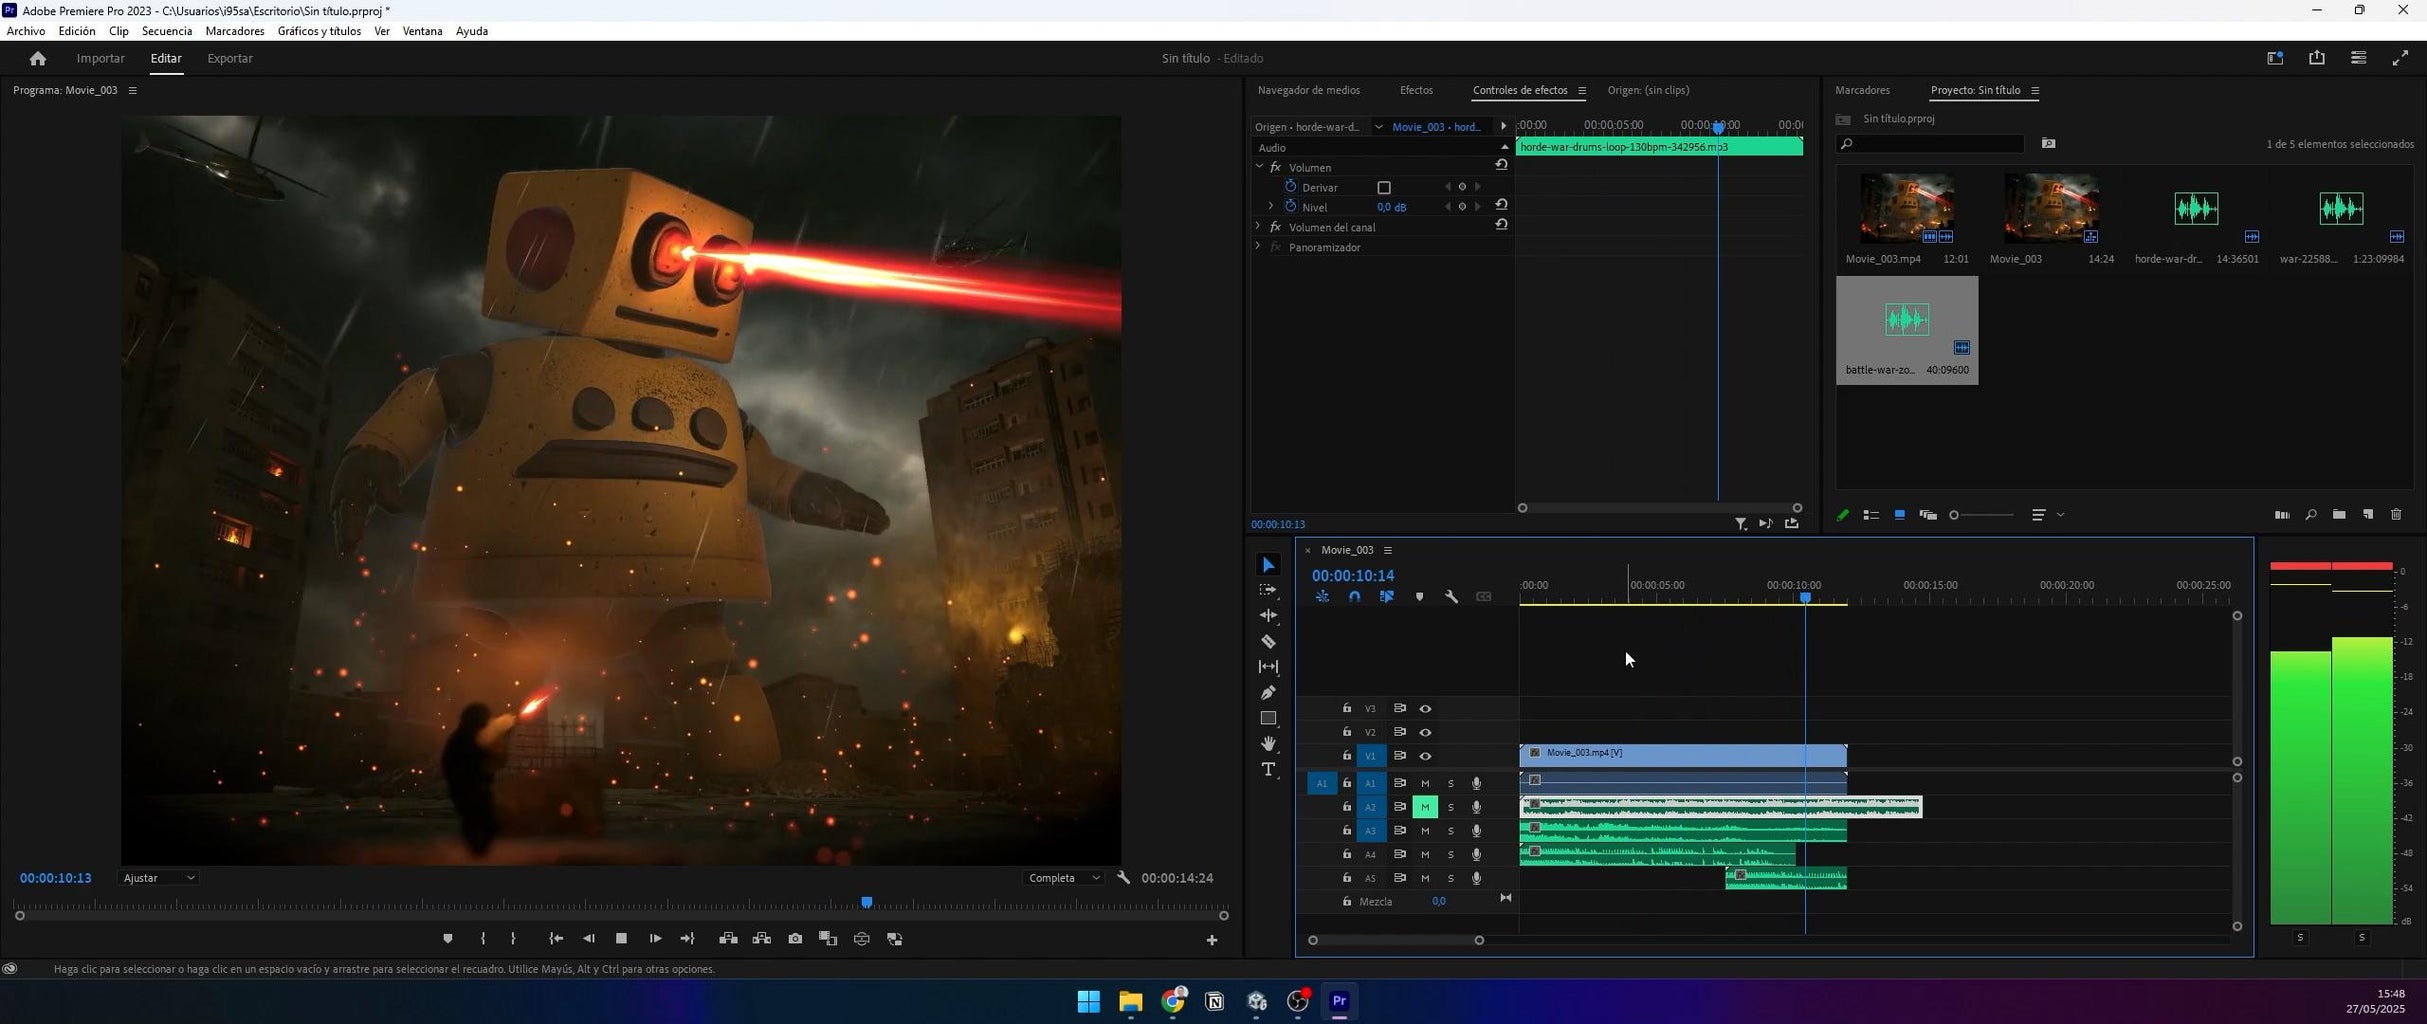
Enhance the video with war and battle sound effects in a video editor. I used:
- Sound Effect by WilliamHector from Pixabay.
- Sound Effect by freesound_community from Pixabay.
- Sound Effect by freesound_community from Pixabay.
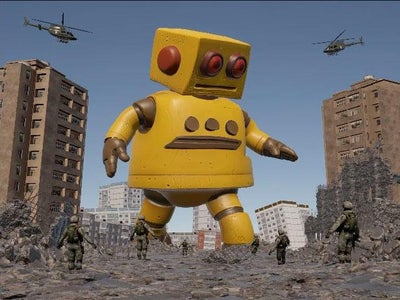
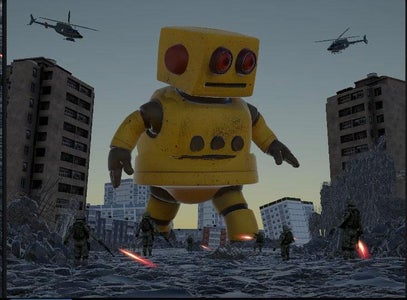
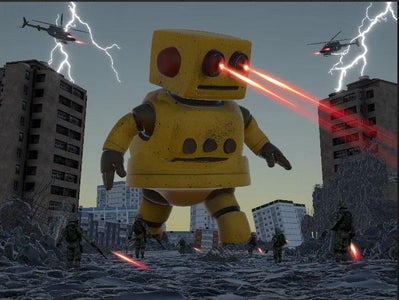
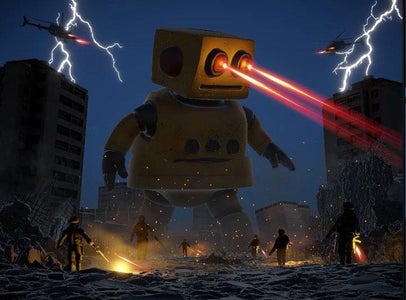
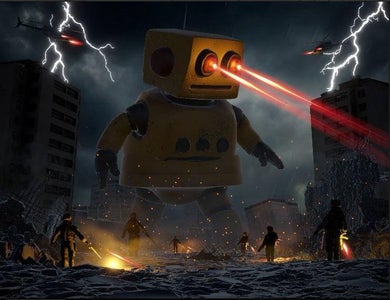
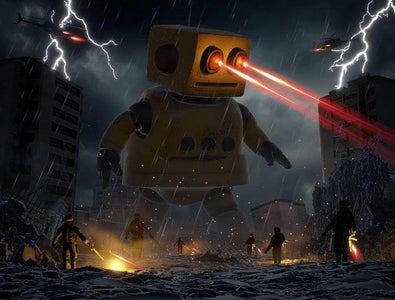
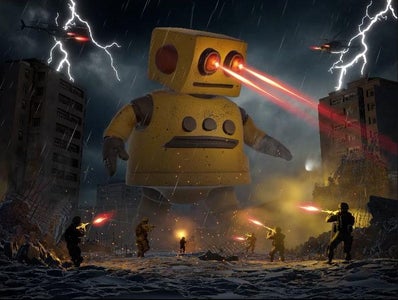
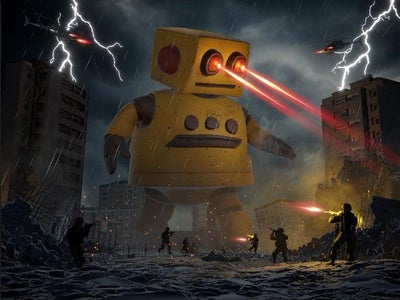
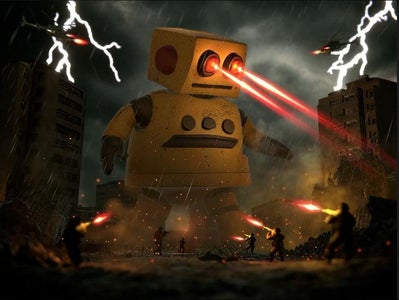
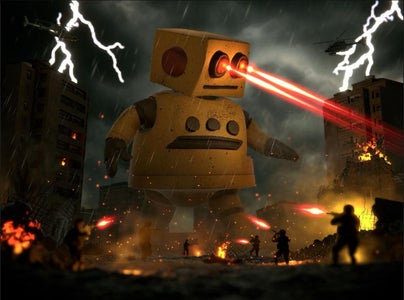
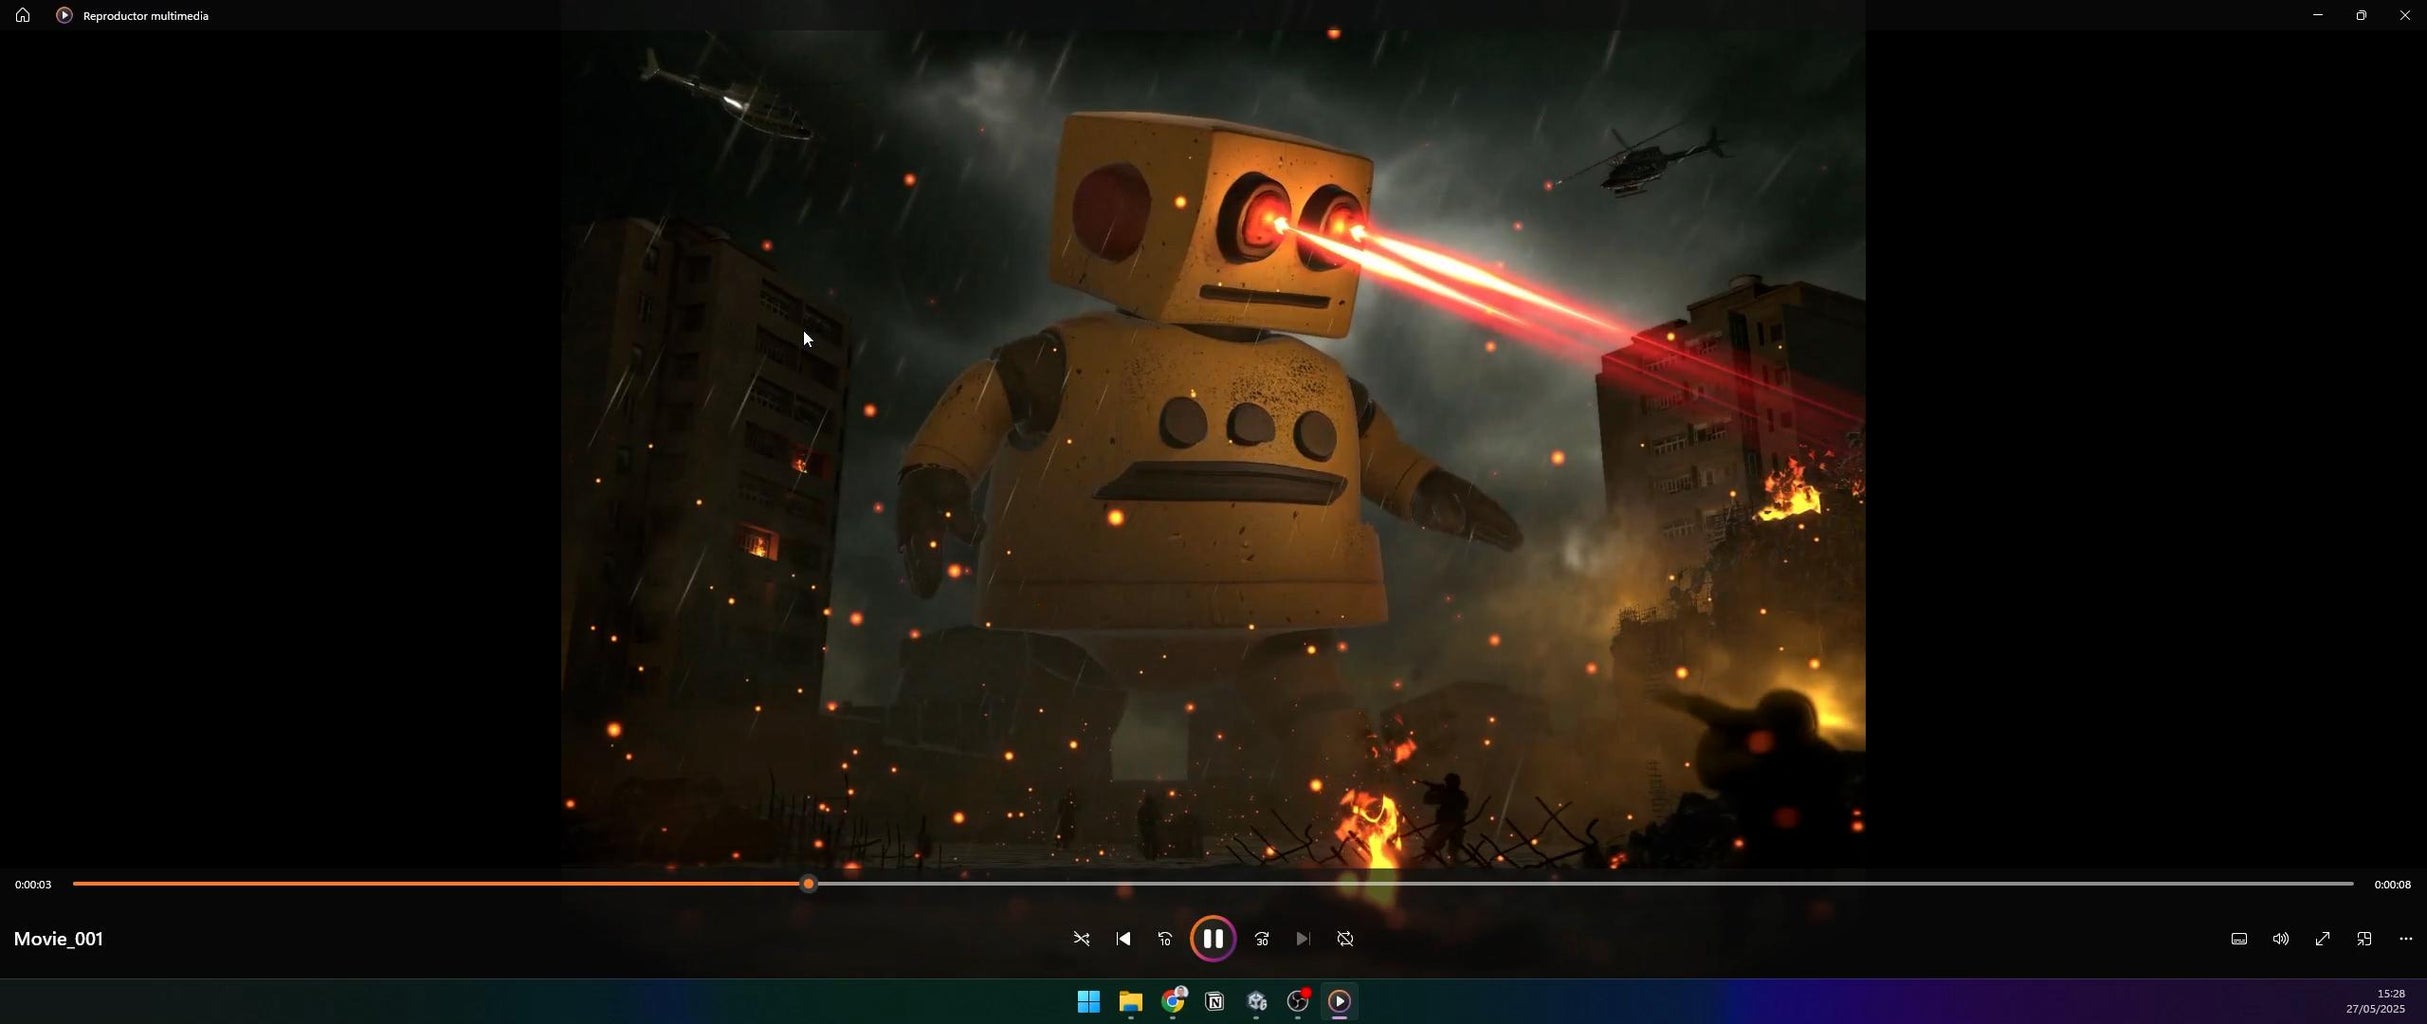
Step 30: Admire the Result
The final scene is breathtaking! The glowing lasers, muzzle flashes, and ambient lights create a vivid apocalyptic atmosphere. The Instructables robot stands as a symbol of creativity, battling laziness and monotony in a dazzling display of visual effects.
----
I had a blast building this project, and I hope you enjoy creating it as much as I did! Share your results in the comments, and let’s keep pushing the boundaries of creativity for the "Make it Glow" contest!